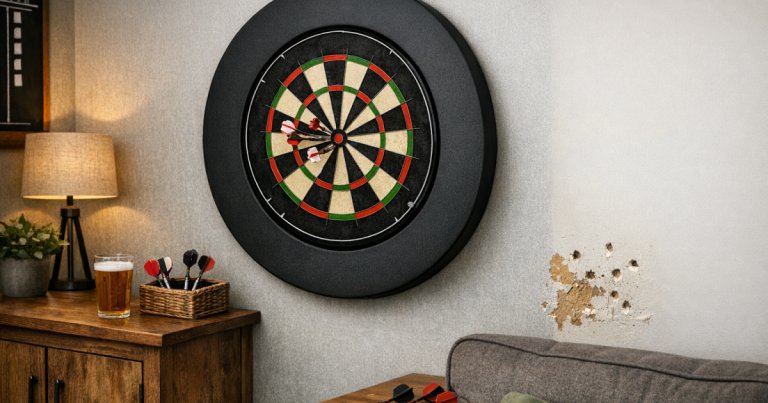
Fresh emulsion around a dartboard can start showing tiny chips and grey pin marks long before the board itself looks worn. If you want to stop darts marking walls, treat it as a whole setup issue: protect the immediate surround, reduce bounce-outs, and make sure players are throwing from a clear, square position.
The good news is that most wall marking can be prevented without turning a spare room, garage or dining area into a full pub-style darts corner. A few neat additions and small layout checks usually make the biggest difference.
Wall drilling, fixing heavy cabinets or working near concealed cables and pipework should be handled by a suitably qualified tradesperson, with fixings and placement meeting UK safety requirements and the manufacturer’s instructions.
What to know first
- Most marks come from misses, bounce-outs and awkward throwing angles, not just careless play.
- A dartboard surround is the simplest protective layer for marks close to the scoring area.
- A cabinet or backboard can look tidier in a shared room, provided there is enough clearance around the board.
- Mats and toe-line alignment matter because a square, repeatable stance reduces wild throws.
- Touching up paint alone rarely solves it unless you also fix the reason darts are reaching the wall.
Step 1: Work out where the marks are coming from
Before adding anything to the wall, look closely at the pattern of damage. A ring of small holes just outside the board usually points to missed doubles or a beginner-friendly setup where several players are still finding their grouping. Chips below the board are often caused by darts dropping after bounce-outs. Long scrape marks can come from a dart landing point-first then sliding down a painted surface.
Also check whether the board is mounted squarely and at a comfortable height. If players are consistently missing to one side, the issue may be the room layout rather than the wall surface. A board squeezed into a corner, placed beside a cupboard, or set where a player has to twist around furniture will invite stray darts.
Paint finish makes a difference too. Matt emulsion can show grey rubs and finger marks easily, while harder-wearing finishes may resist scuffs better but still chip when hit by a steel tip. On plasterboard walls, repeated impacts can create visible pitting around the same area, so it is better to intercept the dart before it reaches the wall at all.
Step 2: Add a protective zone around the board
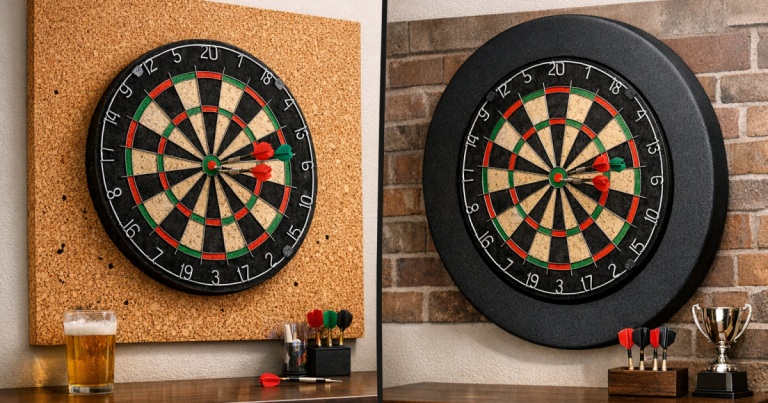
The most direct fix is to cover the area around the dartboard with a material that can absorb occasional hits. A foam or rubber-style dartboard surround is usually neat because it sits close to the board and protects the common miss zone without covering a huge part of the wall. It is a sensible first step for home setups where the board is already in the right position.
If you want a more furniture-like finish, a cabinet or framed backing panel can work well. The important point is clearance: doors, shelves, scoring panels and wall edges should not interfere with the board or the throwing line. For a more detailed setup check, use the guide to dartboard cabinet dimensions and clearance before committing to a fixed layout.
For renters or anyone trying to protect fresh paint, avoid relying on aggressive adhesive pads without testing them somewhere discreet first. Some pads remove cleanly; others can pull paint away, especially on recently decorated walls. Freestanding backing panels can be useful in temporary spaces, but they still need to be stable and positioned so the board does not wobble during play.
Step 3: Make the throwing position repeatable
Wall protection is not only about what sits behind the board. The oche area affects how consistently people throw. If the toe line shifts, players may stand at a slight angle or step forward without noticing, which changes the flight path and increases the chance of misses landing wide.
A darts mat helps because it gives players a clear reference point and protects the floor from dropped darts. In UK homes with laminate, vinyl, tiles or carpet, the right mat material matters for grip, comfort and how the mat behaves underfoot. The guide to darts mat materials and floor suitability is worth checking if the board area doubles as a living space or garage setup.
Keep the path to the board clear as well. A chair leg, sideboard, radiator cover or narrow walkway can make players rush or lean. If several people use the board, mark the toe line clearly and make sure everyone has enough room to stand naturally rather than twisting around the furniture.
Step 4: Reduce bounce-outs before they reach the paint
Bounce-outs are a common reason painted walls get damaged below and around the board. A dart that hits wire, falls out and clips the wall on the way down can leave a surprising mark. Rotate the board regularly, keep the segments in decent condition, and replace a tired board once it no longer holds darts reliably.
Lighting also plays a part. Harsh side lighting and shadows can make the trebles and doubles harder to read, particularly in garages, loft rooms and multi-use spaces with a single ceiling pendant. Better lighting will not magically improve every throw, but it can reduce avoidable errors caused by glare or poor visibility. If the board area has shadows across the scoring bed, read up on common dartboard lighting mistakes before changing the room layout.
Finally, check the darts themselves. Bent points, damaged flights or loose shafts can affect entry angle and consistency. You do not need to overthink every accessory, but a quick inspection before a longer session can prevent odd deflections that end up in the surrounding paintwork.
Step 5: Keep it tidy in a shared room
Not every home oche lives in a dedicated games room. If your board is in a kitchen-diner, office, spare bedroom or conservatory, the protective setup needs to look intentional. A surround in a dark, neutral colour can disappear visually against many boards, while a cabinet can hide the board when not in use and keep chalk, markers and spare flights out of sight.
For a softer look, some players use a wider backboard covered in cork, felt-style material or another dart-friendly surface. The key is to avoid thin decorative panels that look good but do little to absorb impact. If a dart can pass through the surface or chip the backing beneath it, the wall is still doing too much work.
Think about sightlines too. A protective panel that is just wide enough for the board may still leave the corners exposed for newer players. A slightly wider protected area often looks neater than a wall slowly collecting random touch-up patches around the outside.
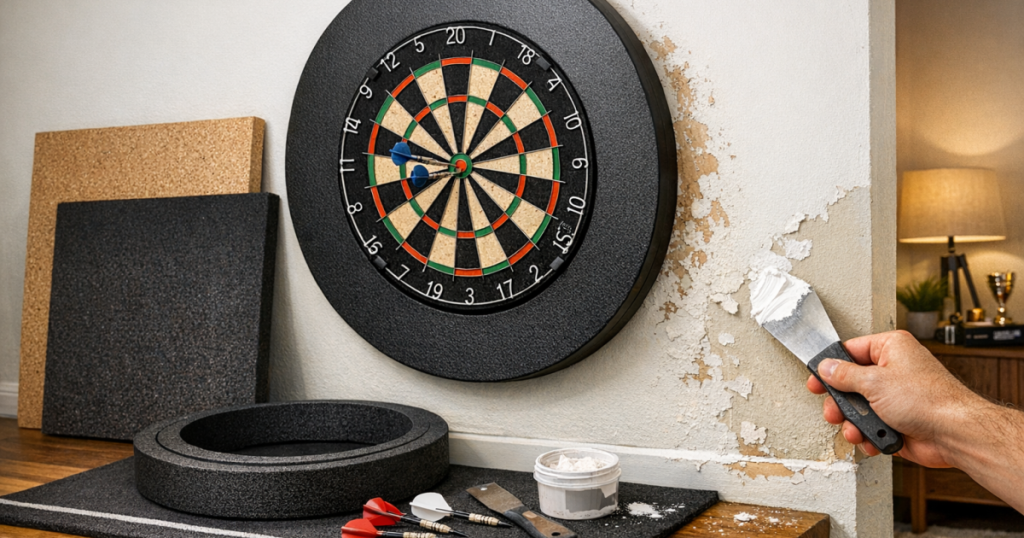
Step 6: Repair existing marks before they spread
Once the wall is protected, deal with the visible damage. Remove loose paint flakes, clean light scuffs gently with a barely damp cloth, and avoid scrubbing matt emulsion too hard. Small pin holes can usually be filled with a fine interior filler, then lightly sanded smooth once dry.
Touching up painted walls is easiest when you still have the original paint. Even then, a patch can show if the wall has faded or the finish has changed. Feather the paint lightly around the repair rather than creating a hard-edged rectangle. If the damage is widespread, repainting the small wall section behind the board may look better than dozens of separate touch-ups.
Do the repair after adding protection, not before. Otherwise the first bounce-out or stray double attempt can put you straight back where you started.
Quick checks before the next match
- Is the board firmly mounted and sitting flat against its backing?
- Does the protected area cover the most common miss zone around the doubles?
- Is the toe line fixed, visible and square to the board?
- Can players stand without leaning around furniture or doorways?
- Are shadows, glare or poor light making the board harder to read?
- Are the darts, flights and points in reasonable condition?
- Have existing chips been filled and painted only after protection was added?
What people usually ask
What is the cheapest way to stop darts marking walls?
The simplest low-cost approach is to add a dartboard surround and make sure the toe line is fixed and square. That tackles both the impact area and the throwing position.
Will a dartboard cabinet protect the wall enough?
A cabinet can help, but it depends on its width, door position and how often newer players miss outside the board. In many homes, a cabinet plus a surround gives better coverage.
Can I just use thicker paint around the board?
Paint may hide old marks, but it will not absorb dart impacts. A harder-wearing finish can reduce scuffs, yet steel tips can still chip it.
Do soft-tip darts prevent wall damage?
Soft-tip darts can reduce some damage compared with steel tips, but they can still mark paint and skirting if thrown at a home board in a tight space.
How wide should the protected area be?
Cover at least the common miss zone around the board, then extend it if beginners, children or casual guests use the setup. The right size depends on the room and player ability.
Key takeaways
To keep painted walls looking good, deal with the cause rather than only covering the evidence. Protect the wall around the board, make the oche position repeatable, improve visibility, and repair existing chips once the setup is no longer inviting fresh damage. A tidy home darts area is usually the result of several small decisions working together, not one dramatic upgrade.