A dartboard setup under sloped ceilings can work well, but only if the board face, throwing lane and player’s arm movement all have enough usable space. The aim is not to squeeze the board in anywhere it fits visually; it is to create a throw that feels normal, repeatable and safe for the room.
Loft rooms, converted garages, spare bedrooms and eaves storage areas can all be usable darts spaces. The key is to measure the vertical wall, the slope line and the floor area together rather than treating the board as a flat picture on the wall.
The workable answer
Use a sloped-ceiling room only when you can keep the dartboard vertical, set the bull at regulation height, mark the throw line accurately and leave a clean throwing path. If the ceiling slope cuts across the board, crowds your throwing shoulder or forces you to alter your stance, choose another wall.
- Mount the board on a vertical wall, not on the angled ceiling plane.
- Set the centre of the bull at 1.73 m from the finished floor for a standard steel-tip setup.
- Measure the throw line at 2.37 m from the board face, not from the skirting board or wall surface behind it.
- Check the ceiling slope above the board and above the throwing position.
- Protect the floor and wall because tight rooms often increase stray-dart damage.
Step 1: Find the tallest usable wall section
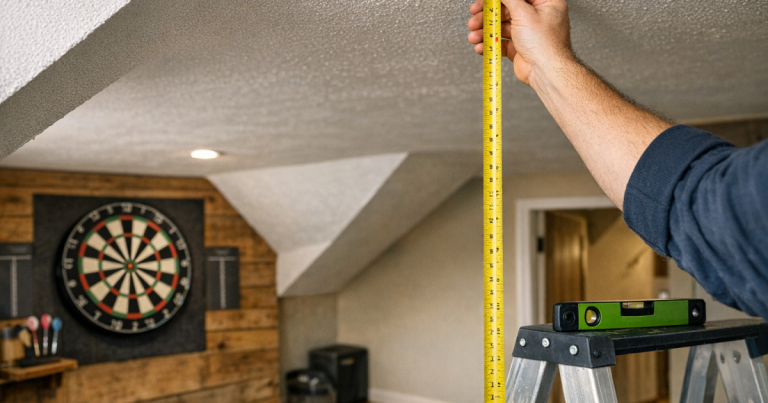
Start with the vertical wall below the slope. You need enough height for the board, number ring, surround or cabinet, and a little visual breathing room above the top. A standard bristle dartboard is roughly 45 cm across, but the surrounding area often takes up more practical space than people expect.
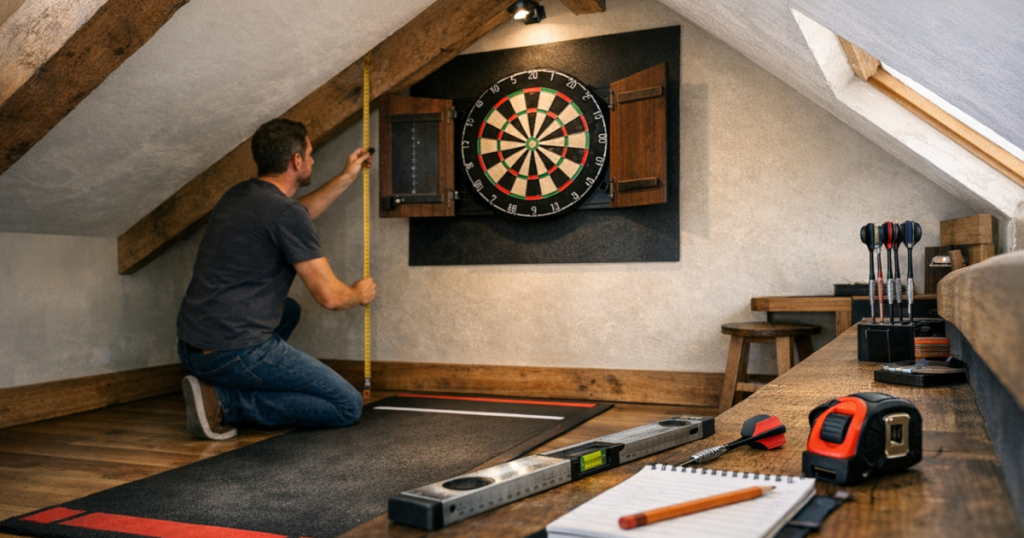
Measure from the finished floor to the point where the wall begins to slope. Then mark 1.73 m on the wall for the bull. From there, check whether the full board, mounting bracket and any surround will sit comfortably without touching the angled ceiling.
If the slope begins just above the top of the board, the setup might still function, but it can feel cramped. Players often look slightly upward at the board, and a ceiling line immediately over the numbers can be distracting. If you are unsure how much wall area the scoring face actually needs, the guide to standard board layout and scoring areas is a useful reference before you mark the wall.
Step 2: Keep the board face vertical
A dartboard should sit flat and vertical. Do not mount it to the sloped part of the ceiling or pack it out at an angle to follow the roofline. Tilting the board changes the way darts land, makes certain segments behave differently and gives the throw a distorted feel.
In a loft room, the best position is usually on the gable end or on a full-height internal wall. If the room has only low eaves on both sides, look for a section where the vertical wall continues high enough above the bull. A board tucked into the eaves may look tidy, but it can make trebles and doubles feel visually compressed.
Step 3: Measure the oche from the board face
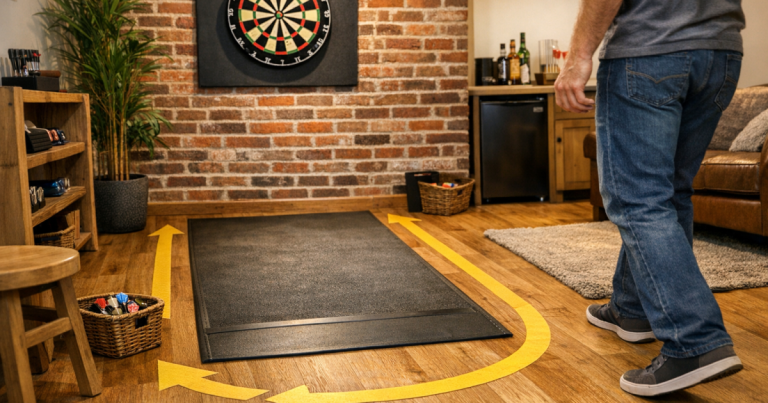
Once the board position is realistic, measure the throw line properly. For a standard steel-tip bristle board, the oche is 2.37 m from the front face of the dartboard to the front edge of the throw line. That distinction matters in small rooms because the board face usually sits slightly proud of the wall.
A simple way to check the line is to hang the board temporarily, drop a plumb line from the board face to the floor, then measure out from that point. Mark the proposed oche with low-tack tape before committing to a mat, raised oche or permanent floor marker.
Now stand at the mark and make a natural throwing motion. Do not only check whether your feet fit. Check whether your elbow, shoulder and follow-through feel unrestricted. A sloped ceiling that is well clear of the board can still be a problem if it leans down over the player.
Step 4: Test the dart path, not just the floor plan
Floor measurements tell you whether the room is long enough; they do not prove the throw will work. Under a sloped ceiling, the dart’s flight path and the player’s release point matter more than usual.
Before drilling anything, tape a paper target or temporary marker at bull height and stand at the proposed oche. Use an unthrown dart or a pencil held like a dart to trace your usual aim line towards the board. Then repeat the motion for the top of the board and the lower doubles. You are looking for any point where the ceiling feels close enough to make you shorten your action.
If taller players will use the area, test with them too. A setup that works for a shorter player can feel cramped for someone with a higher release point or more upright stance. In shared family spaces, allow for the tallest regular thrower rather than the person doing the measuring.
Step 5: Plan protection where tight angles increase misses
Sloped rooms often create visual clutter: ceiling lines, low corners, beams, cupboards and awkward lighting. That can make early sessions less accurate, especially while players adjust to the space. Plan wall and floor protection before the first proper game, not after the first cluster of holes appears in the plasterboard.
A surround is usually cleaner than relying on bare wall around the board, provided it fits without fouling the slope. If you are using a cabinet, open both doors fully and check that they do not hit the ceiling angle. On the floor, consider where bounce-outs and dropped darts are likely to land, not just where the thrower stands.
For timber, laminate, vinyl or carpeted rooms, it is worth mapping the landing zone before choosing a mat or separate protective layer. The advice on how to plan floor protection for a darts area explains how to think about the oche, bounce-outs and surrounding walkway as one zone.
Step 6: Sort the lighting before the final position
Lighting is often harder under a sloped ceiling than in a square room. A central pendant may sit behind the thrower, while downlights can cast odd shadows from the ceiling angle. The board should be evenly lit without glare on the wire, number ring or cabinet doors.
Check the board position in evening light as well as daylight. Loft rooms can seem bright during the day and surprisingly poor at night. If you use a dedicated board light, make sure it fits the available space around the board and does not clash with the ceiling slope, surround or cabinet.
Cable routes also matter. Keep leads away from the throw line, walking route and any area where darts might fall. If the current light creates hard shadows, the step-by-step advice on how to set up dartboard lighting without shadows or glare will help you diagnose the problem before you move the board again.
Step 7: Check room flow and storage
A darts setup needs more than a legal throwing distance. Leave space for someone to retrieve darts, step aside between throws and move around the room without crossing the oche during play. This is especially important in lofts where usable standing height may narrow towards the edges.
Avoid placing the oche across a doorway, stair opening or main walkway. If the only workable line points towards a low corner, check that players can retrieve darts without ducking awkwardly every visit. Small inconveniences become frustrating over a full match.
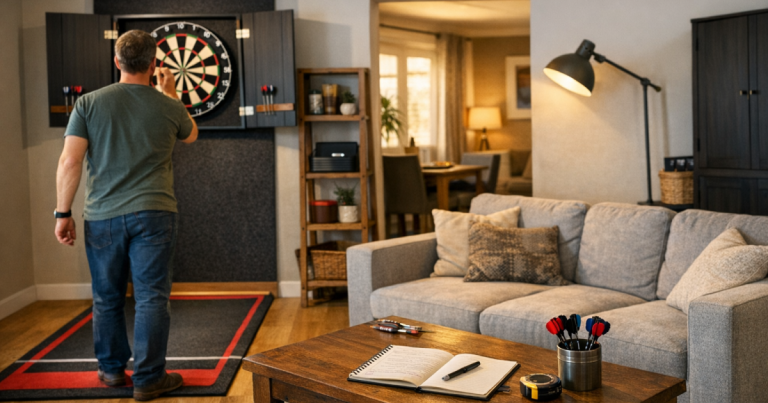
Storage should be simple and close by. Spare flights, shafts, points, chalk, a marker pen and a scoreboard should not require players to walk through the throwing lane. If you use a cabinet, open it fully during your mock setup and check whether the doors interfere with the slope or nearby furniture.
Common layout examples
Gable-end loft wall
This is often the strongest option because the wall is usually full height in the centre. Place the board on the central vertical area, then run the oche straight back into the room. Watch for ceiling height above the thrower if the roof slopes down behind the oche.
Low eaves spare room
If the wall below the eaves is too short, do not force the board into it. Look for an internal partition wall or the back of the room instead. The visual neatness of an eaves position rarely outweighs poor height and cramped throwing action.
Garage or outbuilding with pitched roof
A pitched roof can give good central height, but side walls may be too low. Mount on the taller end wall where possible and check that lighting, storage shelves and tools are outside the throwing lane.
Common questions
Can I mount a board partly under the slope if the bull is at the right height?
Only if the full board, surround or cabinet and dart path remain clear. The bull height alone is not enough; the slope must not crowd the upper numbers or affect the player’s throw.
What if the oche fits but the ceiling is low above my head?
Test a full throwing motion from the line. If you shorten your follow-through, lean forward unnaturally or feel aware of the ceiling, the position is too cramped for comfortable regular play.
Is a cabinet a good idea under a sloped ceiling?
It can be, but measure the open doors as well as the closed cabinet. In tight eaves, a simple surround may fit better than a cabinet with doors that hit the ceiling angle.
Does a dartboard setup under sloped ceilings need extra floor protection?
Often, yes. Awkward sight lines and tighter layouts can increase bounce-outs and misses, so protect both the oche area and the likely landing zone below the board.
What to remember
A sloped ceiling does not rule out a good home darts space, but it makes measuring more important. Prioritise a vertical board, correct bull height, a true oche measurement, clear throwing movement and lighting that does not create shadows. If any one of those feels compromised during a temporary test, move the setup before drilling, hanging a surround or laying a permanent mat.