A stray bounce-out can mark laminate, chip tile, snag carpet or leave a sharp steel tip where someone might step. Good darts floor protection is about planning the landing zone, the standing area and the route people walk through the room. Get those three parts right and the setup feels safer, tidier and easier to live with.
The short version
- Protect the area directly below the board first, because that is where bounce-outs and dropped darts usually land.
- Use the official throwing distance as your layout reference: 2.37 m from the face of the board to the oche for steel-tip darts.
- Choose a surface that lies flat, grips the existing floor and is comfortable to stand on.
- Avoid loose rugs, curling edges and glossy hard surfaces that can create slips or trips.
- Plan the floor together with the wall, lighting and walking routes, not as a separate afterthought.
Step 1: decide what the floor actually needs protecting from
Floor protection is not just about stopping obvious damage. In a home darts area, the floor has to cope with three different things: steel tips landing point-first, players standing in the same place repeatedly, and people moving around the oche between visits to the board.
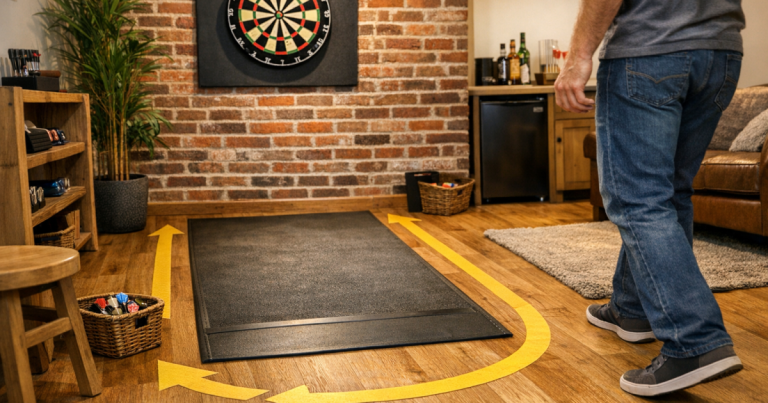
The most vulnerable spot is usually the drop zone below the lower half of the board. Bounce-outs, missed doubles and darts knocked from the board can all fall here. The second zone is the oche area, where shoes wear the floor and a mat can creep forwards if it is too light. The third zone is the walkway between the throwing line and the board, which needs to stay clear and predictable.
If you are still mapping the room, check your overall throwing space before choosing floor materials. Our guide to planning a safe throwing area around your dartboard covers the clearances and room flow that sit alongside floor protection.
Step 2: mark the board centre and the oche line
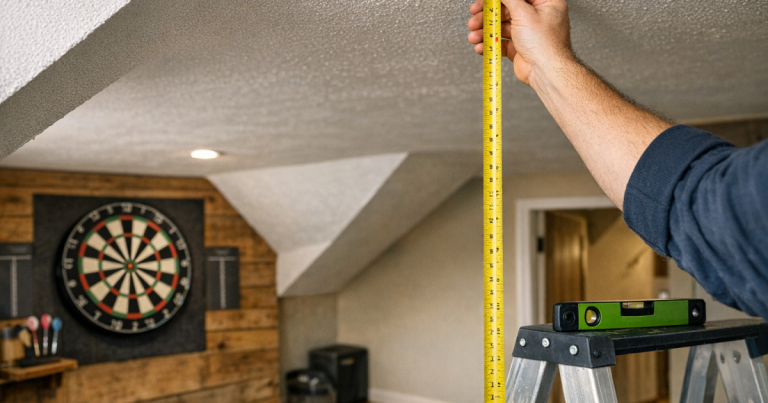
Start by fixing the position of the dartboard before you buy or cut anything for the floor. The standard steel-tip setup uses a bullseye height of 1.73 m from the floor, with the oche 2.37 m from the face of the board. The key detail for floor planning is that the throwing distance is measured from the board face, not from the wall.
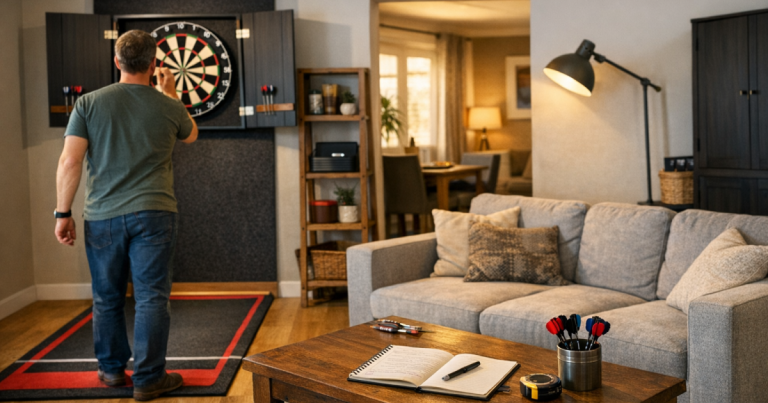
Once the board is in position, use masking tape to mark the centre line on the floor. Then mark the oche line and stand where you normally throw. This shows whether a mat will sit neatly in the room or clash with a doorway, sofa, radiator, skirting board, cabinet or furniture leg.
Do not assume the mat needs to fill the whole room. In most homes, it is better to protect the correct strip of floor well than to cover a large area badly. A clean, flat, well-positioned runner is usually more useful than a large loose rug that moves every time someone steps on it.
Step 3: protect the landing zone below the board
The area immediately under the board takes the most abuse. If you are using steel-tip darts over laminate, engineered wood, vinyl, tile or a thin carpet, add something that can absorb point impacts without sliding around.
A practical starting point is to cover the floor from the wall out towards the oche, with extra attention to the first metre below the board. Wider coverage helps if newer players use the board, because misses and bounce-outs are less predictable. If the board is used mostly by experienced throwers, you may still get bounce-outs from the wire, worn segments or angled darts, so do not leave the wall-foot area exposed.
For hard floors, a dense rubber-backed dart mat or protective runner is usually easier to manage than a soft rug. It should be heavy enough to stay put, thin enough not to create a raised trip edge, and firm enough that points do not punch straight through into the flooring underneath.
Step 4: choose a material that suits the room
The right material depends on the existing floor, how permanent the setup is and how much traffic passes through the space. The aim is not to make the floor indestructible; it is to reduce obvious damage while keeping the throwing area comfortable and stable.
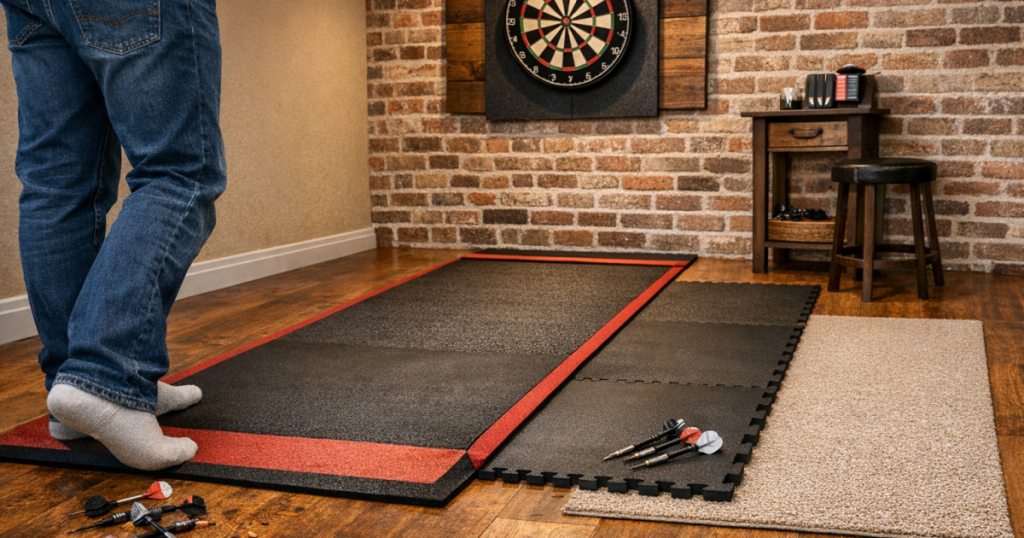
Rubber or rubber-backed mats
Rubber-backed mats work well on many hard floors because they add grip and impact resistance. They are useful in spare rooms, garages and multi-use spaces where you want the mat to stay aligned with the oche. Check that the underside is suitable for your flooring, as some backings can mark delicate finishes if left in place for long periods.
Carpet-style dart mats
Carpet-style mats feel warmer and softer underfoot, which can suit living rooms and bedrooms. They are generally kinder to dropped darts than bare hard flooring, but edges must stay flat. If the mat rucks up near the oche, it becomes more annoying than helpful.
Interlocking foam tiles
Foam tiles can be tempting for garage or temporary setups, but they need care. Very soft foam may grip dart points, dent under shoes and separate at the joins. If you use tiles, keep the joints away from the exact standing line and make sure the surface does not feel spongy under your front foot.
Offcuts and temporary coverings
A carpet offcut can work for a casual setup, provided it lies flat and does not slide. Avoid thin fabric throws, glossy plastic sheeting and anything that curls at the corners. If you have to tape an edge down every session, the covering probably is not the right long-term answer.
For a deeper look at surface types, grip and feel, see our guide to darts mat materials for a better oche setup.
Step 5: match the protection to your existing floor
Different floors fail in different ways, so tailor the protection to the room rather than copying someone else’s setup.
- Laminate and engineered wood: protect against dents, point marks and scuffs. Use a stable mat with a non-abrasive underside, and lift it occasionally to check for trapped grit.
- Vinyl flooring: avoid sharp point impacts and long-term pressure marks. Check that any rubber backing is compatible with the finish before leaving it down permanently.
- Tile: the tile itself may survive, but points can blunt or bend when they hit hard ceramic or porcelain. A cushioned runner below the board is worth having.
- Carpet: protection is still useful because dart points can pull fibres or bury themselves. A firmer mat also gives a cleaner oche line than deep pile carpet.
- Concrete or garage floors: damage to the floor may not matter, but dart points can suffer. Add a mat to reduce bounce, noise and unnecessary point wear.
Step 6: keep the oche clear, flat and repeatable
The oche area is where floor protection and throw consistency meet. If the mat includes printed throw lines, check the measurement from the board face carefully after placing it. If you use a separate raised oche, make sure it does not rock, creep sideways or catch your shoe when you step back.
A good throwing area should feel the same every visit. Your front foot should not sink, slide or catch on a seam. If several people use the board, leave enough width for left- and right-footed stances without forcing anyone onto the mat edge.
In a family room or shared space, think about the route from the sofa, doorway or kitchen to the rest of the room. Floor protection should not create a ridge across a normal walkway. If it has to cross a walking route, choose the thinnest stable option and keep the edges visible.
Step 7: plan for stands, cabinets and wall protection
Floor planning changes slightly if your dartboard is on a stand rather than fixed to a wall. A stand can move the board face further into the room, which moves the oche line too. That also changes where dropped darts and bounce-outs land, so mark the stand position before placing the mat.
If you are avoiding drilling, the stand, mat and oche need to work as one layout. Our guide to setting up a dartboard stand without drilling explains how to place the board securely in a temporary or rented-space setup.
Wall protection also affects the floor plan. A surround or cabinet may catch some loose darts, but it will not stop every bounce-out from reaching the floor. Leave floor coverage below the full width of the board area, not just directly under the treble 20.
Step 8: check the setup in real use
Once the mat or runner is down, do a short test session before treating the layout as finished. Throw a few legs, retrieve darts normally and watch where your feet land. If the mat creeps, curls or feels awkward, fix that before it becomes part of your routine.
Pay attention to sound as well. A loud clatter on every bounce-out usually means the floor is still too hard or exposed. A duller impact suggests the mat is doing its job. Also check for point marks around the edges, because those marks often show where you need a wider or longer protective area.
For regular home use, lift and clean under the mat from time to time. Grit trapped underneath can scratch hard flooring, and dust can make some backings less grippy. If the mat lives in a garage or outbuilding, keep it dry so it does not curl, smell musty or become slippery.
Common mistakes to avoid
- Only protecting the oche: the standing area matters, but most impact damage happens closer to the board.
- Using a loose rug: if it slides when you retrieve darts, it is not stable enough.
- Forgetting the board face measurement: the oche distance is not measured from the wall, which matters with cabinets, surrounds and stands.
- Ignoring mat edges: a thick protective surface can still be a poor choice if it creates a trip point.
- Leaving hard flooring exposed below the board: even careful players get bounce-outs from time to time.
FAQ
How much floor should I protect under a dartboard?
Cover the area directly below the board first, then extend protection towards the oche. In a home setup, a runner from the wall area towards the throw line is usually more useful than a small mat only at your feet.
Can I use a normal rug for darts?
You can use one for very casual play, but it must lie flat and stay put. Loose rugs, curled corners and thick pile can create trip risks and make the oche feel inconsistent.
Will a dart mat stop all floor damage?
No mat can guarantee complete protection, especially with sharp steel tips and hard impacts. A well-positioned mat greatly reduces common marks, dents and point damage, but placement and stability matter as much as material.
Do I need protection if I already have carpet?
Usually, yes. Carpet helps, but dart points can snag fibres or bury themselves, and a dedicated mat gives you a clearer, more repeatable standing line.
What is the simplest darts floor protection setup for a spare room?
Use a stable runner or dart mat aligned from below the board towards the oche, check the 2.37 m throwing distance from the board face, and keep the edges flat and away from busy walkways.
What to remember
Plan from the board outwards: landing zone first, oche second, room flow third. The best floor protection is not necessarily the thickest or largest covering; it is the one that sits in the right place, stays flat and suits the floor beneath it.
If you protect the high-impact area below the board, keep the throwing line accurate and remove trip points from the room, your darts area will feel more permanent, more comfortable and much easier to maintain.