Renting does not mean you have to settle for a wobbly board, poor lighting or a throw line that shifts every session. A good darts setup in a rented home is about making the space play properly while avoiding avoidable holes, marks, noise and awkward landlord conversations.
The aim is simple: create a stable, measured, comfortable playing area that can be removed or repaired cleanly when you move out.
Safety and tenancy note: mains electrical work for dartboard lighting and drilling where concealed cables or pipes may be present should be handled by a qualified electrician or competent tradesperson, in line with UK electrical safety requirements and your tenancy agreement.
The rental-friendly approach
- Use the least invasive fixing method that still gives a secure board.
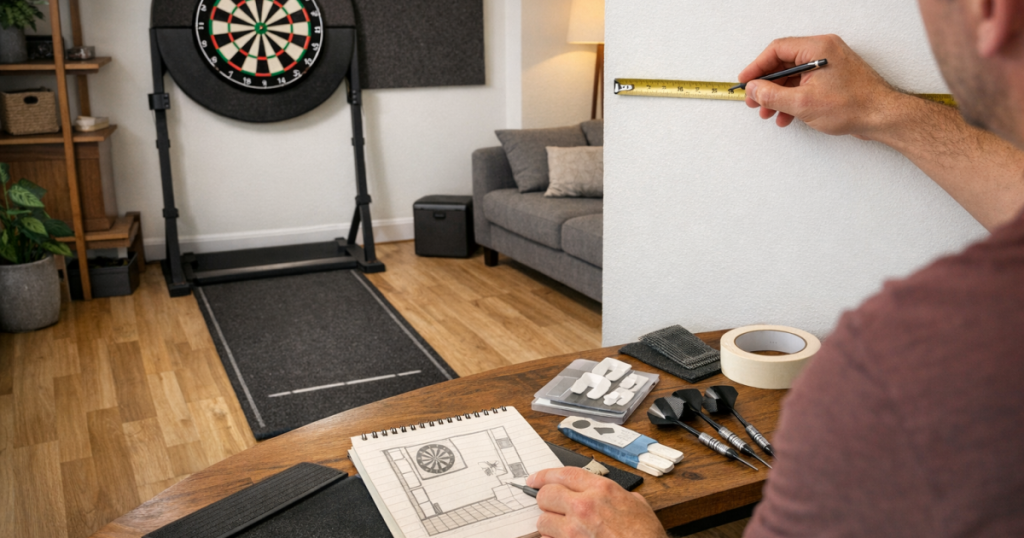
- Measure the playing area before choosing the wall, not after mounting the board.
- Protect the wall, skirting and floor from stray darts and repeated foot traffic.
- Keep lighting plug-in, removable and glare-free where possible.
- Choose storage that does not turn the room into a permanent obstacle course.
- Photograph the wall and floor before setup so you have a record of the original condition.
Step 1: Check the tenancy reality before you plan the layout
Start with the boring bit, because it saves arguments later. Check your tenancy agreement, inventory and any written guidance from the landlord or letting agent. You are looking for rules on wall fixings, picture hooks, adhesive strips, alterations, noise, outbuildings and redecorating.
If the agreement allows small fixings, get clarity on whether a dartboard bracket, cabinet or backboard counts. If you are asking permission, be specific: explain where the board will go, how it will be fixed, how the wall will be protected and how you will make good any holes at the end of the tenancy.
Avoid relying on “removable” adhesive products for the dartboard itself. A bristle board is heavy enough that a failed fixing can damage the wall, the board and anything underneath it. Adhesive products are better suited to light accessories, cable tidies or temporary labels, not the main playing surface.
Step 2: Choose a wall with enough depth, not just a blank patch
A dartboard needs more than the diameter of the board. You need a clear throwing lane, space to stand, and enough room for people to move around without walking through the line of throw.
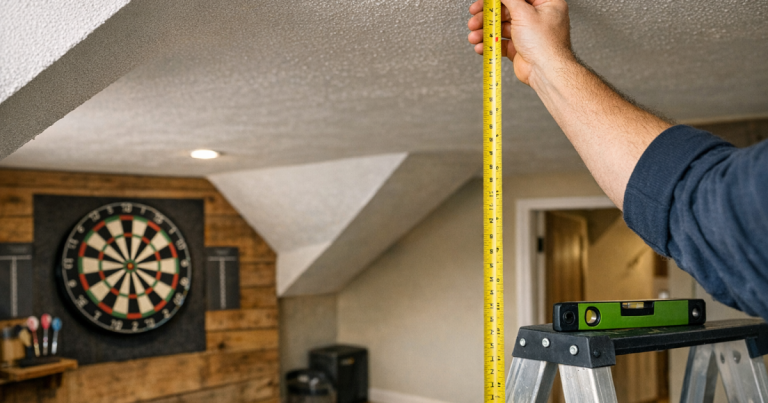
For a standard steel-tip setup, the bull should be 1.73 m from the floor, and the throw line should be 2.37 m from the face of the dartboard. Measure from the board face, not the wall, because a cabinet, surround or bracket can change the board’s position slightly.
Also check ceiling lights, radiators, doors, wardrobes and window recesses. A wall beside a door can look ideal until someone opens the door into the thrower’s arm. A narrow hallway can give you the distance but create an annoying traffic route for everyone else in the home.
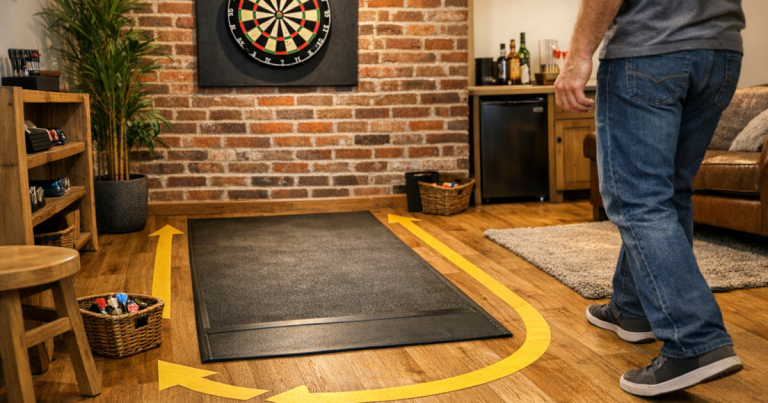
If you are deciding between a raised strip, a mat or a simple marked line, it is worth reading more on oche types and throw-line options before committing to a layout.
Step 3: Pick the least destructive mounting method that still feels solid
The most stable option is usually a proper wall bracket fixed into a suitable wall surface. In a rented home, the question is whether that is permitted and whether the wall can take it. A single small bracket hole may be easier to repair than a larger, messy workaround, but you need permission where the tenancy requires it.
If wall drilling is not acceptable, consider a freestanding dartboard stand. It avoids permanent fixings and can be moved, but it needs a stable base, enough floor space and a spot where vibration will not become irritating. Check that the board does not sway when darts land, as movement makes practice frustrating and can make scoring feel inconsistent.
Door-mounted solutions can be tempting in flats and small rooms, but they are rarely ideal for serious use. Doors move, flex and transmit noise. They also place the board in a traffic area, which is inconvenient and potentially unsafe if someone opens the door during play.
Step 4: Protect the wall before the first bounce-out
Wall protection matters more in a rental because a few stray darts can quickly become a deposit issue. A dartboard surround is the simplest starting point. It sits around the board and catches many near misses without needing a large permanent installation.
For newer players, children’s practice sessions or tight rooms, add a larger removable backboard behind the board area. A neat painted or fabric-covered panel can look intentional, but make sure it is fixed securely and does not rattle. If you cannot fix it to the wall, a stand-mounted backboard can work in a spare room where you have the depth.
Think below the board as well. Skirting boards and floor edges take abuse from dropped darts, bounce-outs and chair legs. A dart mat helps mark the throw line and reduces wear in one concentrated standing spot. On hard floors, use a mat with a backing that will not slide; on carpet, check that it lies flat enough not to create a trip point.
Step 5: Keep the lighting removable and comfortable
Poor lighting makes the setup feel makeshift, even if the board is perfectly mounted. In rented homes, the easiest route is usually plug-in or clip-on lighting that can be removed without touching the mains wiring. The goal is even light across the board, not a bright beam shining into the player’s eyes.
Position lights so the numbers, trebles and doubles are clear from the oche. Watch for shadows from the darts themselves, especially if the only light source is above and slightly behind the thrower. If you are using a ring-style or surround-style dartboard light, check that it suits your board, surround and cabinet arrangement before fitting everything together.
For a deeper look at placement, glare and shadow control, see our guide on how to add dartboard lighting without glare or shadows.
Step 6: Plan storage so the room still works as a room
A rented home often has one room doing several jobs: living room, office, guest room, dining space or hobby corner. Darts storage should stop flights, shafts, chalk, cloths and spare stems spreading across shelves and windowsills.
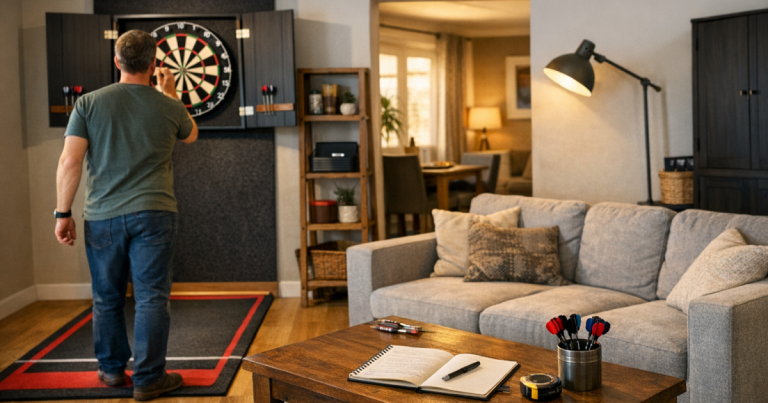
A cabinet can look tidy and protect the wall immediately around the board, but it normally needs a secure fixing and enough side clearance for the doors. If you are considering one, check the wall depth, door swing, scoreboard position and whether the cabinet will clash with a surround or light. Our guide on what to check before buying a dartboard cabinet covers the practical measurements and fit issues in more detail.
If a cabinet is too permanent, use a small tray, drawer organiser or lidded box nearby. Keep sharp darts out of casual reach when not in use, especially in shared homes or family spaces.
Example layouts that work well in rented homes
Living room corner
This works when you have a straight throw lane that does not cross the sofa, doorway or television area. Use a removable mat, a surround and compact storage. The main compromise is that you may need to move a coffee table before playing.
Spare bedroom or home office
This is often the most practical choice because you can leave the board set up without disturbing the main living space. Keep the throwing lane clear of chair wheels, laundry baskets and desk cables. If guests use the room, choose storage that lets you pack darts away neatly.
Garage or outbuilding
A garage can give generous space, but check damp, cold, lighting and floor condition. Bristle boards do not enjoy poor conditions, and a chilly, poorly lit setup quickly becomes a novelty rather than somewhere you practise regularly.
Final checks before you throw
- Confirm the bull height is 1.73 m from the floor.
- Measure the throw line at 2.37 m from the board face.
- Check that the mat or line cannot slip during play.
- Stand at the oche and confirm there is no glare in your eyes.
- Open nearby doors and cupboards to check for clashes.
- Throw a few gentle test visits and listen for vibration through shared walls.
- Make sure stray-dart protection covers the realistic miss area, not just the neat area around the board.
- Store darts safely when the session ends.
Common questions
Can I put a dartboard up without drilling?
Yes, but the setup still needs to be stable. A freestanding stand is usually the cleanest non-drilling option. Avoid hanging a proper board from weak adhesive fixings, as failure can damage the wall and the board.
Will a dartboard surround stop all wall damage?
No. A surround catches many near misses, but wide misses can still hit the wall. New players and narrow rooms benefit from a larger protective panel behind the board area.
Is a dart mat worth using in a rented flat?
Yes, if it stays flat and does not slide. It protects the standing area, gives a consistent throw line and helps stop small marks forming in one repeated foot position.
How can I reduce noise for neighbours?
Use a solid but damped setup, avoid loose doors or rattly panels, and place the board away from shared party walls where possible. Playing at sensible times also helps in flats and terraced homes.
Should I ask the landlord before mounting a board?
If the setup needs wall fixings, written permission is the safest route. Keep the request clear, mention wall protection, and explain how the area will be made good when you leave.
What to remember
Planning a darts setup in a rented home is less about compromise and more about control. Measure the space properly, choose fixings that match your tenancy, protect the wall before damage happens, and keep the room easy to live in when you are not playing.
The strongest rental-friendly setups are the ones that feel permanent during a match but can be removed cleanly at the end of the tenancy. Get that balance right and you can enjoy proper home darts without turning a simple hobby into a repair job.