A dartboard on a shared wall can sound much louder next door than it does in the room. The aim is to reduce dartboard noise at the source, then stop vibration travelling through the wall, floor and fixings. In most UK homes, the biggest gains come from moving the board off the party wall, improving the backing behind it, and changing how the board is mounted.
Structural soundproofing work, such as building an independent stud wall or altering a party wall, should be specified and carried out by a qualified tradesperson or acoustic specialist to comply with UK building standards and property requirements.
The short version
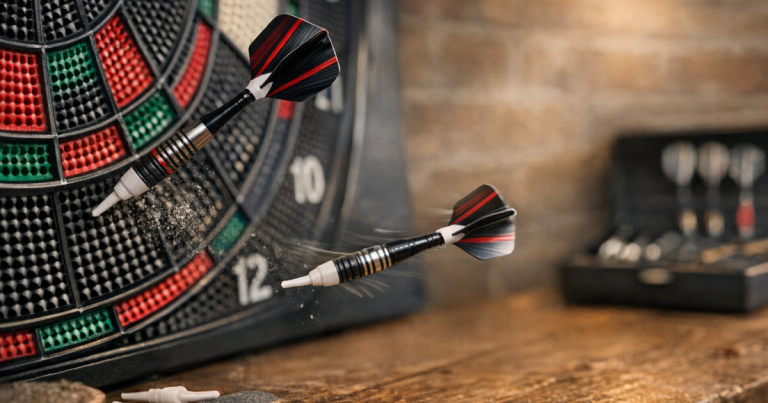
The loudest dartboard noise is usually not the point hitting the sisal. It is the impact vibration passing from the board, through the bracket or cabinet, into the wall and then into the neighbouring room. Treating only the room surface with thin foam rarely fixes that.
- Move the board to an internal wall if the room layout allows it.
- Avoid fixing the board directly to a shared masonry or plasterboard wall.
- Add mass and isolation behind the board, not just soft material on the surface.
- Keep the board tight, level and stable so it does not rattle.
- Use a surround and a mat to reduce secondary knocks from missed darts and footsteps.
- Practise at considerate times, particularly in flats, terraces and semi-detached homes.
Work out where the sound is actually travelling
Before adding materials, do a simple listening test. Throw a few darts while someone stands in the adjoining room, hallway or next-door side if that is possible. Ask them to describe the sound: is it a sharp tick, a dull thud, a buzz, or a cabinet rattle?
A sharp tick is often just the dart entering the board. A dull thud through the wall normally points to structure-borne vibration. A buzzing or double-hit sound suggests a loose bracket, cabinet door, hardboard backing or wall fixing. These need different fixes, so guessing can waste time and money.
Also test the wall with and without the cabinet doors open, and with the board rotated slightly if it has been used for a while. A tired or loose board can sound harsher because the dart impact is less evenly absorbed. If the board itself feels soft, bulged, cracked or excessively dry, it is worth checking the signs of a decent bristle board before blaming the room.
Step 1: move the board away from the shared wall if you can
The most effective fix is often the least technical: do not mount the dartboard on the shared wall. In a terrace, semi-detached house or flat, a party wall can transmit impact surprisingly well, especially at night when background noise is lower.
An internal wall, a solid chimney breast that is not shared, a garage wall, or a freestanding practice frame can all reduce neighbour-side noise. The trade-off is space. You still need a safe throwing lane, the correct board height, and enough clearance behind the oche for people to stand without stepping into furniture.
If you are considering moving the setup into a spare room, measure the throw line, door swing, ceiling height and side clearance before drilling anything. The room-planning method in measuring a spare bedroom for a dartboard setup is a useful next step if the current shared wall is causing tension.
Step 2: separate the board from the wall
If the board must stay on the shared wall, the next job is decoupling. That means reducing the direct hard connection between the board and the wall. A dartboard hung on a metal bracket fixed straight into masonry or plasterboard sends impact vibration straight into the structure.
A better approach is to mount the board onto a heavy backing panel, then isolate that panel from the wall as much as practical. The backing panel adds mass, which helps absorb impact, while isolation reduces vibration transfer. For a home setup, this might mean a thick timber backboard, an acoustic backing layer, and rubber or neoprene washers between fixing points. The board still needs to be secure and level; loose isolation is noisy and unsafe.
Avoid relying on lightweight craft foam or thin decorative panels behind the board. They may reduce tiny surface clicks, but they do very little against the low, dull thud that neighbours usually hear. Mass and secure mounting matter more than softness alone.
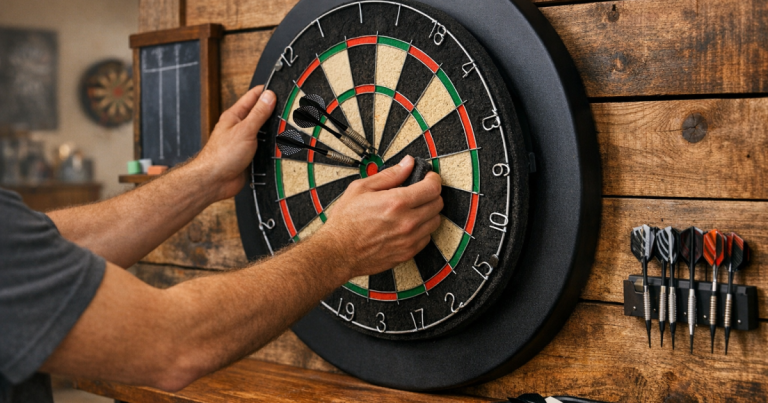
Step 3: stop rattles before adding soundproofing
A rattling cabinet or bracket can make a modest setup sound far worse than it is. Go over the whole mounting area and tighten anything that can move. Check the centre screw, the U-bracket, the board wedges, cabinet hinges, cabinet doors and any picture hooks or shelves nearby.
If the board rocks when you pull darts out, it is not seated properly. Adjust the rear feet or stabilisers so the board sits flat against its backing. Small felt pads can help stop cabinet doors tapping, but do not use soft pads in a way that allows the board itself to bounce.
For cabinet setups, level mounting helps because the board sits more evenly and the doors are less likely to swing or chatter. If your setup uses plasterboard, the fixing method matters as much as the cabinet. The steps in mounting a dart cabinet level on plasterboard will help you avoid loose fixings that amplify impact noise.
Step 4: add mass behind the dartboard
Mass is your friend when dealing with dart impact. A dense backing absorbs and spreads the energy before it reaches the wall. In practical home terms, that usually means a substantial timber panel or a purposely built mounting board rather than a thin sheet pinned to the plaster.
The panel should be larger than the dartboard, ideally large enough to cover the area where missed darts may land. It should sit flat, be fixed securely, and not drum against the wall. If there is an air gap, make sure the panel is not flexing like a speaker cone. A badly fixed board can make the thud worse.
For shared walls, a layered setup often works better than one very thin decorative layer. For example: dartboard, stable backing panel, isolation washers at fixings, and a small amount of separation from the wall. Keep the whole assembly tidy and safe, with no wobble when darts are removed.
Step 5: use a surround for missed darts and edge impacts
Missed darts are louder than many players realise. A dart hitting painted plaster, a cabinet edge or a hard backing board can produce a sharp crack that travels through the room and may be more irritating than normal board impacts.
A foam or rubberised dartboard surround helps absorb missed throws around the board. It is not a complete soundproofing solution, but it reduces the sudden hard knocks that make practice sessions feel noisy. It also protects the wall finish, which is useful in rented homes or rooms with wallpaper.
If you need protection without permanent adhesive or visible marks, use the method in fitting a dartboard surround without wall damage. It pairs well with noise reduction because it tackles both impact and wall preservation.
Step 6: reduce floor and room noise as well
Shared-wall noise is not always coming only from the board. In flats and upstairs rooms, footsteps, shifting stance, dropped darts and chair movement can travel through floors and skirting boards. A quiet board on a noisy floor still causes problems.
A dart mat helps in two ways. It softens foot movement and protects darts when they fall. On hard floors, a mat can reduce the tap of shoes and the clatter of missed darts. On carpet, it gives you a consistent oche position and stops players repeatedly scuffing the same spot.
Make sure the mat lies flat and does not creep during practice. A moving mat can become annoying and unsafe, especially if players adjust their stance between throws. If the room has laminate, vinyl or tiles, consider a mat with a backing suitable for hard floors rather than a lightweight strip that slides.
Step 7: change the practice routine without spoiling the game
You do not need to stop playing properly to be a better neighbour. Small changes to timing and routine often make a noticeable difference. Practising doubles for 20 minutes at a sensible hour is less likely to cause friction than a long late-night scoring session on a shared wall.
- Keep high-volume practice away from early mornings and late evenings.
- Close internal doors to reduce airborne sound through hallways.
- Remove loose ornaments, frames and shelves near the board.
- Pull darts out smoothly rather than twisting and yanking the board.
- Use a stable oche so players are not scraping furniture into position each leg.
If you play matches at home, keep the scoring area quiet too. A tablet, chalkboard or marker board is fine, but repeated tapping on a wall-mounted hard surface can add another source of noise. The aim is to keep the whole playing zone calm, not only the board face.
What not to waste effort on
Some common fixes sound logical but do very little for the kind of impact noise that travels through shared walls.
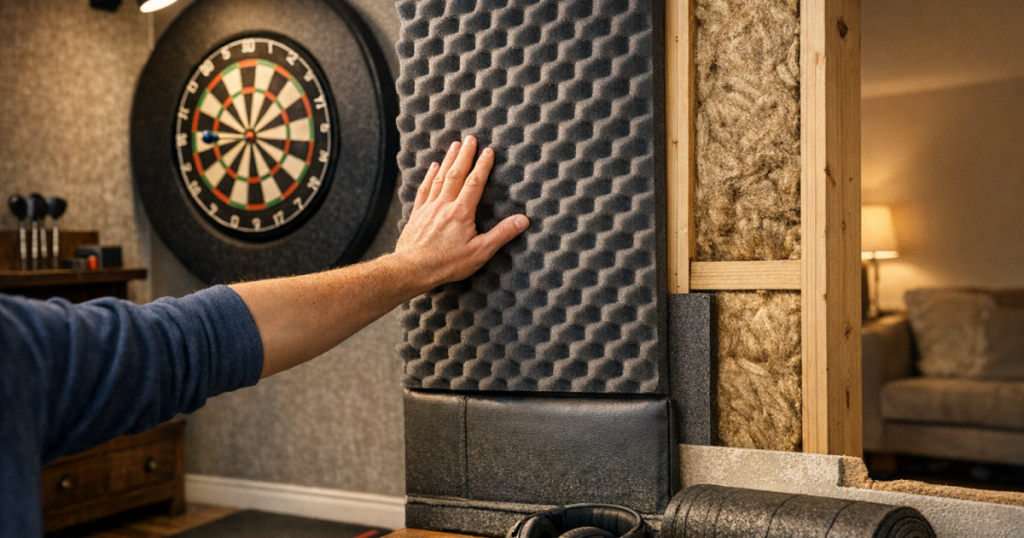
- Thin acoustic foam tiles: Useful for reducing echo in a room, weak against impact thuds through a wall.
- A towel behind the board: It may reduce light tapping, but it can make the board unstable if it compresses unevenly.
- Loose cardboard backing: Often creates a drum effect and can sound worse over time.
- Only treating the neighbour-facing wall: The board bracket and fixings may still carry vibration directly into the structure.
- Turning the television up: It masks noise in your room but does not reduce what travels through the wall.
A sensible order of fixes
Start with the cheapest and least disruptive changes, then move towards more involved work only if needed. A good sequence is: tighten the board, stop cabinet rattles, add a surround, add or improve the backing board, isolate the fixings, use a mat, then consider moving the setup. If all of that still leaves a strong thud next door, the issue is likely structural transmission through the wall or floor.
At that point, an independent frame or a different room is usually more realistic than trying to make a shared wall behave like a studio wall. Serious acoustic upgrades can work, but they take space, weight and proper construction. For most home darts setups, a well-mounted board on a non-shared surface is the cleaner solution.
Helpful questions
Will a dartboard cabinet make the board quieter?
Not automatically. A cabinet can add mass and catch missed darts, but it can also rattle if the doors, hinges or fixings are loose. A solid, well-fitted cabinet is quieter than a flimsy one fixed directly to a shared wall.
Does acoustic foam behind a dartboard work?
Thin foam helps very little with impact noise through a wall. For meaningful improvement, focus on a stable backing board, added mass, isolation at fixing points and removing rattles.
Is it better to mount the board on plasterboard or brick?
Neither is automatically quiet. Brick can transmit a dull thud through a party wall, while plasterboard can rattle or flex if poorly fixed. The quietest result usually comes from secure mounting, mass behind the board and avoiding the shared wall where possible.
Can soft-tip darts solve the problem?
Soft-tip darts can be quieter at impact, but they require a compatible board and change the feel of play. If you want to practise steel-tip darts at home, improving the mounting and wall isolation is usually the more relevant route.
How do I know whether the noise is bad next door?
Test it from the other side of the wall if you can, or ask someone to listen during a short practice session. The key detail is not how loud it sounds in your room, but whether the dull impact is travelling through the shared structure.
What to remember
To reduce dartboard noise through shared walls, deal with vibration before decoration. A quieter setup starts with a stable board, tight fixings, added mass, fewer rattles and as little direct contact with the shared wall as possible. If the room gives you a choice, moving the board to an internal wall will usually beat adding layers to a party wall.
Once the board is quieter, protect the surrounding area and floor so missed darts and foot movement do not create a second noise problem. The best home darts setups are not silent, but they can be controlled enough for regular practice without turning every throw into a neighbour issue.