A dart cabinet can tidy up a home setup brilliantly, but plasterboard makes accuracy and fixing strength more important than usual. The aim is to mount a dart cabinet level without relying on weak plugs, guessed centre lines or a board height that ends up a few millimetres out every time you throw.
The key is to plan from the bullseye position first, then fit the cabinet around it. That keeps the board regulation-friendly, the doors even, and the storage useful rather than just decorative.
Checking for hidden electrical cables, pipes and weak wall sections before drilling is safety-critical; tracing services and any work near electrical wiring should be carried out by a qualified professional so the fixing method complies with UK safety requirements and the wall is not damaged.
The short version
- Mark the bullseye height first, usually 1.73 m from the finished floor for a standard steel-tip setup.
- Check the throw line and clear space before committing to the wall; the cabinet is only useful if the playing area works.
- Fix into timber studs or a secure backing board where possible, rather than relying on basic plastic wall plugs in plasterboard.
- Use a spirit level for both the cabinet body and the dartboard centre line, not just the top edge.
- Hang the board, close the doors, then check that the cabinet looks level from normal standing height as well as by measurement.
Start with the playing position, not the cabinet
The most common mistake is holding the cabinet against the wall, levelling the top, and only then thinking about board height. A dartboard cabinet is centred around the board, so the bullseye position should control everything else.
For a standard steel-tip home setup, mark the bullseye at 1.73 m from the finished floor. Measure from the actual floor surface you will stand on, not from the skirting board or an unfinished subfloor. If you use a dart mat, it usually sits on top of the floor rather than changing the official measurement, but make sure it does not create a trip or stance issue at the oche.
Also measure the throwing distance and side clearance before drilling. A cabinet can make a wall look like the obvious choice, but door swing, cupboards, radiators and sloping ceilings can all interfere with the throwing lane. If the setup is going into a spare room, it is worth checking the full layout against how to measure a spare bedroom for a dartboard setup before you put holes in the wall.
Work out what the plasterboard can actually support
Plasterboard varies a lot. A modern stud wall, dot-and-dab plasterboard over masonry, and older lath-and-plaster style surfaces all behave differently. A dart cabinet also becomes heavier once the board, darts, chalk, marker pens and accessories are inside it.
As a rule, the strongest approach is to fix into timber studs or a properly secured timber backing board. If you can locate studs at the right positions, use them. If the cabinet screw holes do not line up with studs, a painted backing board fixed into studs can spread the load and give you a clean, reliable mounting surface.
Where you must fix directly into hollow plasterboard, use fixings designed for cavity walls, such as metal cavity anchors or toggle fixings that spread behind the board. Do not rely on small plastic expansion plugs designed for solid masonry. They can loosen as the cabinet doors open and close, especially if players keep removing and replacing accessories.
Tools and supplies worth having ready
You do not need a workshop full of kit, but this job is much easier when everything is to hand before the cabinet is on the wall.
- A tape measure with clear metric markings.
- A long spirit level, plus a smaller level for checking inside the cabinet; a Stanley FatMax Torpedo Level is a familiar example of the smaller type.
- A pencil and masking tape for temporary marks.
- A stud finder or multi-detector, such as a Bosch Truvo, used alongside careful visual checks.
- Suitable plasterboard fixings or screws for studs, chosen to match your wall type and cabinet weight.
- A drill with the correct bit size for the fixings you are using.
- A second pair of hands for holding the cabinet while you mark and check alignment.
Before drilling, read the fixing manufacturer’s instructions and check the cabinet instructions. Different cabinets use different hanging plates, keyhole slots or screw-through backs, and the fixing method changes how precisely you need to mark each hole.
Step 1: Mark the bullseye and vertical centre line
Measure 1.73 m up from the finished floor and place a small pencil mark where the bullseye should sit. Put a strip of masking tape on the wall first if you want to avoid marking paint or wallpaper directly.
Next, use a spirit level to draw a light vertical centre line through that mark. This line matters because a cabinet can look level across the top while the dartboard is slightly off-centre inside it. If your cabinet has a centre mark or a pre-drilled board bracket position, this vertical line is what you align it to.
If the cabinet has a separate dartboard bracket, check whether the bracket fixes to the cabinet back or directly to the wall. Many home cabinets hold the board inside the cabinet, but some setups involve mounting a board or bracket through the rear panel. Follow the cabinet’s own layout rather than assuming every model is the same.
Step 2: Find the best fixing points
Hold the cabinet in its intended position with the bullseye mark aligned to the board centre point. Check that the doors can open fully without hitting a shelf, light switch, door frame or sloping ceiling.
Now locate studs if it is a stud wall. Mark their positions lightly. If one or more cabinet holes line up with studs, that is helpful. If none do, decide whether to use a backing board or heavy-duty plasterboard fixings. A backing board is often neater than it sounds: painted to match the wall or the cabinet, it can look intentional and gives you more freedom to position the cabinet correctly.
For dot-and-dab walls, where plasterboard sits in front of masonry with a gap behind, standard hollow-wall assumptions may not apply. You may need fixings designed for that wall build-up so the board is not crushed when screws are tightened.
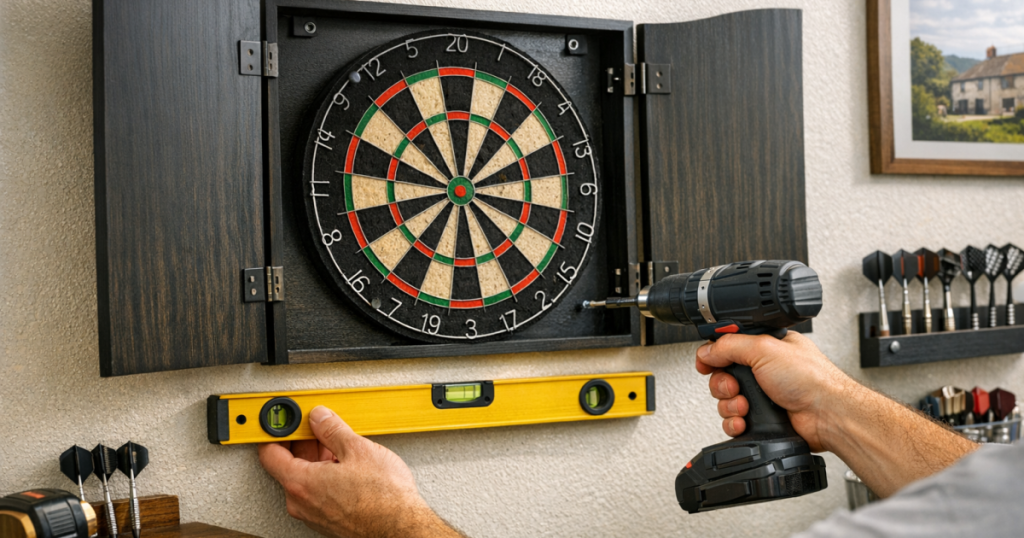
Step 3: Level the cabinet before marking holes
With someone holding the cabinet, place the spirit level across the top edge and then across an internal horizontal edge if available. Cabinet tops are not always perfect reference points, especially on cheaper or older units, so checking more than one surface helps.
Line up the cabinet’s board centre with your bullseye mark and centre line. Then mark the fixing holes through the cabinet or hanging plate. If the cabinet uses keyhole slots, mark the screw positions carefully and remember that the cabinet may drop slightly as it settles onto the screw heads.
Step back and look at the cabinet in context. In UK homes, walls, ceilings and picture rails are not always perfectly square. Trust the spirit level for the cabinet, but also check that the result does not look oddly tilted against nearby features. If a ceiling line is visibly out, a truly level cabinet may look slightly different from the room line; that is normal.
Step 4: Drill cleanly and fit the fixings
Drill pilot holes using the size recommended for your fixings. Keep the drill straight and avoid enlarging the hole by wobbling the bit. Plasterboard loses strength quickly when a hole becomes ragged or oversized.
Insert the fixings as directed. For metal cavity anchors, that usually means tightening them so the rear part grips behind the plasterboard. For toggle fixings, make sure the toggle has opened properly behind the board before you load it. For timber studs, use suitable screws long enough to bite securely into timber after passing through the cabinet or backing board.
Do not overtighten. Crushing plasterboard, distorting the cabinet back or pulling a fixing too hard can reduce strength rather than improve it. The cabinet should sit snugly, not be forced into the wall.
Step 5: Hang the cabinet and check level twice
Offer the cabinet up to the fixings and secure it. Check level across the top, across an internal shelf or rail, and down the side if your level allows. If it is slightly off, loosen and adjust before everything is fully tightened.
Once the cabinet body is level, hang the dartboard and check the bullseye height again. The board surface and bracket can alter the final position if the cabinet design allows any play. Re-measure from the floor to the centre of the bullseye rather than assuming it stayed exactly on your mark.
Close both cabinet doors and check the gaps. Uneven door gaps can indicate the cabinet is twisted, the wall is uneven, or one fixing is tighter than the others. A small amount of variation is common on plasterboard walls, but the board itself should remain centred and level.
Step 6: Protect the finish around the setup
A cabinet helps hide missed darts and stores accessories, but it does not protect everything. Beginners, guests and tired league-night practice sessions can still send darts into the surrounding wall, especially just outside the cabinet doors.
If the wall is decorated, think about a removable protection layer or a wider catching area before play starts. For papered walls, the ideas in protecting wallpaper around a dartboard cleanly are useful alongside a cabinet, because the cabinet edges do not always cover the most vulnerable spots.
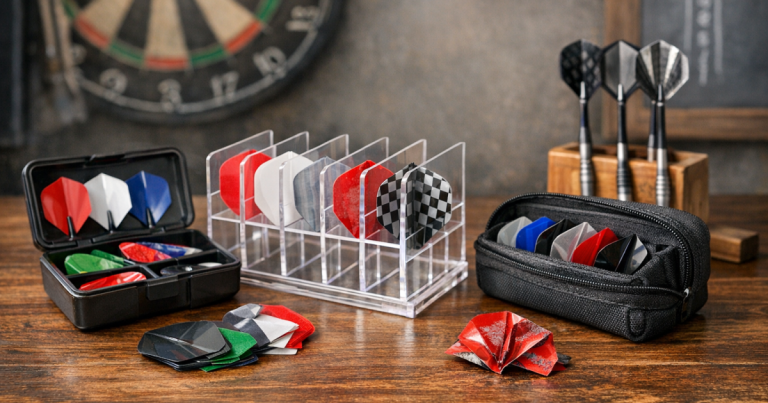
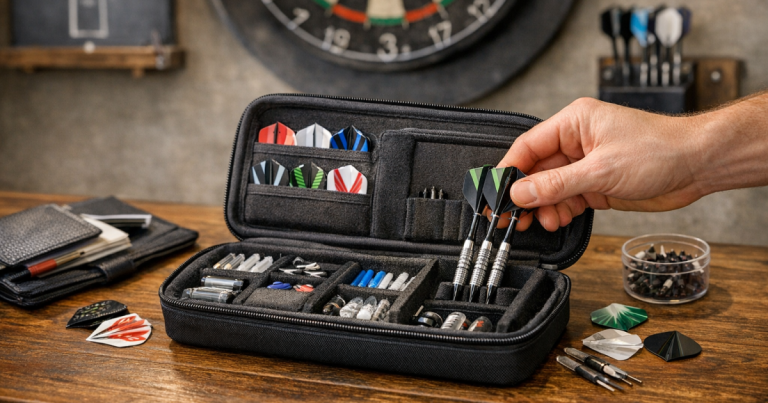
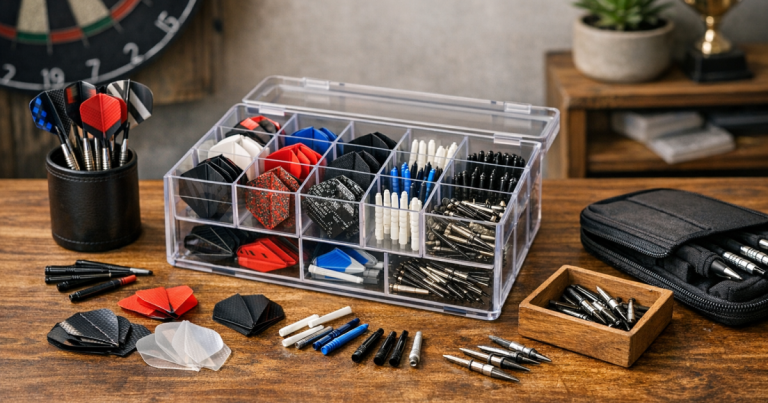
Also decide where darts, spare stems, flights and chalk will live inside the cabinet. Storage only stays tidy if each item has a repeatable place. Avoid overloading door-mounted holders if they make the doors pull down or swing unevenly.
Common mistakes that make cabinets look wonky
- Levelling from the ceiling line: ceilings and coving can be out, especially in older houses. Use a spirit level for the cabinet.
- Ignoring the bullseye height: a neat cabinet is still wrong if the board centre is too high or low.
- Using the wrong wall plugs: masonry plugs in hollow plasterboard can loosen quickly.
- Only using two fixings for a heavy cabinet: use the mounting points intended by the cabinet maker and spread the load properly.
- Fitting it too close to furniture: storage doors need room to open, and players need a clear stance and throw.
- Not accounting for accessories: scoreboards, chalk rails and flight storage can affect how the cabinet doors close.
When a cabinet is not the neatest answer
A cabinet suits players who want enclosed storage, a tidier wall and somewhere to keep darts accessories together. It is not always the best choice for very narrow alcoves, shared walls where noise is a problem, or rooms where door swing gets in the way.
If the wall will not take fixings confidently, or you want a lighter setup, a surround may be easier to live with. The process is different because the surround protects the wall rather than storing kit, so use a no-damage dartboard surround fitting method if that route makes more sense for the room.
FAQ
Can you hang a dart cabinet on plasterboard without studs?
Yes, but only with fixings designed for plasterboard and a cabinet weight they can support. For a heavier cabinet, a backing board fixed into studs is usually a more dependable approach.
Should the cabinet or the dartboard be level?
Both matter, but the dartboard centre and bullseye height come first. Level the cabinet body, then re-check the board once it is hanging inside.
What height should I mark for the bullseye?
For standard steel-tip darts, mark the bullseye at 1.73 m from the finished floor. Measure from the floor surface where you stand, not from skirting or wall features.
Can I use adhesive strips instead of screws?
No. A loaded dart cabinet needs mechanical fixings suitable for the wall. Adhesive strips are not appropriate for supporting a cabinet, board and accessories during regular use.
Why do my cabinet doors look uneven after fitting?
The cabinet may be slightly twisted against an uneven wall, one fixing may be overtightened, or the cabinet may not be level. Loosen, re-check with a spirit level, and tighten evenly.
Final thoughts
The neatest way to mount a dart cabinet level is to treat it as part of the whole throwing area, not just as a box on the wall. Mark the bullseye first, use fixings that suit the plasterboard, check level at more than one point, and leave the cabinet organised enough that it stays useful week after week.
A few extra minutes spent measuring and checking before drilling will usually save you from the two biggest frustrations: a board that does not sit at the right height and a cabinet that slowly works loose every time the doors are used.