A tidy darts area starts with one fixed reference point: the throw line. A permanent darts oche gives every session the same stance, removes arguments over measurement, and helps a home setup feel more like a proper playing space rather than a board squeezed onto a wall.
Drilling into floors, skirting, thresholds or any area where cables, pipes or underfloor heating may be present should be carried out by a qualified tradesperson to comply with UK safety requirements and the relevant building standards. Adhesive or free-standing fixes are usually simpler, but still check the flooring manufacturer’s guidance before attaching anything permanently.
The short version
- Measure the throwing distance from the face of the dartboard, not from the wall.
- For a standard steel-tip setup, the oche is 2.37 m from the board face, with the bullseye 1.73 m from the floor.
- Use a plumb line or laser to mark the point directly below the board face before measuring along the floor.
- Choose the oche style before choosing the mat, because a raised strip, recessed line or mat-integrated marker affects how the mat sits.
- Plan floor protection beyond the standing point, as darts are often dropped, bounced or retrieved around the mat edges.
Start with the board face, not the wall
The most common mistake in a home darts layout is measuring from the wall. The official throwing distance is measured from the face of the dartboard to the front edge of the oche. Because a dartboard has depth, and because brackets, cabinets and backing panels can push it further forward, wall-to-line measurement can easily be out by several centimetres.
Set the board height first. For standard steel-tip darts, the centre of the bullseye should be 1.73 m from the finished floor. Once the board is mounted and sitting as it will be used, drop a plumb line from the board face to the floor. Mark that point lightly with masking tape, then measure 2.37 m straight back to the front edge of the throw line.
If your setup is for soft-tip darts or an electronic board, check the required distance for that board type before fixing anything. Electronic boards are often set at a different throwing distance, and it is worth confirming the manufacturer’s guidance before committing to a fixed line. For more detail on board type and setup differences, see our guide to electronic dartboards, scoring and power.
Choosing the right oche format for a fixed setup
A permanent darts oche does not have to mean a pub-style timber block bolted to the floor. The best format depends on the room, floor finish and how much you want the setup to stand out when darts are not being played.
Raised strip
A raised strip gives the clearest foot reference. You can feel it without looking down, which helps with consistent stance and stops players creeping forward. It is the most “proper” feeling option, but it can be a trip point in a multi-use room and it needs careful fixing so it does not wobble.
Flush or low-profile line
A flush line works well in a smart home bar, games room or garden room where you want a cleaner finish. It might be a metal trim, inlaid strip, durable tape beneath a protective finish, or a neat painted line. The trade-off is that it is easier to step over accidentally, so the line needs strong contrast against the floor.
Mat-based oche
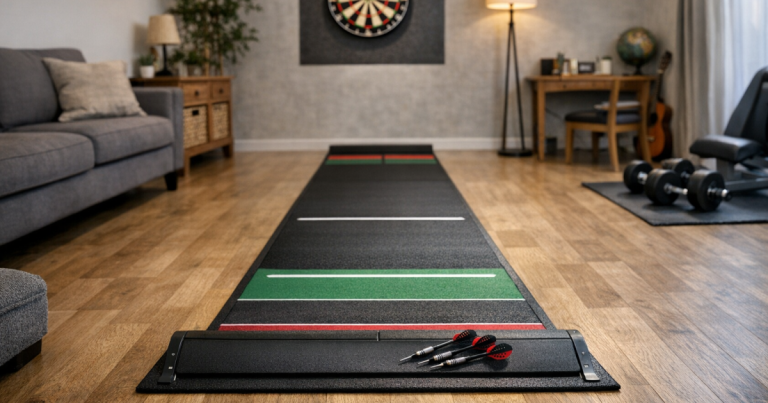
Some players use a dart mat with a built-in throw line and then add a small fixed stop at the front edge. This can be a good compromise if you want repeatable positioning without turning the whole room into a dedicated darts lane. The mat still needs to land in the same place every time, so it may need edge stops, anti-slip underlay or a fixed front reference.
Planning the mat before you fix the line
The mat is not just decoration. It protects flooring, defines the lane, softens dropped darts and gives players a visual route from board to oche. In a permanent setup, the mat should be planned as part of the installation rather than added afterwards.
First, check that the mat length suits the oche position. Some mats include multiple printed throw lines for different formats, while others are designed around one standard distance. If the printed line does not match your measured line from the board face, trust the measurement, not the print.
Second, think about mat width. A narrow runner keeps the setup compact, but players with a wider stance may end up with one foot partly on the floor. A wider mat feels more settled and gives better protection around the throw area, but it can dominate a living room or spare room. In shared spaces, leave enough clear floor either side so people are not stepping over the mat every time they pass.
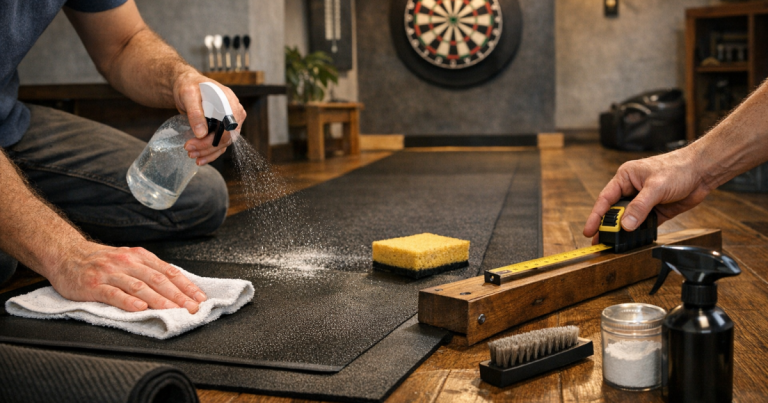
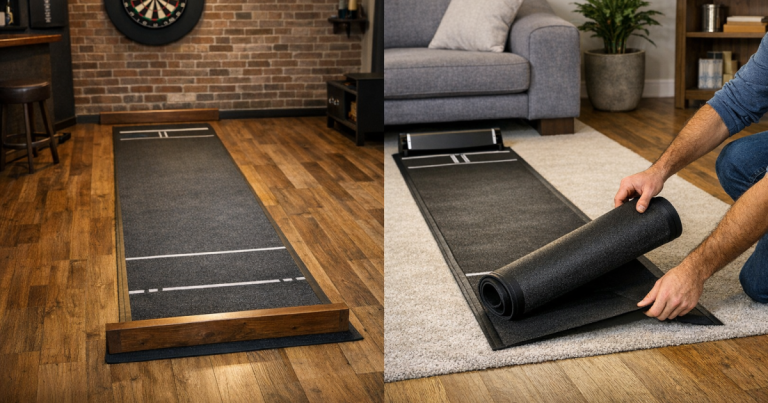
Third, plan how the mat will behave when not in use. Rubber and vinyl mats can curl if stored tightly or left leaning awkwardly, which makes the throw area feel untidy and can create an uneven standing surface. If the room is not fully dedicated to darts, our advice on storing a dart mat without curling is worth reading before you settle on a permanent layout.
Floor types and fixing choices
Different floors call for different approaches. A concrete garage floor, laminate spare room and carpeted garden room all behave differently under a fixed oche.
- Concrete: Stable and suitable for robust fixing, but drilling needs the right plugs, clean holes and confidence that no services are beneath the surface.
- Timber floorboards: Can take fixings, but boards move slightly and may split if fixings are too close to an edge. A low-profile adhesive or a removable strip may be neater.
- Laminate or engineered flooring: Avoid anything that stops a floating floor moving as intended. Adhesive trims can also damage the finish if removed later.
- Carpet: Raised oches can feel less stable unless fixed through to a solid base. A mat may also creep, so anti-slip backing and edge control matter.
- Tiles: They look smart but can crack if drilled badly. A non-drilled option is usually more sensible unless the installation is being handled properly.
For rented homes or temporary spaces, a permanent installation is rarely the right first move. A well-made removable oche can still feel consistent, and it avoids damage disputes when you move out. If that sounds closer to your situation, compare the ideas in our guide to removable darts oche setups for renters and shared spaces.
Space around the oche matters as much as the line
A fixed oche can be perfectly measured and still feel awkward if the player has no comfortable standing area. Leave enough room behind the throw line for a natural stance, a small step back and other players waiting their turn. Try standing at the line with your normal throwing posture before fixing anything. If your rear foot hits furniture or the mat ends exactly under your heel, adjust the room layout before committing.
Also think about retrieval. Players walk from the oche to the board repeatedly, so the route should be clear, well lit and free from rug edges or furniture corners. If darts land on the floor, they are usually near the board or along the walking line, not only at the oche. Protect those areas if you have softwood, laminate or easily marked flooring.
Multi-use rooms need a calmer design
In a dedicated games room, a raised timber oche and full-length mat can look the part. In a living room, office or family space, the same setup may feel intrusive. A lower-profile strip, darker mat and neat board surround often work better because the darts area can fade into the room when not in use.
Garden rooms deserve special thought. They can be excellent for darts, but temperature changes, damp and floor movement can affect mats, adhesives and fixings. Let new flooring settle, keep the board wall dry, and avoid trapping moisture under a heavy mat for long periods. If you are planning the whole space from scratch, our guide on laying out a darts area in a garden room covers the wider room-planning decisions.
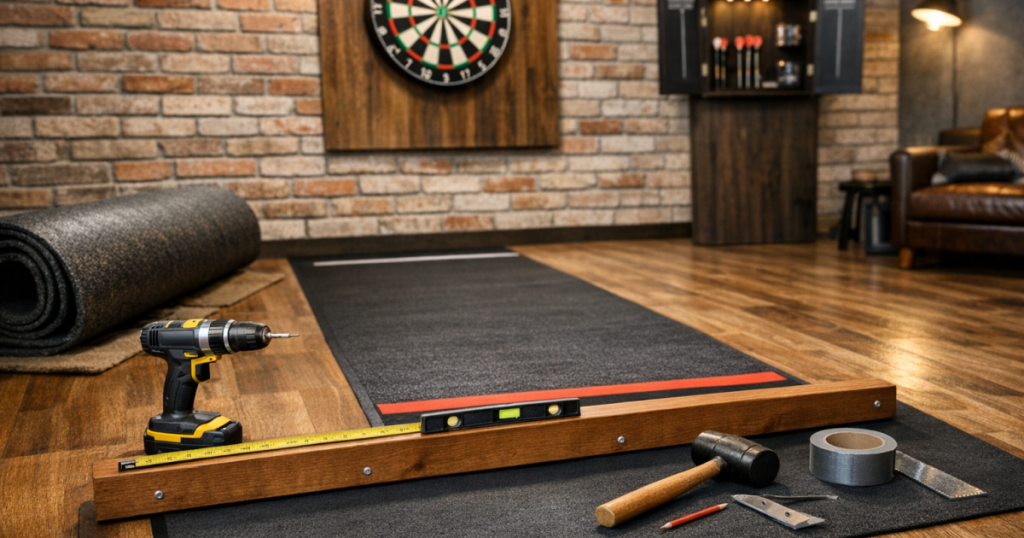
A simple installation sequence
Once the board is mounted and the room layout is confirmed, work slowly and mark everything before you fix anything permanently.
- Confirm the bullseye height from the finished floor.
- Drop a plumb line from the board face and mark the floor point directly below it.
- Measure the throwing distance from that point along the floor to the oche front edge.
- Use masking tape to create a temporary throw line and play a few legs from it.
- Place the mat in its intended position and check that it lies flat, does not ride up against the oche, and gives enough foot room.
- Check door swings, furniture clearance and walking routes.
- Only then fix the oche, line or mat stops using a method suitable for the floor.
That test period is useful. Even ten minutes of throwing can reveal whether the line feels too close to a wall, whether a player’s back foot falls off the mat, or whether the setup blocks the room more than expected.
Things readers ask
Should the mat go under the raised oche or stop before it?
Usually the mat should stop cleanly at the oche or sit neatly behind it, so the front edge of the oche remains the fixed throwing reference. If the mat bunches against the strip, trim the layout rather than forcing it flat.
Can I use tape as a permanent oche?
You can, but it is better treated as a low-profile line than a true raised oche. Use durable floor tape suited to the surface, and expect to replace it when edges lift or dirt builds up.
How wide should the darts mat area be?
It should comfortably cover your stance and the main walking path to the board. If players regularly stand with one foot off the mat, the mat is too narrow for that room.
Do I need a permanent oche for casual home darts?
No. A well-placed mat or removable line is enough for many casual players. A fixed oche makes more sense when you practise regularly and want the throw distance to be identical every time.
Why it matters
A permanent oche is a small detail that changes how a home darts setup feels. It fixes the measurement, sharpens the playing area and makes practice more repeatable. The main thing is to plan it with the mat, floor and room use in mind rather than treating it as a strip added at the end.
Measure from the board face, test the position before fixing, and choose a style that suits the room as well as your throwing routine. Do that, and the oche becomes part of the setup rather than another obstacle on the floor.