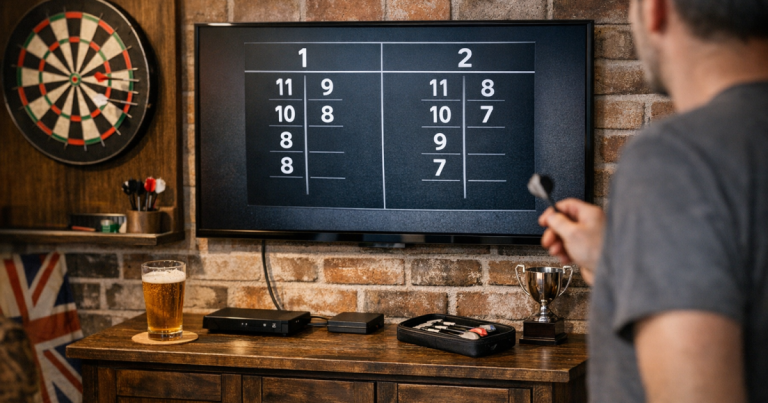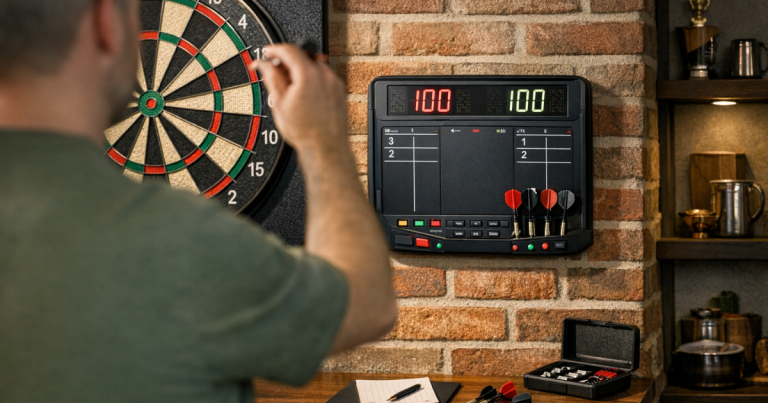
A good scoring area keeps the game moving, but it should not leave you with torn paint, unnecessary screw holes or a board stuck in the wrong place. When you want to mount a darts scoreboard beside a home board, the safest approach is to plan the position first, then choose the least aggressive fixing that still holds securely. The right method depends on the scoreboard weight, wall finish and how often you need to remove it.
For most home setups, a lightweight dry-wipe board, chalkboard or score sheet holder can be fitted cleanly with removable strips, cabinet mounting, a backboard, or a freestanding alternative. The main rule is simple: do not rely on adhesive alone until you have checked the wall surface, the board weight and the throw area.
At a glance
- Best no-hole method: removable picture hanging strips on a clean, smooth painted surface.
- Best for rented rooms: attach the scoreboard to a cabinet door, backboard or freestanding stand rather than the wall itself.
- Best for heavier boards: use a separate backing panel or existing furniture, not weak adhesive on plasterboard paint.
- Avoid: sticking anything to wallpaper, flaky paint, dusty plaster, textured walls or damp surfaces.
- Before fixing: stand at the oche and check that the score is easy to read without stepping into the throw lane.
Step 1: choose the scoring position before choosing the fixing
The usual position is to one side of the dartboard, high enough to read easily and low enough to write on without stretching. For right-handed players, a scoreboard on the left of the board often feels natural because it keeps the writing hand away from the throwing path; left-handed players may prefer the opposite. That said, room shape matters more than convention.
Use a sheet of paper or low-tack masking tape to mock up the scoreboard size. Stand at the oche, look back towards the board, and check whether the score is readable under your normal lighting. Then stand beside the board and make sure you can mark the score without leaning across the board face or stepping into someone’s throwing space. If the room is tight, it is worth checking the wider play area with the same mindset used to check throwing clearance before installing a dartboard.
Step 2: match the fixing to the wall surface
Not every wall finish behaves the same. A fixing that works neatly on modern painted plasterboard can fail quickly on textured wallpaper or old, powdery paint. Before fitting anything, run your hand over the surface and look for dust, bubbling, cracks, damp patches or loose emulsion. If the surface is already weak, the adhesive may hold the scoreboard but still pull the finish away when removed.
Smooth painted plaster or plasterboard
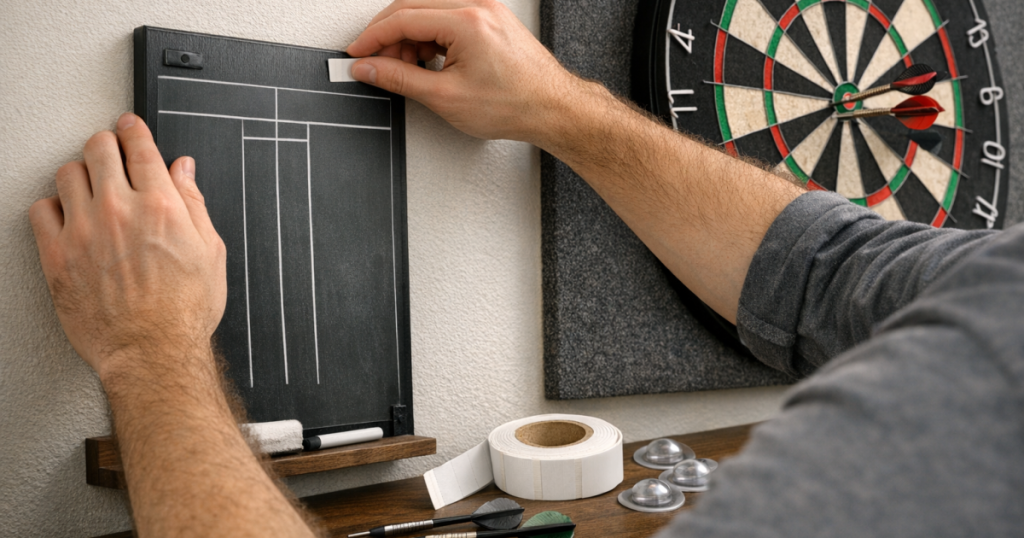
This is usually the easiest wall type for a lightweight scoreboard. Removable hanging strips can work well, provided the surface is clean, dry and sound. Wipe the area with a dry cloth first, then follow the strip maker’s instructions for pressing time and load limit. Do not guess the load: include the weight of the frame, marker tray, chalk holder or clip if the board has one.
Wallpaper and textured surfaces
Avoid adhesive strips on wallpaper if you care about the finish. Even low-mark products can lift paper, leave a shiny patch or pull the print away. Textured paint, woodchip and rough plaster also reduce contact area, so strips may not grip evenly. In these rooms, use a cabinet, a removable stand, a freestanding scorekeeper, or a separate backboard fixed somewhere more forgiving.
Tiles, brick and painted masonry
Hard surfaces can be awkward because some removable strips do not bond well to dusty masonry, grout lines or uneven brick. If the wall is tiled, a small freestanding scoreboard or cabinet-mounted option is often cleaner than trying to stick a board across grout joints. For a garage or outbuilding, also think about temperature swings and condensation, as they can weaken adhesive over time.
Step 3: decide whether the wall needs to be involved at all
The most reliable way to avoid wall marks is to keep the scoreboard off the wall. That sounds obvious, but it is often the neatest answer in a home darts setup where the dartboard area may change over time.
- Use the inside of a cabinet door: A small chalkboard, dry-wipe panel or printed score sheet can sit inside the cabinet, keeping the scoring area tidy and hidden when not in use. If you already have a cabinet, the method in adding a scoreboard inside a dartboard cabinet is usually more wall-friendly than fitting a separate board beside it.
- Use a larger backboard: A timber, cork or felt-covered backboard can carry the scoreboard and absorb stray darts around the board. It also gives you one planned mounting surface rather than several separate wall fixings. For broader setup ideas, see these wall protection options for dartboards.
- Use a clip-on or freestanding score pad: A clipboard, small easel-style board or magnetic-style score sheet holder on nearby furniture can work for casual games where a permanent scoring area is unnecessary.
- Use the side of suitable furniture: A nearby cabinet, shelving unit or stable storage box can hold a small board, provided it does not wobble and is not in the dart path.
Step 4: fit a lightweight board with removable strips
If the wall is suitable and the scoreboard is light, removable strips are the cleanest direct-wall method. Take your time here; most failures come from rushing the surface prep or underestimating the board’s weight.
- Check the stated load: Use enough strips for the whole scoreboard, not just the writing surface. Stay comfortably within the manufacturer’s limit.
- Clean the wall and board back: Dust and polish reduce grip. Use the cleaning method recommended for your strips and allow the surface to dry fully.
- Place strips evenly: Put them near the corners or along the frame so the weight is shared. Avoid placing all the grip in the centre if the board is wide.
- Use a level: A wonky scoreboard is irritating during play and harder to write on neatly.
- Press firmly: Apply even pressure for the recommended time, then let the adhesive settle as instructed before loading it fully.
- Test gently: Do not yank it. Add the marker or chalk, open and close any small tray, and check for movement.
Leave the pull tabs accessible. If you hide them completely behind the board, removal becomes harder and you increase the chance of damaging paint later.
Step 5: make removal part of the plan
A damage-free fitting is only successful if it comes off cleanly. Before installing the scoreboard, picture how you will remove it. Can you reach the tabs? Is there room to pull them slowly downwards? Will a frame lip trap the strip behind the board?
When it is time to remove adhesive strips, do it slowly and in the direction stated by the manufacturer. Most removable strips are designed to stretch rather than peel. Pulling outwards can lift paint; pulling down gradually is usually safer. If the strip resists, stop and reassess rather than forcing it.
Common mistakes that leave marks
- Mounting too close to the board: It may look tidy, but a scoreboard near the scoring segments can attract stray darts and scuffs.
- Ignoring the marker tray: A tiny tray can add leverage. If it is knocked repeatedly, it can loosen adhesive faster than the board itself.
- Using adhesive on poor paint: Fresh, flaky or badly bonded paint may come away even if the strip works correctly.
- Skipping the test position: Once the board is stuck on, small placement errors become annoying very quickly.
- Choosing a board that is too heavy for the finish: A framed chalkboard may look smart, but it needs a stronger plan than a thin score sheet holder.
Helpful questions
Can I put a darts scoreboard on the wall with no screws at all?
Yes, if the scoreboard is light and the wall is smooth, clean and sound. Removable hanging strips are usually the neatest option, but avoid them on wallpaper, rough plaster or weak paint.
Where should the scoreboard sit beside the dartboard?
Place it to the side of the board, visible from the oche and reachable without crossing the throw area. Keep it far enough from the board to reduce stray dart marks.
Is a chalkboard or dry-wipe board better for wall-friendly mounting?
A thin dry-wipe board is often lighter, which helps with removable fixing. Chalkboards can be heavier if framed, so check the weight before choosing adhesive strips.
What should I do in a rented home?
Use cabinet mounting, a freestanding score pad, or a scoreboard fixed to a removable backboard. If using adhesive strips, test the wall finish carefully and keep the removal tabs accessible.
Can I mount the scoreboard inside a dartboard cabinet?
Yes. It is one of the cleanest options because it keeps scoring close to the board without adding separate wall marks. Make sure the writing surface does not stop the cabinet doors closing properly.
What stands out
The best wall-friendly scoreboard setup is the one that is easy to read, easy to update and easy to remove later. For a light board on good painted plaster, removable strips can be perfectly sensible. For wallpaper, weak paint, heavier frames or rented rooms, it is usually smarter to move the scoreboard onto a cabinet, backboard or freestanding surface instead. Plan the sightline first, keep the scoring area out of the dart path, and choose the fixing that protects the room as much as it supports the game.