If you rent, share a room, or simply do not want holes in plasterboard, a dartboard stand without drilling can give you a proper throwing setup with far less commitment. The key is not just getting the board upright; it is making the stand stable, setting the bull at the correct height, and marking an oche you can repeat every session.
A stand will not feel exactly like a board fixed to a solid wall, but a careful setup can be steady enough for regular home practice. Work through the checks below before you start throwing properly.
The short version
- Use a purpose-made dartboard stand rather than a general camera tripod or improvised frame.
- Set the centre of the bullseye at 1.73 m from the floor.
- Measure the oche distance from the face of the dartboard, not from the stand or wall behind it.
- Keep the stand on a flat surface and spread the legs fully before mounting the board.
- Test wobble, lighting, bounce-out space and floor protection before your first full session.
What you need before you start
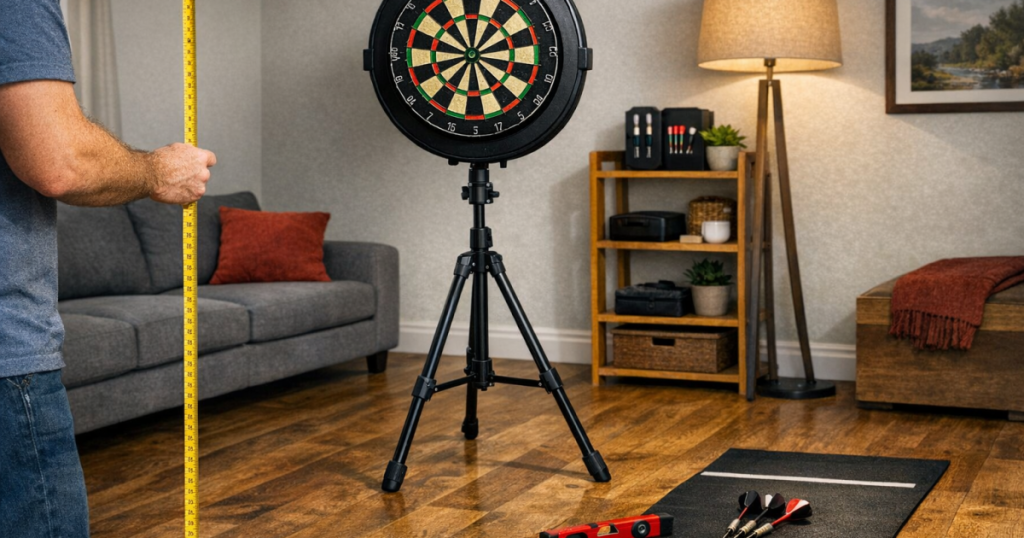
Most no-drill setups use a freestanding tripod-style dartboard stand. Examples include the Winmau Xtreme 2 Dartboard Stand and the Unicorn Dartmate Tri-Stand, both of which are designed around home darts rather than general DIY use. Always check the stand’s own instructions for board fitting, locking points and floor placement, as designs vary.
You will also need a steel-tip dartboard, a tape measure, a spirit level or phone level, a pencil or removable floor marker, and some form of floor protection. If you are using a heavier sisal board such as the Winmau Blade 6 Triple Core, take extra care when lifting it onto the bracket and tightening any securing points.
Step 1: Choose the spot before opening the stand
A portable setup still needs a sensible throwing lane. You need enough clear space for the stand, the player, and anyone walking through the room. Avoid doorways, narrow halls, glass-fronted furniture, radiators, low pendant lights and places where people may cross behind or beside the oche.
Think about the background as well. Even though the board is not drilled into a wall, darts can still miss, bounce out, or drop near the base. A stand placed too close to a painted wall or cupboard can still leave marks. If you are deciding where the board should face, the same room-planning logic applies as it would for a fixed board; our guide to choosing the best wall for a dartboard is a useful companion when judging sightlines, traffic and wall risk.
Step 2: Assemble the stand on a flat surface
Open the legs fully and lock each adjustment point before the dartboard goes on. Do this on the surface you actually plan to play on, because a stand that feels fine on a kitchen floor may behave differently on carpet, laminate or garage concrete.
Check that all feet touch the floor evenly. If one foot rocks, move the stand rather than trying to compensate by tightening the board. Avoid placing the legs half on a rug and half on hard flooring, as the change in level can make the whole setup twist slightly when darts land.
Once the stand is upright, gently press the centre column from the front and sides. It should resist movement without the feet lifting. A tiny amount of vibration after impact is normal with portable stands, but visible rocking before the board is fitted usually means the base needs repositioning.
Step 3: Set the correct board height
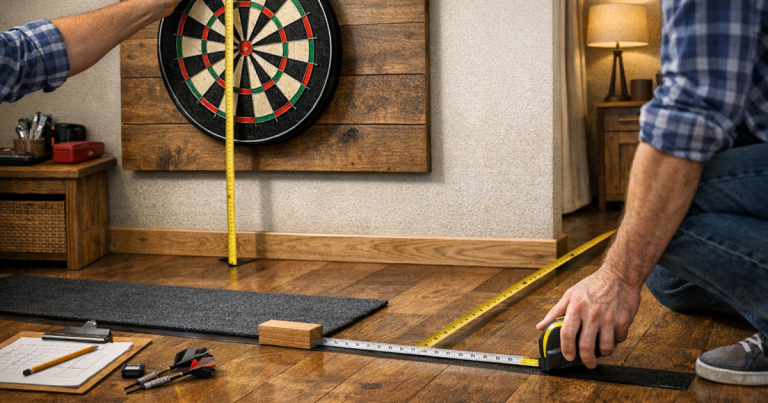
The standard steel-tip dartboard height is 1.73 m from the floor to the centre of the bullseye. With a stand, it is tempting to measure to the top of the board or to the bracket, but the bull is the reference point that matters.
Mount the board loosely first, rotate it so the 20 is at the top, then measure from the floor directly below the bull to the centre of the bull. Adjust the stand height in small steps, lock it, and measure again. If the stand has a centre pole that can slip while you tighten it, hold the board steady while another person checks the tape measure.
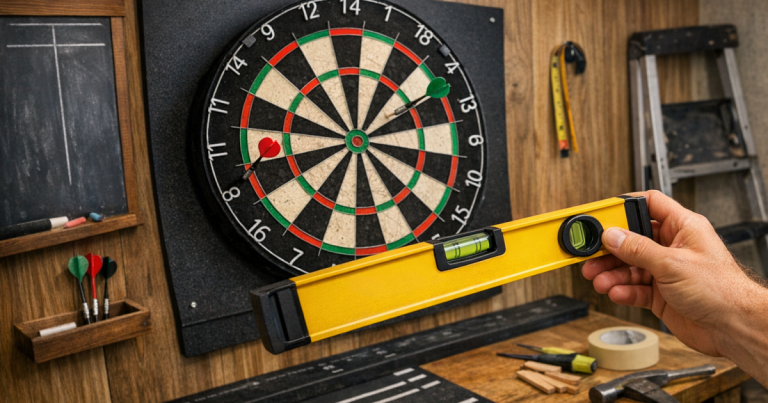
Use a level across the face of the board if it looks slightly tilted. A board that leans left, right or forwards can make practice feel inconsistent, and on a stand it can also exaggerate movement after impact.
Step 4: Measure the oche from the board face
For standard steel-tip darts, the throwing distance is 2.37 m from the face of the dartboard to the front of the oche. The important detail is “from the face”. Do not measure from the stand legs, the centre pole, or the wall behind the board, because the board sits forward from all of those points.
Hold the tape measure against the front face of the board at bull height, drop it straight down in line with the centre, and mark the floor at 2.37 m. If doing this alone is awkward, mark a temporary point below the bull on the floor first, then measure out from there as accurately as possible.
For a repeatable setup, use a darts mat, a removable oche strip, low-tack tape, or a weighted marker that will not damage the surface. If you need a floor-safe method for rented rooms, timber floors or multipurpose spaces, see our guide to marking a temporary oche without damaging flooring.
Step 5: Add stability without creating a trip hazard
Many wobbly stand setups are caused by poor positioning rather than poor equipment. Keep the front leg arrangement clear of your feet, make sure the centre of the board sits over the stand’s intended support area, and avoid leaning bags or boxes against the legs while you play.
If your stand design allows ballast at the base, use it only in the way the manufacturer describes. A small weight placed safely on a base plate is very different from hanging a heavy object from a centre pole, which can pull the stand off balance. The aim is controlled stability, not adding weight wherever it fits.
On carpet, check the stand again after a few throws. The feet can settle into the pile, slightly changing the angle. On laminate or tiles, check that the feet do not creep forwards over time. If they do, a suitable non-slip mat under the stand can help, provided it lies flat and does not create raised edges near the throwing lane.
Step 6: Protect the floor and nearby surfaces
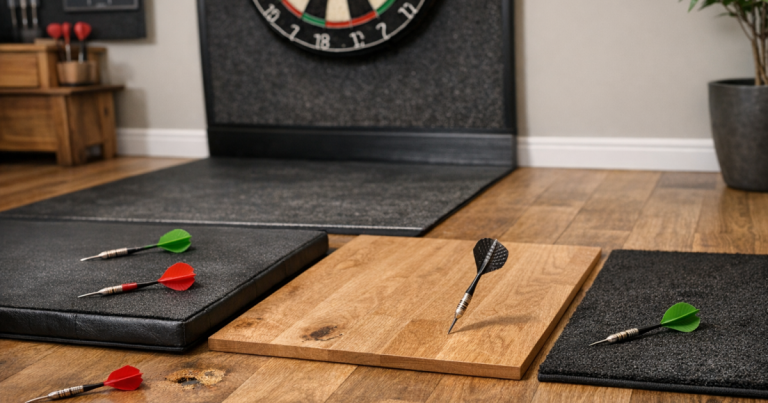
A stand reduces the need to drill, but it does not remove the need for protection. Darts can still fall from the board, bounce off wires, or land short during warm-ups. A proper darts mat or protective floor strip helps prevent point damage, especially on wood-effect laminate, vinyl, or softer flooring.
Wall protection depends on where the stand sits. If the board is close to a wall, a removable surround can help catch near misses, but it needs to fit securely and should not interfere with the stand’s bracket or make the board unstable. Leave enough space behind and around the board so misses are less likely to hit furniture or framed pictures.
For garages and sheds, also think about moisture and temperature changes. Store the board indoors if the space gets damp, and fold the stand away when it is not in use if the area is shared with bikes, tools or storage boxes.
Step 7: Sort the lighting before you judge the setup
Poor lighting can make a good stand feel worse than it is. Shadows across the trebles make aiming harder, and glare from a ceiling light can be distracting if the board is angled slightly differently from a wall-mounted setup.
Aim for even light across the board face without dazzling the thrower. If you are using a clip-on or ring-style light, check that it is compatible with the board and stand arrangement, and that any cable is routed away from the throwing lane and feet. For a more detailed way to think about board light, player position and surrounding shadows, read our guide to dartboard lighting zones.
Step 8: Do a five-minute playing test
Before settling in for a proper match, throw a few controlled visits and watch what the stand does. You are looking for movement after the dart lands, creeping feet, a board that slowly rotates, or a height setting that slips.
- If the board rotates, check the bracket, fixing plate and number ring rather than over-tightening random parts.
- If the whole stand rocks backwards, move it to a flatter surface and check the leg spread.
- If darts are landing low because you feel cramped, re-check the oche and the clear space behind your throwing stance.
- If the board sounds unusually loud, try moving the stand away from hollow furniture, thin partition walls or resonant flooring.
Once the setup passes this short test, mark the stand foot positions with tiny removable tape tabs if the room allows it. That makes it much easier to put everything back in the same place next time.
Common mistakes to avoid
- Measuring from the wrong point: the oche distance is from the board face, not the stand frame.
- Setting the height before the board is fitted: the bull height must be checked with the actual board in place.
- Using the stand too close to a wall: no drilling does not mean no wall marks.
- Ignoring the floor surface: thick carpet, uneven garage floors and slippery laminate all affect stability.
- Leaving the setup in a walkway: a portable stand is easy to move, so do not leave it where someone can clip the legs.
Common questions
Can I use a dartboard stand without drilling in a rented flat?
Yes, provided you have enough clear throwing space and protect nearby walls and flooring. Check your tenancy rules if you plan to leave equipment set up permanently in a shared or furnished room.
Will a dartboard stand wobble when darts hit?
Some vibration is normal because the board is not fixed to a solid wall. Proper leg spread, a flat floor, secure locks and correct board mounting should prevent distracting rocking.
Do I still need a surround with a freestanding board?
Not always, but it is sensible if the stand sits near a wall or furniture. Make sure the surround does not stop the board sitting correctly on the stand bracket.
Can I use soft-tip darts on the same stand?
The stand only holds the board, so the real issue is whether your soft-tip board can be mounted securely and used at the correct height and distance. Check the board’s own mounting instructions.
Is a stand suitable for daily practice?
Yes, many home players use stands regularly, especially where drilling is not an option. For the best feel, keep the setup position consistent and re-check height and oche distance from time to time.
Key takeaways
A no-drill darts setup works best when treated as a proper playing area rather than a temporary compromise. Set the bull at 1.73 m, measure 2.37 m from the board face to the oche, keep the stand stable on a flat surface, and protect the floor and nearby walls before regular play.
The extra few minutes spent checking height, distance, lighting and wobble will make practice feel more natural and reduce the risk of damage in rented rooms, spare bedrooms, garages and shared family spaces.