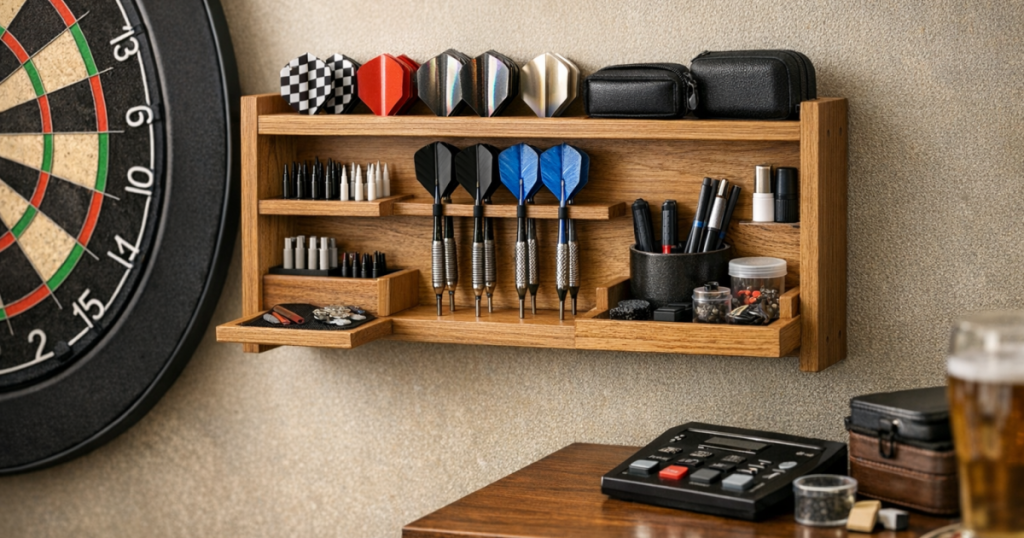
A wall-mounted darts shelf keeps flights, shafts, chalk, markers and spare points off the floor without turning your playing area into a cluttered corner. The trick is to size it around the items you actually use, place it outside the throwing lane, and fix it securely enough that match-night knocks will not bring it down. A simple narrow shelf beside the board or near the scoreboard is usually enough for a tidy home setup.
Drilling into walls where hidden cables, pipes or weak substrates may be present should be handled by a qualified professional to meet UK safety requirements and the fixing manufacturer’s instructions.
The short version
- Put the shelf to the side of the board, not below the treble bed or in the throwing path.
- Keep it shallow so it stores accessories without becoming a shoulder-height obstacle.
- Plan the contents first: darts case, spare stems, flights, marker pens, cloth, checkout card and small tools.
- Use wall fixings matched to your wall type, not just whatever screws are in the drawer.
- Avoid storing exposed steel-tip darts loosely; use a case, tube or closed tray, especially in shared family spaces.
Step 1: Decide what the shelf actually needs to hold
Start with the accessories, not the timber. Empty your current darts case, drawer or windowsill and group items by use. Most home players only need space for a darts case, a few sets of flights and shafts, a dry-wipe marker, a cloth, a checkout card and perhaps a small point sharpener or multi-tool.
If you regularly host matches, allow a little extra room for guest darts, spare markers and a small pot for broken stems. If your setup is mainly for solo practice, a compact shelf with one shallow lipped tray may be better than a larger shelf that invites clutter.
A useful starting size is around 500–700 mm wide and 100–150 mm deep. That is generally enough for small accessories without sticking too far into the room. Treat those measurements as a planning range rather than a rule: a narrow alcove, garage wall or cabinet side may call for something smaller.
Step 2: Choose a safe, useful position
The best position is usually to the left or right of the board, within easy reach but away from the line of throw. Avoid placing the shelf directly under the board unless it is low and well clear of falling darts, because bounce-outs and dropped darts can chip items or land awkwardly on stored kit.
Before marking the wall, stand at the oche and do a few slow practice movements without throwing. Check that your elbow, shoulder and follow-through do not come anywhere near the proposed shelf position. If your darts area is tight, it is worth taking a moment to measure your oche space properly before adding storage that could make the lane feel cramped.
Height matters too. Around chest height is convenient for adults, but it may put sharp darts within easy reach of children. In a family space, place the shelf higher and use closed cases or boxes rather than open cups or loose trays.
Step 3: Pick a shelf style that suits the darts area
You do not need a complicated build. A clean, narrow timber shelf with two small brackets will suit most home boards. If you want a tidier look, a boxed shelf with a front lip stops flights and markers rolling off. For a cabinet-style setup, a small side shelf can sit outside the cabinet doors so you can reach accessories without opening everything up between legs.
Simple flat shelf
This is the quickest option: one board, two or three brackets, and suitable wall fixings. It works well for cases, score pens and small boxes. Add a shallow front lip if the shelf is near a doorway or in a busy room.
Shallow tray shelf
A tray-style shelf has raised sides, usually made from thin timber strips. It is better for flights, stems and loose accessories because small items do not slide off when someone brushes past.
Peg-and-shelf combination
A small shelf with a few hooks underneath can hold a checkout card, lanyard, cloth or soft pouch. Keep hooks away from head height and do not use them for exposed darts unless the points are fully protected.
Step 4: Gather tools and materials
For a basic shelf, you will usually need a shelf board, brackets, screws, wall plugs matched to the wall type, a tape measure, pencil, spirit level, drill, appropriate drill bit and a detector for hidden services. A tape measure such as the Stanley FatMax Tape Measure is handy for marking consistent heights, while a detector such as the Bosch Truvo can help check the drilling area before you make holes. Always follow the product instructions and do not rely on a detector as a substitute for proper judgement around cables and pipes.
For fixings, think about the wall rather than the shelf. Solid brick, block, plasterboard, timber studs and dot-and-dab walls all behave differently. The correct fixing should suit the wall material, bracket holes and expected load. If the shelf will only carry small accessories it does not need to be overbuilt, but it still needs to resist being knocked, leaned on or tugged.
Step 5: Mark the position carefully
Hold the shelf board or a cardboard template against the wall and mark the top edge lightly in pencil. Use a spirit level rather than judging by the skirting board or ceiling, as older UK homes are rarely perfectly square. Then mark the bracket positions, keeping them evenly spaced and far enough from the ends of the shelf to support the board properly.
Before drilling, check the area for hidden services. Avoid drilling vertically above or below sockets, switches, radiators and obvious pipe routes. If the wall is part of a fitted cabinet, media wall or recently altered room, be extra cautious because cable and pipe routes may not be obvious.
Step 6: Fit the brackets and shelf
Drill the holes to suit the fixings you are using, keeping the drill straight and steady. Insert the plugs or specialist fixings, then screw the brackets in place loosely at first. Check level again before tightening everything fully.
Place the shelf board on the brackets and mark the underside for screws if the brackets require it. Remove the board, make small pilot holes where appropriate, then screw the shelf down. This helps stop the board sliding if someone knocks it while collecting darts or updating the score.
Once fitted, give the shelf a firm but sensible hand check. It should not wobble, twist or pull away from the wall. Do not test it by hanging from it or loading it with heavy unrelated items; the aim is secure accessory storage, not a general-purpose utility shelf.
Step 7: Add small storage zones
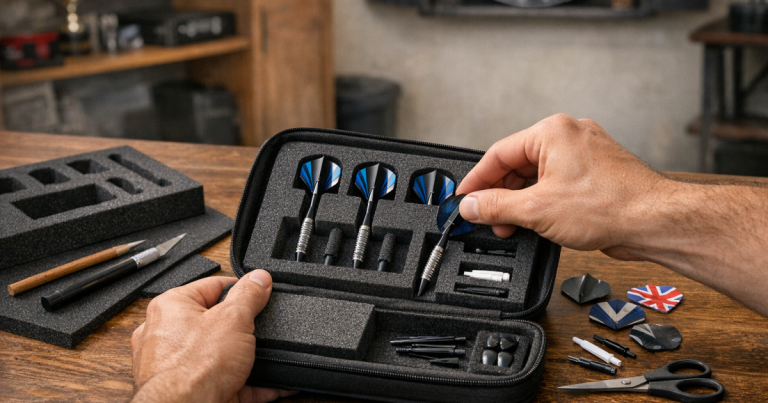
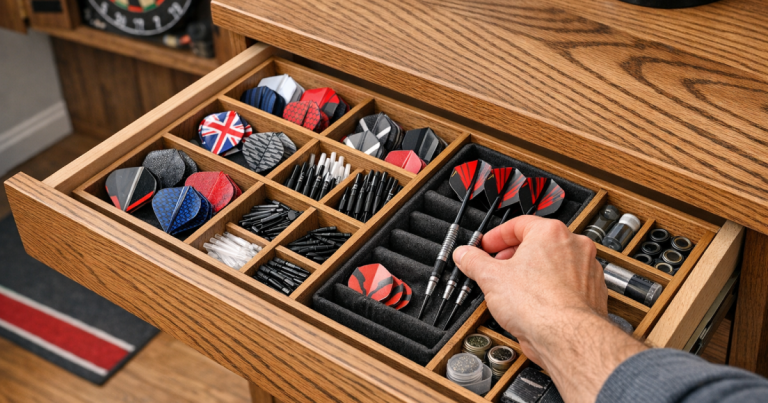
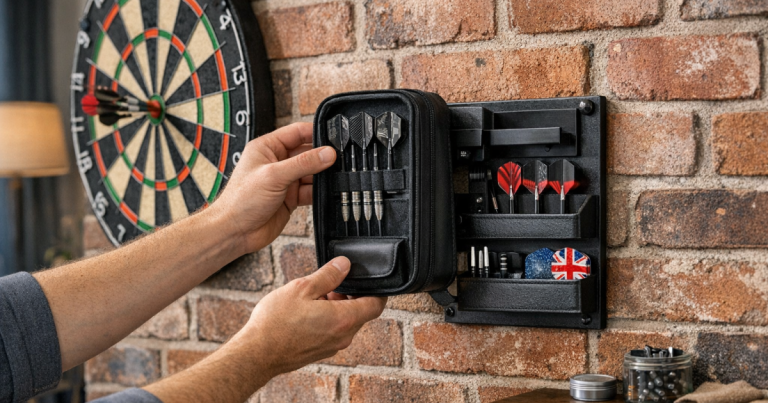
The shelf will stay useful for longer if every item has a place. A small pot can hold markers, but spare flights and shafts are better in small lidded boxes or dividers so they do not get bent. Keep your main darts in a proper case to protect the points, barrels and flights between sessions.
A compact shelf layout might use one side for the darts case, the centre for scoring items and the other side for spares. If you use a dry-wipe scoreboard, keep the cloth and marker together so you are not hunting around mid-game. For scoreboard upkeep, the tips in stopping a dry-wipe darts scoreboard smudging pair neatly with a shelf that gives pens and cloths a consistent home.
Try not to turn the shelf into a dumping ground for keys, mugs, screws or non-darts clutter. The smaller and more specific the shelf is, the better it works.
Step 8: Protect the wall and the people using the room
A shelf solves accessory clutter, but it does not protect the wall from stray darts. If your board area is already taking marks, deal with that separately rather than expecting the shelf to catch misses. A surround or larger backing panel is a better answer for wall protection; the guide on how to fit a dartboard surround explains the practical setup checks.
Safety is also part of good storage. Do not leave steel-tip darts loose on an open shelf in a room used by children or pets. Store darts point-down in a secure case, or place the whole case somewhere out of reach when the board is not in use. For a dedicated safety routine, read the advice on how to store darts safely away from children.
Neat finishing touches
- Add a small front lip to stop flights, stems and markers rolling forward.
- Use a wipe-clean finish if the shelf is near chalk, marker pens or dusty garage walls.
- Round off sharp timber corners, especially if the shelf sits near a walkway.
- Label small boxes for flights, shafts and points so spares do not get mixed together.
- Leave enough clear wall around the board so the shelf looks intentional, not squeezed in.
Questions people ask
How deep should a darts accessory shelf be?
For most home setups, 100–150 mm is deep enough for cases, markers and small spare boxes. A deeper shelf can feel bulky and is more likely to be knocked in a narrow darts area.
Can I mount the shelf under the dartboard?
You can, but it is rarely the best spot. It may sit in the path of bounce-outs or dropped darts. Side placement is usually cleaner, safer and easier to reach.
Should darts be displayed loose on the shelf?
Loose steel-tip darts are not ideal. A case, point protector or closed tray is safer and helps prevent bent flights, damaged points and accidental contact.
What if my wall is plasterboard?
Use fixings designed for plasterboard and keep the load light. If possible, fix into timber studs. Do not use basic masonry plugs in hollow plasterboard.
Do I need a cabinet instead of a shelf?
Not always. A shelf is better for quick access and small rooms, while a cabinet gives a more enclosed look and can hide accessories when the board is not in use.
The big picture
A good darts accessory shelf is small, secure and placed with the throw in mind. Plan the contents first, keep the shelf out of the playing lane, match the fixings to the wall and store sharp darts properly. Done well, it becomes one of those quiet upgrades that makes the whole darts corner feel more organised without taking attention away from the board.