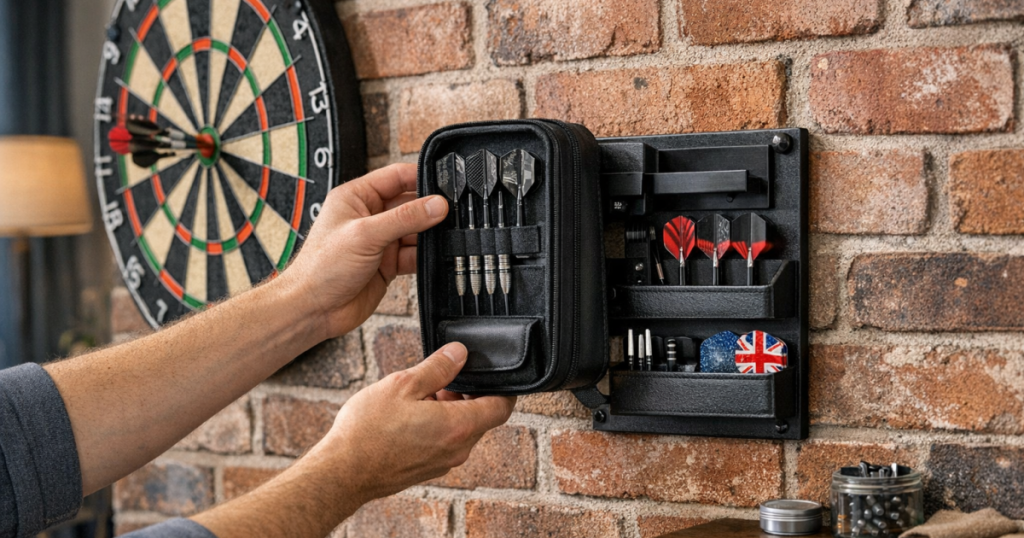
A wall-mounted dart case holder keeps your match darts, spare flights and small tools close to the board without cluttering the cabinet or oche area. The trick is placing it near enough to be useful, but not so close that it catches stray darts, blocks a cabinet door or annoys anyone sharing the room.
Drilling into walls where hidden wiring, pipework or uncertain structure may be present should be checked and carried out by a qualified tradesperson to meet UK safety requirements and avoid damaging services.
The short version
- Mount case storage to the side of the board rather than directly below it, so bounce-outs and dropped darts do not land on your kit.
- Keep it outside the main throwing lane and away from the area immediately around the doubles ring.
- Check cabinet door swing, scoreboard position, lighting and nearby furniture before marking the wall.
- Use fixings that suit the wall type, not just the screws supplied with the holder.
- Leave enough space for the case to open fully without knocking flights, shafts or spare points onto the floor.
Step 1: work out what the holder needs to carry
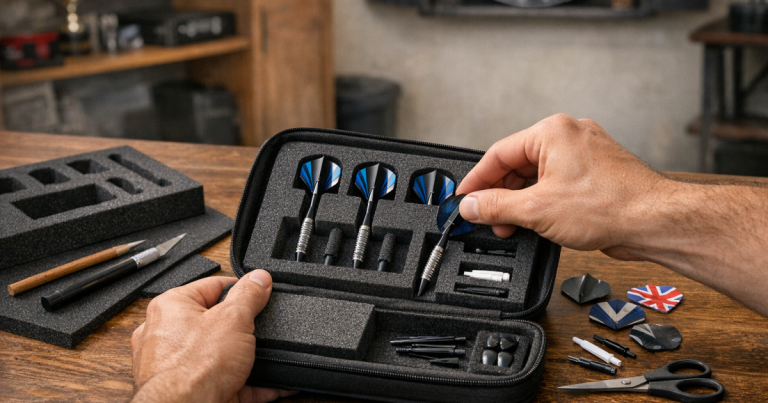
Start with the actual kit you use on match nights, not an idealised version of your setup. A slim soft case, a hard-shell case, a couple of spare flight packs and a checkout card all create different storage demands. If your case opens like a book, it needs more side clearance than a simple sleeve. If you keep spare stems, wax, rings or a point protector in the case, it may also sit deeper than expected.
Lay your case on a table and open it fully. Measure the rough width and depth in centimetres, then add a little working room so you are not fighting the wall every time you swap flights. You do not need workshop-level precision, but you do need to know whether you are mounting a small hook, a narrow shelf, a pouch rail or a deeper bracket.
Before you mount a dart case holder, empty the case and check its normal loaded weight. Darts, tools and spare accessories are not usually heavy, but they can pull on a weak adhesive strip or a small screw over time. The more often you remove the case, the more important the fixing becomes, because repeated tugging is harder on the wall than static storage.
Step 2: choose the right side of the board
For most home setups, the better position is to the side of the board at shoulder to chest height. This keeps the case close enough for quick access, while reducing the chance of it being struck by a wayward dart. Avoid placing it directly underneath the board, where bounce-outs, dropped darts and chalk dust are more likely to land.
Right-handed players often prefer storage on the left side of the board because it keeps the throwing hand free when reaching across. Left-handed players may prefer the opposite. That is only a starting point, though. The best side is the one that works with the room, the cabinet doors and the route people naturally take around the oche.
If the board is in a lounge, dining room or spare room, think about the setup when darts are not being played. A neat holder should make the area calmer, not turn it into a permanent obstacle. For rooms that have to stay sociable, the layout ideas in planning a darts setup in a shared living room are worth checking before you commit to holes in the wall.
Step 3: set a useful height
The holder should be easy to reach without leaning over the oche or stepping into the throwing lane. In many home rooms, a comfortable position is roughly between waist and shoulder height for the main player, but the exact height depends on your wall space and whether you use a cabinet, surround or lighting ring.
Stand where you normally retrieve darts and mimic your usual between-visit routine. Where does your spare flight pack naturally go? Where would you place your darts while checking a score or taking a short break? Mark that zone lightly with masking tape rather than pencil at first.
Try not to mount storage at children’s eye level in shared family rooms, and avoid positions where pets, sleeves or passing hips can knock the case. A holder that sits just outside the natural traffic path will be used more often and bumped far less.
Step 4: check board, cabinet and lighting clearance
A dartboard area often has more moving parts than it first appears. Cabinet doors may open wider than expected. A surround can protrude from the wall. A lighting system may create a circular frame around the board. A scorer, tablet shelf or whiteboard may already occupy the best side position.
Open both cabinet doors fully and hold the case where you plan to fit it. If the door touches the case, move the holder outwards. It is better to walk one extra step than to have a cabinet door scrape your darts every time it opens.
Also check shadows. A bulky case mounted too close to the board can interfere with light from an overhead fitting or side lamp. It may not ruin visibility, but it can add one more distraction around the trebles. If you already have a dedicated lighting layout, give the light priority and fit storage outside its working area.
Step 5: identify the wall type before fixing anything
The fixing method depends on the wall. Solid masonry, plasterboard and timber-backed sections behave differently, and a screw that feels secure in one surface may be poor in another. Do not assume the fixings in the packet are right for your wall.
- Solid brick or block: use appropriate wall plugs and screws, with the correct drill bit for the plug size.
- Plasterboard: use plasterboard-specific fixings, ideally positioned where they can support repeated removal and replacement of the case.
- Timber batten or stud: a screw into timber can be strong, provided the holder lines up with the timber and the screw length is suitable.
- Rented or temporary rooms: avoid permanent holes unless you have permission. Light-duty removable solutions may suit very small accessories, but always follow the manufacturer’s surface and weight instructions.
If you use adhesive strips for a very light pouch or accessory rail, clean the surface first and let the adhesive bond as instructed. Do not hang a loaded hard case immediately if the adhesive instructions call for a waiting period. Adhesive mounting is convenient, but it is not a shortcut for heavier or frequently handled kit.
Step 6: mark the position properly
Once you have chosen the side and height, use masking tape to create a visible outline. Hold the case or holder in place and check it from the oche, from the board and from the doorway. This quick visual check catches awkward placements before the drill comes out.
Use a small spirit level for shelves, rails and brackets. A slightly crooked holder might still work, but it will look untidy beside a round board and can make small items slide to one side. If the holder has two screw holes, mark both, remove the holder, then re-check the spacing against the actual bracket before drilling.
Keep the holder a sensible distance from the board surround. A gap of around 10–20 cm from the outer edge of a cabinet or surround often gives the area room to breathe, but the right gap depends on your furniture and throwing habits. If someone in the house tends to drift sideways while retrieving darts, allow more space rather than less.
Step 7: fit it without over-tightening
Drill pilot holes only where suitable for the fixing type, insert the plugs or fixings, then attach the holder loosely at first. Check the level again before tightening. Over-tightening can distort some small brackets, crush plasterboard edges or make a plastic holder sit unevenly.
After tightening, place the empty case in the holder and open it as you would during a game. If it fouls the cabinet door, rubs the wall or tips forward, stop and correct the position before loading it with darts and accessories.
Then load the case gradually. Add darts, spare flights, shafts and small tools, pausing to check whether the holder flexes or pulls away from the wall. If anything shifts, the issue is usually the fixing or wall surface rather than the case itself.
Step 8: make the storage work with your routine
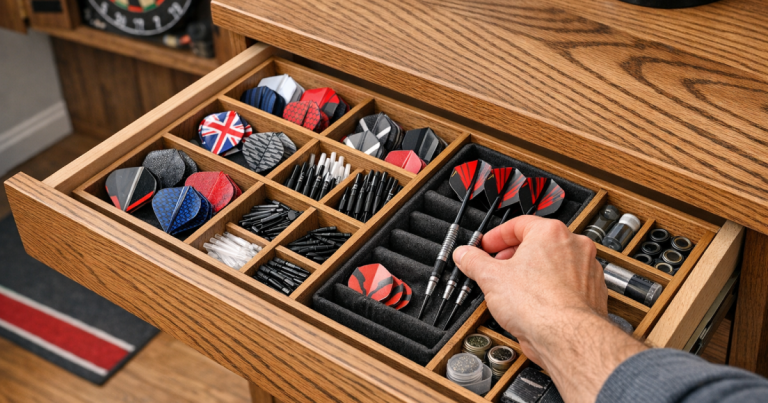
The neatest dartboard setups are not always the ones with the most storage. They are the ones where every item has an obvious place. Keep your match darts in the case, but consider whether spare flights, stems and tools should live there too, or whether they belong in a separate drawer or cabinet compartment.
If your case is already crammed with spares, it may become awkward to use once wall-mounted. The notes on what makes a dart case worth buying for spares can help you decide what should stay in the case and what is better stored elsewhere.
Try a simple match-night rhythm: take the case down, set out darts, close the case, then put it back in the holder. After the game, wipe any chalk or dust from the surrounding area and return loose accessories to the same pockets. That habit stops the board area becoming a dumping ground for broken flights and half-used shaft sets.
Examples of good positions
Beside a cabinet
Mount the holder outside the cabinet door swing, not on the moving door unless the holder and case are very light and the door is strong enough for regular use. A fixed position on the wall usually feels sturdier and prevents the case rattling when the cabinet opens.
Beside a surround-only setup
With no cabinet, leave a clear visual frame around the surround. Mount storage a little wider than the surround edge so the board remains the focus. This also keeps the holder away from the most common stray-dart zone.
Near a scoring area
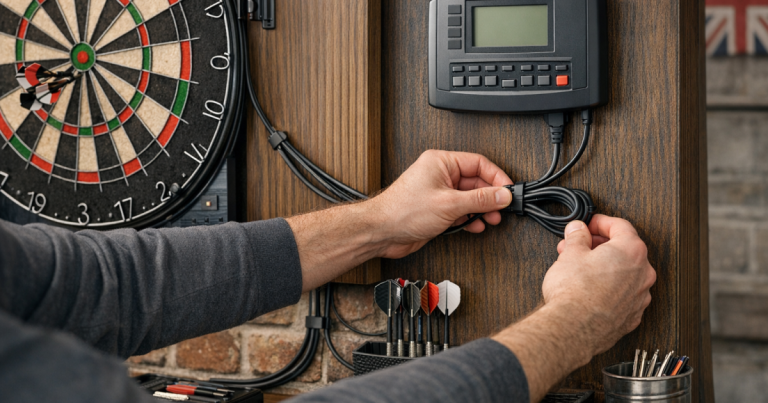
If you keep a scorer, tablet shelf or whiteboard beside the board, position the holder below or to the outside of the scoring area. Do not make players reach across cables, markers or a plugged-in device to grab darts. Where scorer leads are already creeping across the wall, the cable routing ideas in tidying scorer cables around a dartboard can help keep the whole area cleaner.
In a multipurpose room
When the darts setup shares space with a sofa, dining table or desk, mount the holder where it is visible to players but not obvious from every seat in the room. A side wall, narrow alcove or the outer edge of a cabinet zone often works better than the most central position.
Final checks before you call it done
- Can the case be removed with one hand without pulling the holder loose?
- Do cabinet doors, lighting and scoreboards still work normally?
- Is the holder outside the likely path of bounce-outs and missed darts?
- Can the case open fully without spilling flights or tools?
- Does the wall fixing feel secure after several normal removals?
- Is the area still tidy when the board is not in use?
If the answer to any of these is no, adjust the position before you get used to it. Moving a holder a few centimetres at the start is much easier than living with a bad position for months.
Things readers ask
Should the holder go on the same side as my throwing hand?
Not always. Put it on the side that keeps your movement natural and avoids cabinet doors, scoreboards and walkways. Comfort matters more than handedness.
Can I mount a holder on a dartboard cabinet?
You can in some cases, but the door or side panel must be strong enough and the added weight must not make the cabinet sag. A fixed wall position is usually cleaner and more stable.
Is adhesive mounting good enough?
Adhesive can work for very light accessories on suitable smooth surfaces, but it is not ideal for a loaded case that is removed often. Always follow the adhesive maker’s surface and weight guidance.
How far from the board should it sit?
Keep it outside the surround or cabinet edge, with enough clearance for doors, lighting and your hand movement. Around 10–20 cm from the outer edge is a useful starting point, then adjust for the room.
What should I store in the holder?
Store the darts and small spares you actually use during a session. Bulkier spare sets, packaging and rarely used tools are usually better kept in a drawer or larger storage box.
Main points
A good wall-mounted storage spot should make your darts area easier to use, not busier. Place the holder to the side, keep it clear of cabinet doors and lighting, match the fixings to the wall, and test the routine before loading it with kit.
The best position is the one you barely notice during play: close enough for quick access, tidy enough for a shared room, and secure enough to handle regular use without wobbling loose.