A shared room can work surprisingly well for darts if the setup disappears neatly when play is over. The aim is to create a foldaway darts area that feels solid during a leg, but does not leave the room looking like a permanent games room afterwards.
The main jobs are simple: keep the board at regulation height, protect the wall and floor, mark the oche accurately, and give every loose item a home. Get those right and a spare room, dining room, garage corner or wide hallway can become a usable darts spot without taking over the household.
The short version
- Choose a wall with enough straight throwing space and no regular foot traffic behind the oche.
- Mount the board on a secure bracket, cabinet or removable panel that keeps the bull at 1.73 m from the floor.
- Use a roll-out darts mat, taped throw line or removable oche marker so the floor can return to normal afterwards.
- Add temporary wall protection, such as a surround or hinged backing board, to stop stray darts damaging paintwork.
- Store darts, chalk, spare flights and tools in one box or drawer so the setup takes minutes, not half an hour, to rebuild.
Step 1: pick the least awkward wall
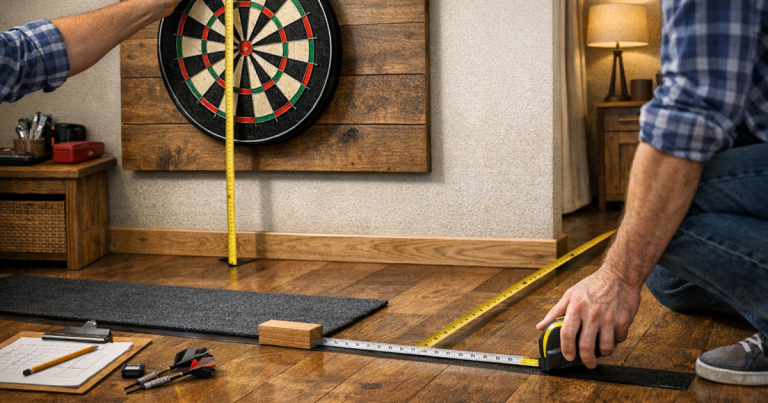
Start by standing where the thrower will stand, not where the board will go. For a steel-tip bristle board, the oche is measured 2.37 m from the face of the board, not from the skirting board or wall. You also need standing room behind the throw line so players can step back without bumping into furniture.
In a shared room, the best wall is rarely the most visually obvious one. Look for a spot where chairs, doors, radiators and storage units will not need moving every time. Avoid walls directly beside glazing, televisions, mirrors or delicate shelving. If the only possible wall is close to a doorway, make sure play can stop clearly when somebody needs to pass.
Ceiling shape matters too. Loft rooms and converted spaces can work, but the throwing action needs clear headroom at the oche and near the follow-through. If your room has awkward angles, the measuring approach in planning a dartboard setup under sloped ceilings is worth checking before you drill anything.
Step 2: decide what actually folds away
A foldaway setup does not always mean the dartboard itself comes off the wall. In many homes, it is easier to leave the board securely mounted and make everything around it removable. Think of the setup in three zones:
- The board zone: the dartboard, bracket, cabinet, surround or backing panel.
- The throwing zone: the oche marker, mat and clear floor route.
- The storage zone: darts, flights, chalk, scorer, spare points and small tools.
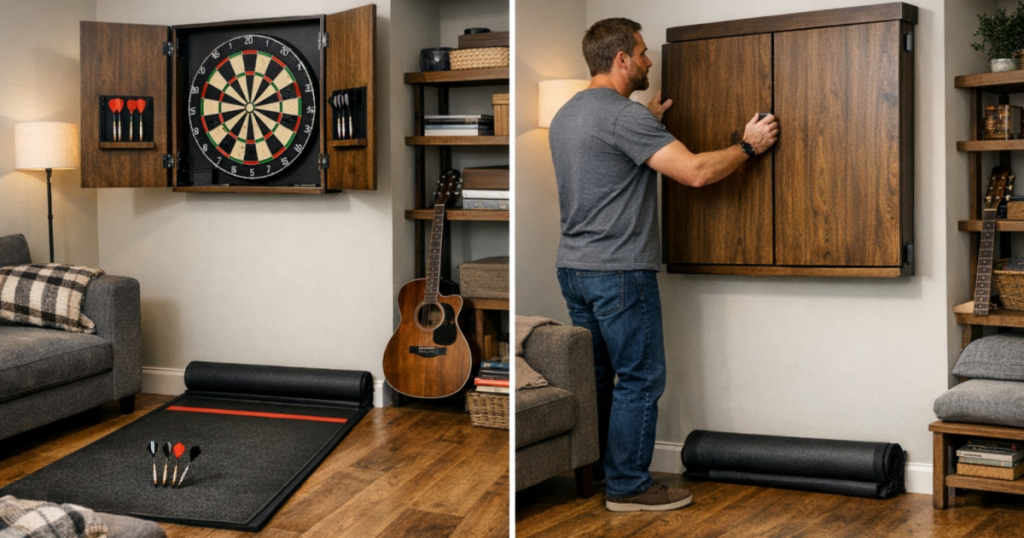
If the room needs to look tidy, a cabinet can hide the board and hold basic accessories. A surround is quicker and softer looking, but it still looks like darts equipment when left in place. A hinged backing board can work well in a utility room or garage, while a removable freestanding stand can suit rented homes where wall fixings are restricted. The trade-off is that anything freestanding must be stable enough not to wobble during play.
Step 3: set the board height accurately
Measure from the finished floor surface to the centre of the bullseye. For a standard steel-tip dartboard setup, that height is 1.73 m. If you use a mat, measure from the top surface you stand on, not from the bare floor underneath, especially if the mat is thick.
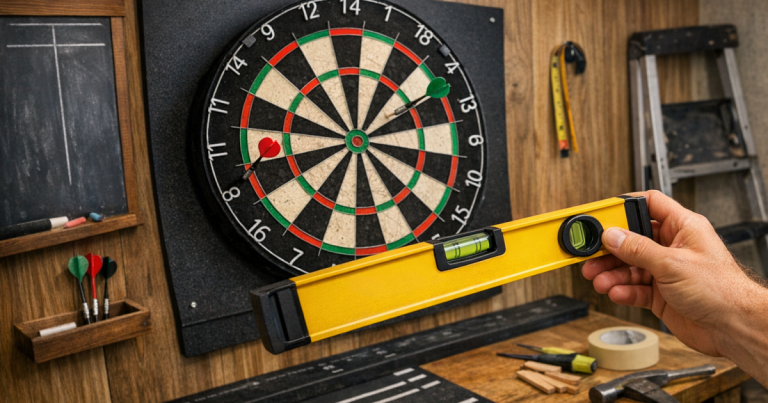
Mark the bullseye height lightly with pencil or low-tack tape before fitting the bracket. Then hold the board or cabinet in place and check that the number 20 will sit at the top once the board is rotated correctly. It is easier to catch a height or alignment mistake now than after you have filled a wall with fixings.
For rooms where the board must be hidden, measure the total footprint as well as the bull height. Cabinets and surrounds can be wider than expected once doors open or foam protection is fitted, so use a proper cabinet or surround measuring routine before committing to a tight alcove.
Step 4: make the oche quick to put back
The oche is where shared-room setups often become irritating. If you have to remeasure the throw line every time, the board will not get used as much. Build in a repeatable marker from the start.
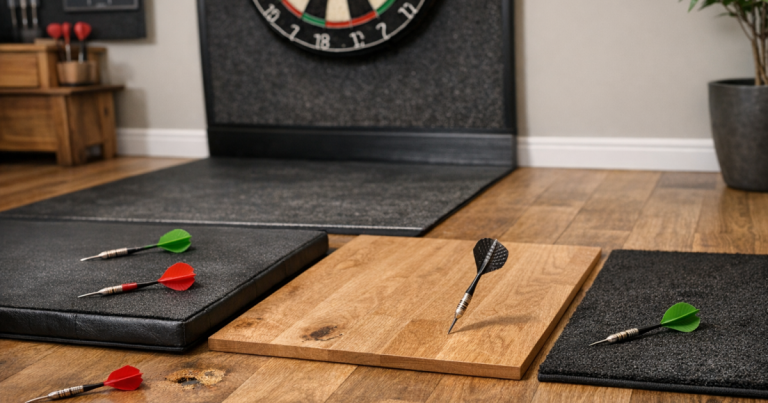
A roll-out darts mat is the simplest option because it protects the floor and gives you a visual throwing line in one piece. The main check is whether the mat lies flat on your actual floor surface. On carpet, a thin mat can creep forward. On laminate or tile, a heavier mat or non-slip backing helps reduce movement. If the room is formal or space is tight, a small removable floor marker may be neater than a full-length mat.
For a semi-hidden option, place two tiny alignment marks near the skirting or use a removable strip that only appears when playing. Whatever method you choose, measure from the board face, not the wall. The guidance on choosing a darts mat and oche setup for your floor is useful if you are weighing up carpet, hard flooring and mixed-use rooms.
Step 5: protect the room without making it look permanent
Wall protection is not just for beginners. Even confident throwers miss when chatting, warming up or trying different darts. In a shared room, one visible chip in fresh paint can end the experiment quickly.
A foam surround is the quickest protective layer because it pushes around the board and can be lifted off after play. It suits rooms where you do not mind storing a large ring-shaped item nearby. A cabinet protects the area immediately around the board and gives a tidier closed look, though it will not cover as wide an area as a full surround.
If you want more coverage, consider a removable backing panel. A plywood or MDF panel can be covered with felt, cork sheet or fabric and hung on secure fixings while the board sits in front. Keep it large enough to catch realistic misses, but not so big that nobody wants to lift it down. In a family room, the best protective solution is the one people will actually use every time.
Step 6: plan lighting that can disappear too
Darts lighting needs to show the board clearly without shining into the thrower’s eyes. In a shared room, you may already have pendant lights, wall lights or lamps, but ordinary room lighting often casts shadows from the darts onto the scoring segments.
The neatest foldaway approach is to use the room’s existing lighting where it works and add a removable or compact board light only if needed. Before adding equipment, test the board at the time of day you usually play. Stand at the oche and check whether the treble 20, bull and lower doubles are easy to see. If the top half is bright and the bottom half is dull, you may need a more even light source.
Cable route matters in a shared space. Avoid trailing leads across walkways, and do not create a setup that needs furniture moved just to reach a socket. For more detail on beam angle, shadow control and glare, use the advice on lighting a dartboard without shadows or glare.
Step 7: give every small item a home
The foldaway darts area will only stay civilised if packing away is effortless. A small storage box, drawer organiser or cabinet shelf should hold everything needed for a normal session.
- Two or three sets of darts, ideally in cases rather than loose.
- Spare flights and shafts, grouped by type so they are not crushed.
- A sharpener or point tool if you use steel-tip darts.
- Chalk, pen or a small dry-wipe scorer if you do not use a wall scoreboard.
- A cloth for wiping dust from the board area and floor.
- Any removable oche marker, tape measure or small spirit level used during setup.
Keep the box close to the board, but not in the throwing lane. If the room is used by children or guests, store sharp darts out of casual reach when play is finished. It is also worth making the pack-away order consistent: darts away first, mat rolled second, surround or panel removed third, room furniture returned last.
A simple setup routine
Once the room is planned, write a short routine and stick it inside the cabinet or storage box. It prevents arguments about whether the mat is in the right place and makes the setup usable by anyone in the house.
- Clear the throwing lane and move chairs, rugs or side tables away from the oche.
- Open the cabinet or fit the surround or backing panel.
- Place the mat or oche marker against the fixed alignment points.
- Check that the board is rotated correctly, with 20 at the top.
- Turn on the chosen light and check for shadows across the trebles.
- Put darts, flights and scorer within reach but outside the throw path.
- When finished, remove darts from the board before anyone walks into the playing area.
Common shared-room problems and fixes
The furniture keeps getting in the way
Do not rely on shifting several heavy pieces every session. If the room layout makes darts a major furniture-moving exercise, change the board wall or reduce the number of movable items. A foldaway setup should take a few minutes, not a full room reset.
The board looks untidy when not in use
Use a cabinet, curtain panel or simple wall-mounted cover that suits the room. If the room is a dining area or home office, visual tidiness may matter as much as playability. Just make sure any cover does not press against the board surface or bend the number ring.
The throw line shifts
Use two fixed reference points rather than one. For example, align the mat with a skirting mark on one side and a furniture edge or second discreet mark on the other. Recheck the oche distance occasionally, especially if the mat is rolled and unrolled often.
Noise carries through the house
A bristle board mounted directly to a thin internal wall can sound louder in the next room than it does to the thrower. A cabinet, backing panel or small rubber spacers can help reduce vibration, but avoid making the board unstable. If noise is a deal-breaker, a garage, utility area or more solid wall may be a better home for the setup.
Questions people ask
Can I make a darts area work in a rented home?
Yes, but avoid permanent fixings unless your tenancy allows them. A stable freestanding dartboard stand or a removable panel may be more suitable than drilling into walls. Always prioritise stability and wall protection.
How long should it take to set up each time?
A good shared-room setup should take around five minutes once the marks, storage and routine are sorted. If it takes much longer, simplify the mat, storage or wall protection.
Do I need a full darts mat?
No. A full mat is helpful for floor protection and repeatable oche placement, but a removable throw line can work if the floor is already protected and the distance is measured accurately.
Should the dartboard be removed after every session?
Usually not. Repeatedly removing the board can make alignment and height less consistent. In many shared rooms, it is better to keep the board securely mounted and fold away the surround, mat and accessories.
Key takeaways
A shared room can become a reliable darts space when the setup is planned around speed, protection and repeatability. Keep the board secure, make the oche easy to place, protect the surfaces most likely to be hit, and store the small kit together. The best foldaway darts area is not the most complicated one; it is the one you can set up accurately, enjoy safely and pack away without the room feeling hijacked.