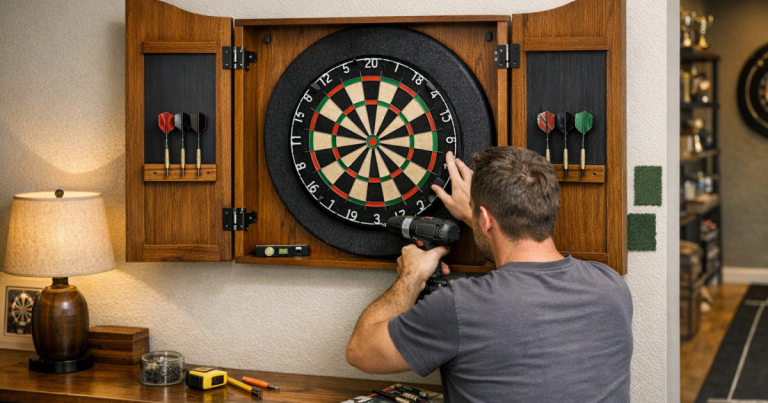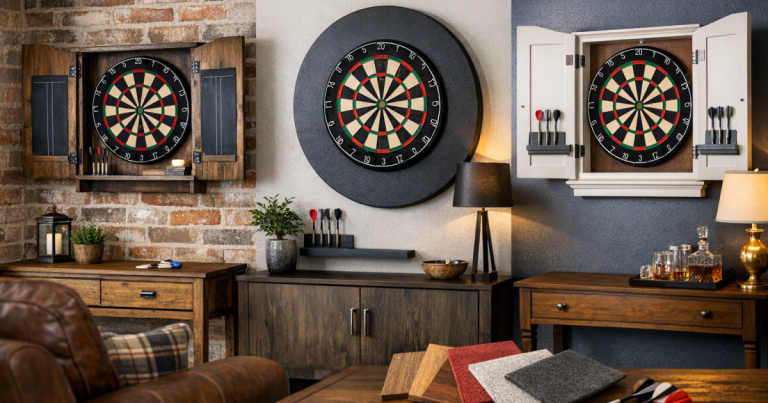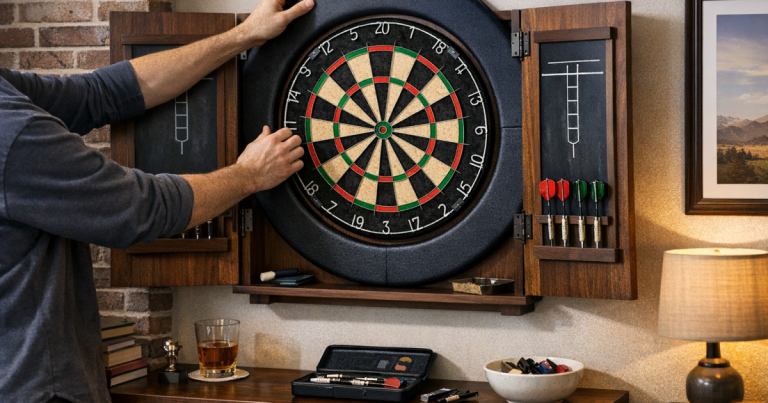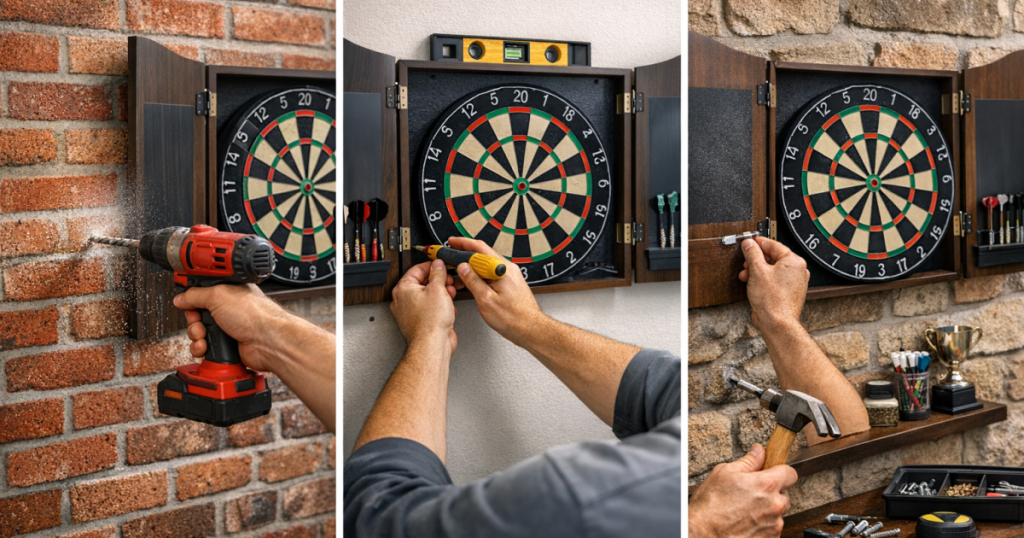
A cabinet makes a home darts area feel tidier, protects the wall around the board and gives you somewhere sensible to keep flights, chalk, markers and spare stems. Good dartboard cabinet fixing starts with the wall itself, because brick, plasterboard, timber and tiled surfaces all behave differently once you add the weight of a cabinet and board.
The aim is not simply to get screws into the wall. It is to create a firm, level, repeatable setup that stays put when doors are opened, darts are removed and the board is rotated.
Drilling into walls where hidden wiring, pipework or structural fixings may be present should be carried out by a qualified professional when those services cannot be clearly identified, to support compliance with UK safety requirements and relevant building standards.
Main points
- Solid brick and block walls usually give the most secure fixing, provided the correct wall plugs and screw sizes are used.
- Plasterboard needs more care because the board surface alone is not designed to hold concentrated weight and movement.
- Dot-and-dab walls often need fixings that bridge the gap between plasterboard and masonry, rather than relying on the plasterboard skin.
- Cabinets should be mounted level, centred on the playing area and checked with the dartboard fitted, not just with the empty cabinet.
- The surrounding room layout matters too: door swing, furniture position, lighting and the throw line all affect how well the setup works.
Before choosing fixings, check the whole darts area
A dartboard cabinet is part furniture, part wall protection and part playing station. Before drilling, confirm that the wall position gives enough clear space for the throw, safe movement around the oche and comfortable access to the cabinet doors.
Cabinet doors need room to open without hitting shelves, radiators, picture frames or the edge of a window reveal. If the setup is going into a shared room, check the route people naturally take through the space. A cabinet mounted in a narrow walkway can look neat but still create awkward movement when someone is throwing.
If you are still planning the room, it is worth reviewing how to arrange furniture around a dartboard safely before committing to a wall position. The strongest fixing in the world will not solve a cramped layout.
What good dartboard cabinet fixing depends on
The cabinet must deal with static weight and small repeated movements. Static weight is the combined load of the cabinet, dartboard and accessories. Movement comes from opening doors, pressing scoreboards, pulling darts from the board and occasional knocks from players brushing past.
That is why the best fixing is rarely the smallest screw that seems to hold on day one. A better approach is to spread load, use fixings suited to the wall material and avoid mounting only into weak surface layers. Where possible, use two or more upper fixings and at least one lower stabilising fixing, following the cabinet maker’s mounting points.
Also check the cabinet back panel. Some cabinets have pre-drilled hanging slots, while others need screw heads set at precise positions. Hanging slots are convenient, but they still need fixings that are tight enough to prevent wobble without preventing the cabinet from sitting flush.
Solid brick and block walls
Brick and concrete block walls are usually the most forgiving option for a dartboard cabinet. They allow secure mechanical fixings, and they cope well with the combined weight of a cabinet and board when drilled correctly.
Use masonry drill bits, suitable wall plugs and screws long enough to bite properly into the plug. Avoid drilling into crumbly mortar joints where possible; the brick or block face normally gives a firmer fixing. In older houses, test the surface carefully because some internal brickwork can be softer than it looks.
Practical checks for masonry
- Mark all fixing points with the cabinet held level, then re-check the centre line before drilling.
- Drill straight and avoid enlarging the hole by wobbling the drill.
- Push plugs fully into the wall so the screw tightens into the masonry, not into loose plaster at the surface.
- Vacuum dust from the holes before inserting plugs; dust can stop plugs gripping cleanly.
- Tighten gradually and stop if the plug spins, as that usually means the hole is too large or the substrate is weak.
On a painted or plastered brick wall, the finish can hide unevenness. If the cabinet rocks when held against the wall, use small packing washers or a thin batten system rather than pulling the cabinet hard against a high spot and twisting the frame.
Plasterboard stud walls
Plasterboard is common in modern UK homes, extensions and converted spaces. The key point is that ordinary screws into plasterboard alone are not suitable for a cabinet that will be opened, touched and loaded with a board.
The best route is to locate timber or metal studs and fix into them where the cabinet mounting points allow. A stud finder can help, but it is still sensible to confirm the result carefully because pipes, cables and metal beads can give confusing readings.
If the studs do not line up with the cabinet’s mounting holes, a horizontal timber batten or plywood mounting plate can spread the load across two studs. The cabinet then fixes to the batten or plate. This can look tidy if painted to match the wall, and it is often more secure than forcing the cabinet into a poor fixing position.
When specialist plasterboard fixings are used
Heavy-duty plasterboard anchors can be useful for lower stabilising points or lighter cabinets, but they should not be treated as a magic answer for every wall. The plasterboard condition, board thickness, fixing type and cabinet load all matter. If the cabinet will carry a full sisal board and be used regularly, fixing into structure is the more dependable approach.
Dot-and-dab plasterboard over masonry
Dot-and-dab walls have plasterboard fixed over masonry with adhesive dabs, leaving a variable cavity behind the board. They can feel solid when tapped in some places and hollow in others, which makes them easy to misjudge.
For cabinets, the fixing should normally reach back into the masonry rather than relying on the plasterboard face. Standard plugs can crush the board or pull the cabinet unevenly into the cavity. Purpose-made fixings for dot-and-dab walls are designed to bridge or support that gap, but the exact choice depends on the cavity depth and wall condition.
Take extra time to drill cleanly and avoid over-tightening. If the cabinet frame starts sinking into the plasterboard as the screw tightens, stop and reassess. A slight gap behind the board can become a distorted cabinet if the fixings are treated like a normal solid wall.
Timber, panelling and fitted units
Timber walls, plywood linings and fitted furniture panels can work well, but only if the material behind the visible surface is strong enough. Thin decorative panelling may not carry much weight by itself, even if it takes screws easily.
Where the wall is lined with substantial plywood or fixed to solid battens, the cabinet can often be screwed directly into the timber. Where it is thin tongue-and-groove, MDF cladding or a decorative panel over a void, find the battens or structural rails behind it.
In garden rooms and garages, timber movement can also matter. Temperature and humidity changes can cause doors to shift slightly, and darts accessories stored in the cabinet may be exposed to damp air. If the setup is in a garage, combine secure fixing with sensible moisture control so the cabinet, board and darts stay in good condition.
Tiled walls and splashback-style surfaces
Tiled walls are less common for darts areas, but they do appear in utility rooms, converted garages and multipurpose spaces. The challenge is not only holding the cabinet; it is drilling without cracking tiles or leaving an untidy finish if the setup changes later.
Use the correct tile drilling method, avoid hammer action until through the tile, and keep fixings aligned with the substrate behind the tile. Screws tightened too aggressively can crack the tile or pull the cabinet unevenly against the surface. Rubber or nylon washers can help prevent direct pressure marks, provided they do not make the cabinet unstable.
Think carefully before mounting over feature tiles. A cabinet may cover the holes now, but future removal will leave visible marks that are harder to hide than holes in a painted wall.
Getting the height and centre line right
Most mistakes happen because the cabinet is hung first and the board position is checked afterwards. It is better to mark the dartboard bullseye position, then work out how the cabinet sits around it.
Measure from the finished floor surface, not from a loose rug or mat that may move. Check whether the cabinet has a fixed board mounting point or whether the board hangs independently within the cabinet. If the board is mounted on the wall through the cabinet back, the board fixing needs to be as secure as the cabinet fixing.
Once the cabinet is temporarily positioned, open both doors, check the sightline from the throw area and confirm the board will not sit too close to a side wall. This is also the moment to consider lighting. A cabinet can cast shadows across the board if the light source is offset or too close, so review lighting the board without creating glare before making the installation permanent.
Wall protection and cabinet alternatives
A cabinet gives a neat, traditional look and keeps scoring surfaces or accessories close to the board. It also protects some of the wall, but it does not protect everything. Missed darts can still strike the area outside the cabinet doors, especially for newer players or family setups.
If wall protection is the priority, a cabinet can be paired with a wider surround or backboard. Just make sure the added layer does not push the board too far forward, create a wobble, or interfere with door opening. The most stable setups keep the board fixing, cabinet fixing and any protective layer working together rather than stacking parts loosely.
Common fixing mistakes
- Using light picture hooks or small wall plugs because the empty cabinet feels manageable.
- Mounting to plasterboard without checking for studs or a stronger backing.
- Drilling fixing holes before confirming the bullseye height and centre line.
- Ignoring door swing, then finding the cabinet hits nearby furniture or shelving.
- Over-tightening screws on uneven walls and twisting the cabinet frame.
- Forgetting that accessories stored inside add weight over time.
After fitting, load the cabinet as you expect to use it and gently test for movement. Open and close the doors, pull a few darts from the board and listen for creaks or clicking from the wall. A small wobble at this stage is easier to fix than a loose cabinet after months of play.
Finishing the setup
Once the cabinet is secure, mark the throw line accurately and in a way that suits the floor finish. In rented homes or rooms with good flooring, removable or low-impact marking methods can keep the setup tidy. The guide to marking a throw line without damaging flooring is a useful next step once the cabinet and board are fixed.
It is also worth deciding what lives inside the cabinet. Keep only the darts gear you actually use regularly: spare flights, shafts, chalk or pens, a small cloth and perhaps a point protector. Overfilling the cabinet makes it heavier and can encourage people to pull on doors or shelves in ways the fixings were not meant to handle.
Common questions
Can I hang a dartboard cabinet on plasterboard?
Yes, but not by relying on ordinary screws into the plasterboard face. Fix into studs where possible, or use a properly secured mounting plate that spreads the load across structure.
Do I need different fixings for a cabinet and a bare dartboard?
Usually, yes. A cabinet adds weight and movement from doors and stored accessories, so the fixing method should be stronger than a light board-only hanging point.
Is a cabinet enough to protect the wall?
It protects the area it covers, but missed darts can still hit outside the cabinet. For wider protection, consider a surround or backboard that works with the cabinet layout.
Should the dartboard fix to the cabinet or the wall?
Follow the cabinet design. Some cabinets support the board directly, while others allow the board bracket to fix through to the wall. The secure fixing point matters more than the appearance from the front.
What if the cabinet sits slightly unevenly after fitting?
Do not keep tightening one screw to force it flat. Check for wall unevenness, loose plugs or a twisted frame, then pack or refit the cabinet so the load is even.
Key takeaways
A tidy darts cabinet setup starts with the wall behind it. Solid masonry is generally straightforward, plasterboard needs structural support, dot-and-dab walls need fixings that account for the cavity, and decorative surfaces need extra care before drilling.
Treat dartboard cabinet fixing as part of the whole home setup: wall strength, board height, cabinet door clearance, lighting, wall protection and the throw line all work together. Get those details right and the cabinet will feel like a permanent, practical part of the room rather than a heavy box hanging from hopeful screws.