A neat darts area starts with solid wall protection, quiet fixings and enough clearance to throw comfortably. If you want to install dartboard cabinets and surrounds properly, the job is mostly about measuring once, choosing the right fixings, and keeping the board face square to the oche.
Wall drilling, cable tracing and fixing into masonry or plasterboard near concealed services should be handled by a qualified tradesperson to meet UK safety requirements and the relevant installation standards for the property.
At a glance
- Set the dartboard position first, then fit the cabinet and surround around it.
- For a standard steel-tip setup, the bullseye centre is 173 cm from the floor and the oche is 237 cm from the board face.
- Use fixings that suit your actual wall, not just the screws that happened to come in the box.
- Keep the cabinet level, but prioritise the dartboard centreline and board height.
- Check door swing, surround clearance and scoring visibility before drilling final holes.
Start with the board position, not the cabinet
The biggest mistake is treating the cabinet like a picture frame and then trying to make the dartboard work afterwards. The board is the playing surface, so its centre height and throw distance come first. The cabinet is there to store accessories, tidy the wall and frame the board; it should not dictate the playing dimensions.
Mark the bullseye centre on the wall at 173 cm from the finished floor. Then check that the throwing lane is clear, with enough room behind the oche for a comfortable stance. The oche distance for steel-tip darts is measured from the face of the board, not from the wall, cabinet back panel or skirting board. For a fuller measurement check, use our guide to setting the correct dartboard height and oche distance before you start drilling.
It is also worth checking the surrounding room layout. A cabinet door that opens into a curtain pole, shelf, doorway or radiator will become annoying quickly. If the darts area is in a lounge, spare room or garage conversion, stand at the oche and look for anything that could distract your throw or interrupt the sight line to the board.
Check the wall before choosing fixings
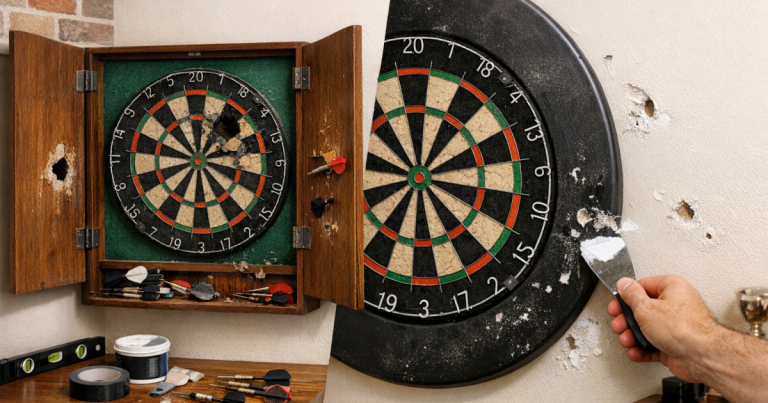
Dartboard cabinets are not usually very heavy on their own, but the combined load of cabinet, board, darts and repeated door movement still needs proper support. A wall that feels solid at first can have blown plaster, hollow spots or awkward battens behind it, so check before committing.
Common UK wall types
- Masonry or brick: use suitable wall plugs and screws, drilling clean holes that match the plug size.
- Plasterboard: use appropriate hollow-wall fixings, or fix into timber studs where the layout allows.
- Dot-and-dab plasterboard: avoid crushing the plasterboard by overtightening; specialist fixings may be needed.
- Timber panels or backing boards: check that the panel itself is securely fixed to the wall behind it.
A cabinet fitted with poor fixings may sit level for a day and then slowly loosen, rattle or pull away as the doors are used. Do not rely on the plaster skim alone. If you are creating a long-term darts corner, a properly fixed backing board can make the whole setup quieter and easier to align.
Dry-fit everything before drilling
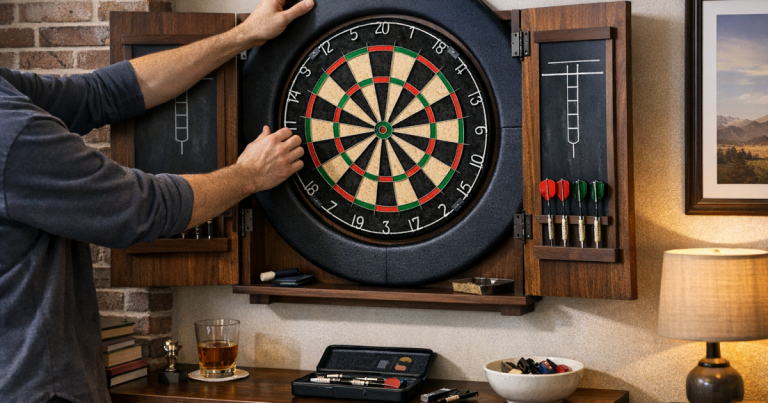
Hold the cabinet against the wall and place the board or template in its intended position. You are checking four things: the bullseye height, the cabinet level, the door clearance and the visual balance on the wall. A helper makes this far easier, as one person can stand back while the other holds the cabinet in place.
Use a pencil mark rather than permanent marker. Mark the cabinet fixing holes lightly, then remove the cabinet and check those marks against the board centreline. If the cabinet has an internal hanging bracket, make sure it does not force the dartboard bracket too high, too low or off-centre.
Some cabinets have enough internal space for a standard bristle board to sit neatly inside. Others are tighter, especially once a surround or thicker board mounting is involved. Close the doors during the dry-fit stage and check whether the darts, flights, chalk holder or scoreboard panel clash with the board or surround.
Fitting the cabinet cleanly
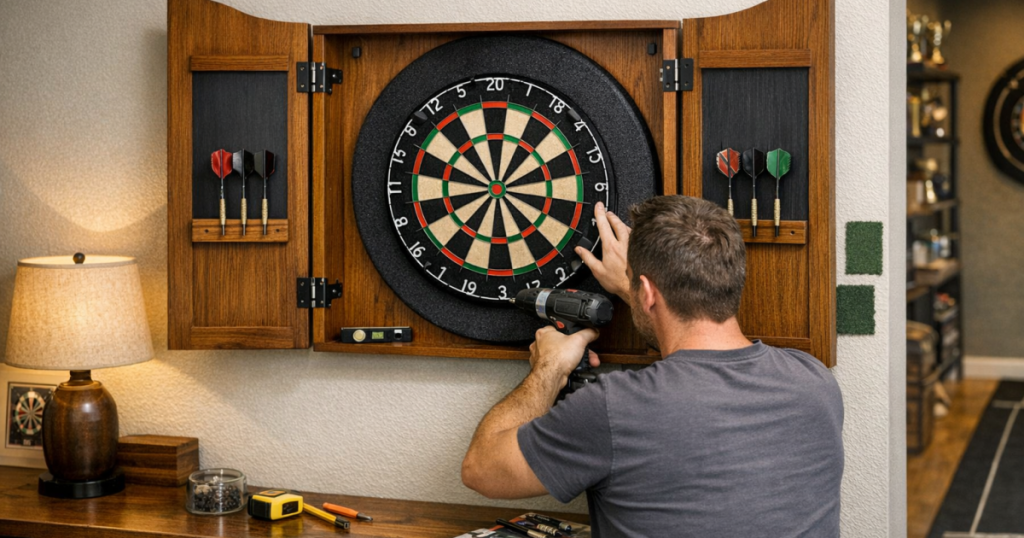
Once the marks are confirmed, drill the fixing holes carefully and clear dust from the holes before inserting plugs. Offer the cabinet back to the wall, loosely start all screws, then tighten gradually while checking the level. This avoids pulling one corner hard against the wall and twisting the cabinet.
If the cabinet rocks slightly against an uneven wall, do not keep tightening until something bends. Thin felt pads, rubber bumpers or small packers can help stabilise the contact points. They also reduce vibration when darts land in the board or cabinet doors are opened and closed.
Cabinet rattle is usually caused by loose wall contact, light doors, hard hinges, or a board mounting that transfers vibration into the frame. For a deeper look at quietening the setup, see our separate guide to fitting a dartboard cabinet without rattles.
Mounting the dartboard inside the cabinet
The board should sit flat, firm and easy to rotate. Fit the wall bracket or cabinet mounting point so the bullseye centre remains at the correct height once the board is hanging. Check this with the board in place, not just from the bracket mark, because bracket styles and board depth can slightly change the final position.
Leave enough clearance around the board so you can rotate it regularly. Rotation helps spread wear across the scoring segments, which is especially useful if you practise heavily on treble 20. A cabinet that grips the board too tightly may look neat, but it can make maintenance irritating.
After hanging the board, stand at the oche and check that the board face looks square and centred. A cabinet can be perfectly level while the board itself is slightly skewed on its bracket, so always check the final playing view rather than relying only on a spirit level.
Adding a surround without creating fit problems
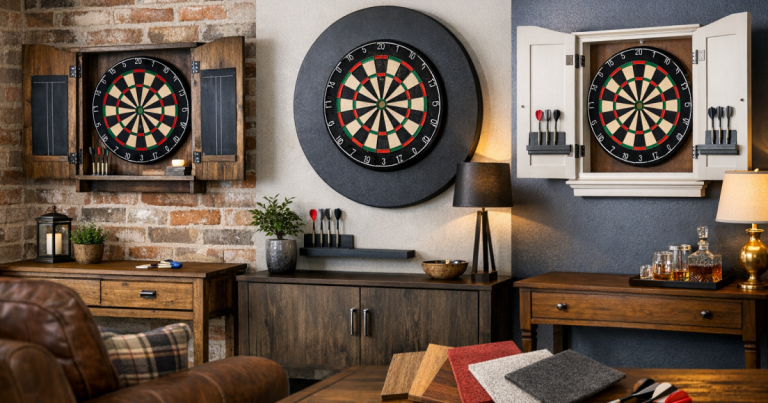
A dartboard surround protects the wall from stray darts and gives the setup a cleaner, more finished look. The main question is whether you are using a cabinet, a surround, or both. Many home setups use either a cabinet or a surround because both together can become tight, depending on the cabinet opening and surround thickness.
If the surround is a one-piece foam or rubber ring, slide it over the board after the board is mounted. If it comes in sections, fit each piece evenly so the joins are neat and the ring is not pushing the board out of line. The surround should sit snugly around the board without distorting it or forcing the cabinet doors open.
Where a cabinet and surround are used together, check three points carefully: the surround does not foul the doors, the board can still rotate, and the cabinet frame does not leave an unprotected strip where missed darts are likely to land. If you are deciding whether a surround alone is enough wall protection, our Bull’s Dartboard Surround review gives a useful reference point for coverage and fit considerations.
Make the setup look intentional
A good installation is not only about measurements. Cabinets and surrounds are part of the room, so small details make a big difference. Align the cabinet with nearby furniture, shelves or wall panelling where possible, but do not compromise the board height to make it look symmetrical with a picture rail or socket.
In a living room, a wood-effect cabinet can make the darts area feel less like temporary sports kit. In a garage or games room, a dark surround and simple cabinet can hide scuffs better. If the wall is painted in a light colour, choose a surround wide enough for your ability level rather than relying on touch-up paint every few weeks.
Keep storage practical. Spare flights, shafts, chalk, a checkout card and a small cloth are useful to keep inside the cabinet. Avoid overloading the doors with heavy accessories, as that can pull hinges out of line over time.
Final checks before the first throw
- Measure the bullseye height again with the board fully mounted.
- Measure the oche from the board face, not the wall.
- Open and close both cabinet doors to check for rubbing or rattle.
- Confirm the surround covers the most likely miss area around the board.
- Throw a few gentle test darts and listen for movement from the cabinet or bracket.
- Check that lighting does not cast a heavy shadow across the doubles or trebles.
If anything feels off, adjust it now. It is much easier to correct a slightly low bracket, loose fixing or awkward surround fit before you have built the rest of the darts corner around it.
Common questions
Can I fit a dartboard surround inside a cabinet?
Sometimes, but it depends on the cabinet opening and surround thickness. Test the fit before drilling final holes, and make sure the doors close without pressing into the surround.
Should the cabinet or dartboard be level?
Both should look straight, but the dartboard height and centreline matter most for play. Fit the cabinet around the correct board position rather than adjusting the board to suit the cabinet.
Can I mount a dartboard cabinet on plasterboard?
Yes, if the correct fixings or a secure backing are used. Standard screws into plasterboard alone are not enough for a reliable long-term fit.
Do I need a surround if I already have a cabinet?
A cabinet protects the area immediately around the board and offers storage, but it may not cover wider misses. Beginners and family setups often benefit from extra wall protection.
How often should I check the cabinet fixings?
Check them after the first few sessions, then periodically as part of normal setup maintenance. Door movement, board vibration and room humidity can all loosen a marginal fixing over time.
Final thoughts
A properly fitted cabinet and surround should feel quiet, secure and natural to play on. Get the board position right first, match the fixings to the wall, test the surround before committing, and leave enough clearance for everyday use. The result is a darts area that protects the wall, stores the essentials and still feels like part of the room rather than an afterthought.