A dartboard wall has to do more than hold a board. The best wall for a dartboard gives you a clear throwing lane, a solid fixing point, sensible lighting and enough protection for the misses that happen in real home play. Start with the room, not the bracket, because the wall choice affects everything from oche position to noise through the house.
Drilling into walls where hidden cables, pipes or structural fixings may be present should be carried out by a qualified tradesperson to comply with UK safety requirements and protect the building fabric.
At a glance
- Choose a wall with enough clear floor space for the full throwing distance and a comfortable standing area.
- Prioritise a flat, stable surface that can take a secure board fixing without wobble.
- Avoid walls beside windows, radiators, glass doors, walkways or valuable furniture.
- Think about lighting before you mount the board, not after shadows start bothering your throw.
- Allow for a surround, mat, scoreboard and dart storage so the setup works as a playing area, not just a board on a wall.
Step 1: Check the throwing lane before looking at the wall
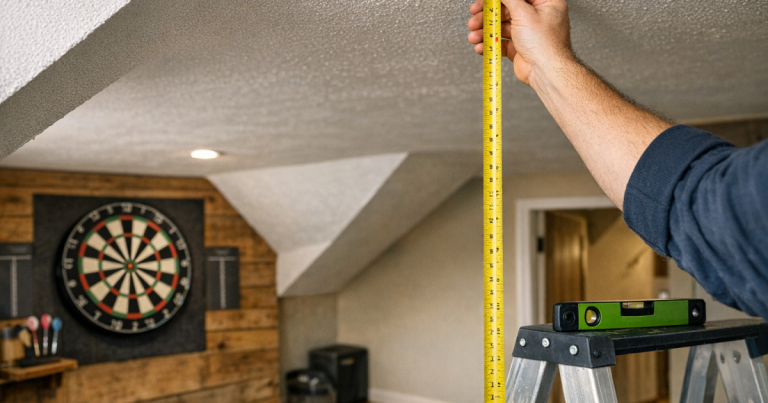
The first test is not whether the board fits. It is whether the throwing lane fits. For a standard steel-tip home setup, the bullseye is usually set at 1.73 m from the floor, with the oche 2.37 m from the face of the board. That distance is measured from the board face, not from the skirting board or the wall behind it.
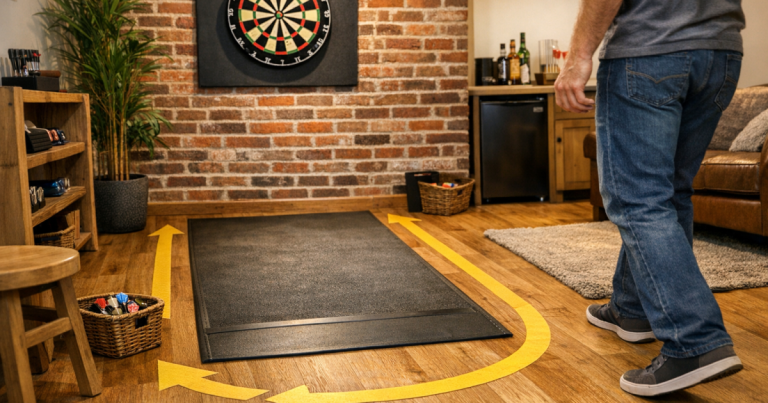
Stand where the oche would be and check the whole lane between your feet and the board. You should not be throwing across a doorway, past a sofa arm, over a rug edge, or into a space where someone could naturally walk through. A tight setup might look fine when empty, then become awkward once a mat, chair, cabinet door or storage box is added.
Before you commit to a wall, it is worth measuring the full layout carefully. The step-by-step advice on measuring oche space before setting up a dartboard is a useful next check if your room is narrow, shared or irregularly shaped.
Step 2: Pick a wall that can hold the board securely
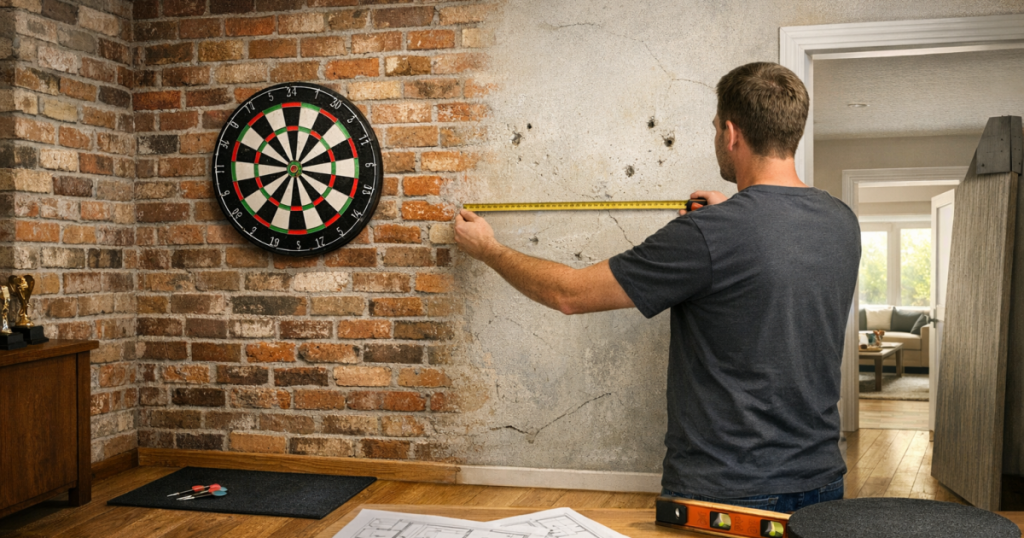
A good dartboard wall needs to be flat, firm and predictable. A board that rocks, leans or vibrates can make scoring feel inconsistent and can loosen fixings over time. Masonry walls can provide a solid base when fixed correctly, while stud walls can work well if the fixing is into timber or suitable reinforcement rather than weak plasterboard alone.
Plasterboard is common in UK homes, but it needs careful treatment. A light board bracket placed into poor fixings can pull loose, especially if the board is removed and refitted regularly. Cabinets, heavy surrounds or accessory shelves add extra load, so the fixing method should match the wall construction rather than being treated as an afterthought.
Avoid uneven walls, heavily textured surfaces, damp patches and walls with crumbling plaster. If the board cannot sit level against the wall, you may struggle to keep the face square and stable. Small imperfections are usually manageable, but a visibly warped or damaged section is a poor starting point.
Step 3: Avoid risky or annoying positions
Some walls are technically mountable but still poor choices. A wall next to a window increases the risk of stray darts hitting glass. A wall above a radiator can expose the board area to heat and uneven air movement. A wall beside a door makes the throwing lane harder to control in a busy home.
Think about what sits below and beside the board. Low shelving, televisions, framed pictures, mirrors and drinks cabinets all make misses more expensive. If newer players, children or guests will use the setup, allow more room for stray darts than you would for a confident regular thrower.
Also consider the height of skirting boards and sockets. A board mounted above awkward features may still be playable, but wall protection and scoring accessories become harder to place neatly. The cleanest setups usually have a plain section of wall from below the board down towards the floor, with enough width either side for protection.
Step 4: Allow for wall protection, not just the board
Even accurate players miss the doubles, especially during practice games and casual home nights. The wall should have enough clear space for a surround or other protection around the board. If the board is squeezed into a narrow alcove, a standard surround may not sit properly, and misses can end up on the exposed edges of plaster or woodwork.
Removable foam surrounds are popular because they are simple, tidy and suitable for many home rooms. They need enough space around the board to grip cleanly and sit flush. If your chosen wall has a picture rail, uneven panelling, shelves or a nearby corner, check that protection will still cover the areas most likely to be hit.
For a cleaner setup and fewer wall marks, read the guide on fitting a dartboard surround for better wall protection before you decide exactly where the bracket should go.
Step 5: Plan the lighting from the thrower’s point of view
The right wall is one you can light evenly. A dartboard placed under a single ceiling light often creates shadows from the darts, especially on the lower half of the board. A wall opposite a bright window can also cause glare at certain times of day, which becomes irritating during longer practice sessions.
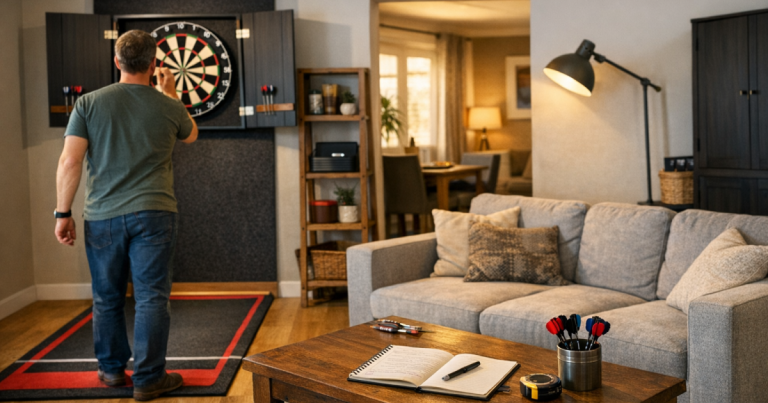
Stand at the oche position and look at the wall as if the board were already mounted. Ask three simple questions: will the board face be evenly lit, will your body cast a shadow, and will any window or lamp sit directly in your line of sight? A wall that looks convenient in daylight may be poor for evening games if the lighting falls from behind you.
If you are planning a more polished home setup, the explanation of dartboard lighting zones for the board, oche and surrounds will help you judge whether the wall can support a comfortable playing area.
Step 6: Think about noise through the house
Darts are not the loudest home hobby, but repeated impacts can travel through walls, especially in quiet rooms or terraced and semi-detached houses. A board mounted on a shared wall may be more noticeable to neighbours or family members than one mounted on an internal wall away from bedrooms.
Stud walls can sometimes amplify impact noise because of the cavity behind the board. Masonry walls may feel more solid, but the sound can still carry depending on the room and the fixing. If noise matters, test the likely wall by tapping firmly where the board would sit and listening from the next room. It is not a perfect test, but it quickly reveals whether the wall acts like a drum.
You can also reduce disturbance by avoiding late-night practice near bedrooms, using a secure fixing that does not rattle, and keeping the board tight to the wall. A loose bracket makes both noise and wear worse.
Step 7: Check the floor and oche position together
A wall can pass every board test and still fail because the floor in front of it is awkward. Sloping floors, thick rugs, glossy tiles and uneven joins can make the oche feel inconsistent. If you plan to use a darts mat, make sure there is enough floor length for it to lie flat without curling into a doorway or bunching under furniture.
Hard flooring is easy to mark with a temporary oche, but it can be less forgiving for dropped darts. Carpet may feel comfortable underfoot, but thick pile can make a mat sit unevenly. The most reliable setup is one where your stance area is repeatable, level and clear every time you play.
If the room is shared, think about whether the oche can stay in place. A permanent raised oche is not always realistic in a living room, while a temporary marker may suit a spare room or garage better. The wall choice should match how often you play and how quickly the room needs to return to normal.
Real home examples
Spare bedroom wall
A spare bedroom often gives you a quiet space and a controllable layout. The main checks are whether the throwing lane clashes with the bed, wardrobe doors or radiator, and whether the wall construction can take a stable fixing. Watch for low ceiling slopes in loft rooms, as they can affect both lighting and the feel of the throw.
Garage or utility wall
A garage wall can be ideal if it is dry, well lit and clear of stored items. Masonry can provide a firm mounting surface, but cold, damp or dusty conditions can shorten the life of boards and accessories. Avoid placing the board near bicycles, tools, appliances or anything that could be hit by a stray dart.
Living room or dining area
A shared room needs the most careful planning. The wall may look attractive, but you need enough space to play without moving furniture every time. Prioritise a position where the oche does not block a main route through the home and where wall protection will not look out of place when the board is not in use.
Final checks before you drill
- Measure the bullseye height from the finished floor surface, not from the top of a rug or mat that may move.
- Mark the planned oche position and stand there with your normal throwing stance.
- Check that doors, drawers, cabinet fronts and furniture do not swing into the playing lane.
- Look at the wall in daylight and evening light to spot glare or shadow issues.
- Confirm there is room for wall protection around the board.
- Listen from nearby rooms if noise could be a problem.
- Check the wall for sockets, switches, pipe runs and signs of hidden services before any drilling.
- Make sure the board can be centred and level without being forced around skirting, shelves or trims.
FAQ
Can I put a dartboard on a plasterboard wall?
Yes, but the fixing needs to suit the wall. Do not rely on weak plasterboard fixings for a board, cabinet or surround. Fixing into a stud or suitable backing is usually more stable.
Is a brick wall better for a dartboard?
A brick or block wall can give a firm fixing, but it is not automatically perfect. You still need wall protection, good lighting, a safe throwing lane and enough floor space for the oche.
Should I avoid putting a dartboard near a window?
Yes, if there is any realistic chance of missed darts hitting the glass. Windows can also create glare, so a plain wall away from glass is normally easier to play on.
How much wall space do I need around the board?
Allow enough width for a surround and a sensible margin for stray darts. More space is helpful in family rooms or beginner setups where misses are more common.
What if no wall in the room works well?
Consider a different room, a temporary setup, or a freestanding dartboard stand. A compromised wall can lead to poor lighting, awkward throws, wall damage and less enjoyable practice.
What to remember
The right dartboard wall is the one that works as part of the whole playing area. Measure the throw, check the fixing surface, allow for protection, test the lighting and think about how the room is used day to day. A few minutes of planning before mounting the board can save damaged plaster, cramped games and frustrating adjustments later.