Getting the board and throw line right is one of those small setup jobs that makes a home darts area feel instantly better. The correct dartboard height and oche distance give you a fair, repeatable throw whether you are practising doubles, playing 501 with friends or setting up a more serious garage or spare-room board.
The key is to measure from the right points, not just copy where a previous bracket, cabinet or mat happened to sit. A few minutes with a tape measure, pencil and level can prevent a lot of awkward throwing later.
The measurements to use
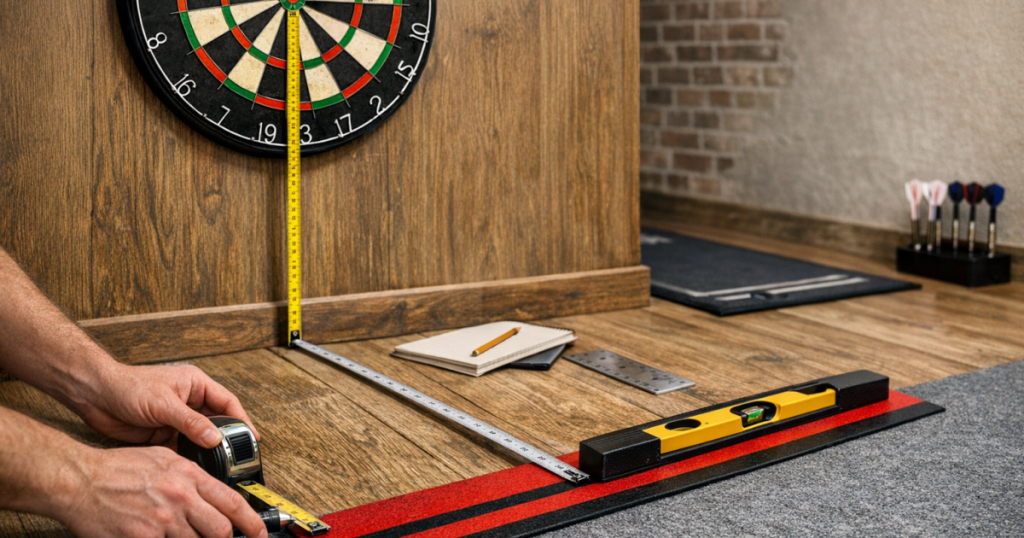
For a standard steel-tip bristle dartboard, set the centre of the bullseye at 1.73 m from the floor. The throwing line, or oche, should be 2.37 m from the front face of the dartboard, measured horizontally along the floor.
That front-face detail matters. The oche is not measured from the wall, the cabinet door, the backboard or the mounting bracket. It is measured from the playing surface of the board, directly out to the throw line.
As a useful cross-check, the diagonal measurement from the centre of the bullseye to the oche line should be about 2.93 m for a standard steel-tip setup. Use the height and horizontal distance as your main measurements, then use the diagonal to catch obvious mistakes.
What you need before you start
You do not need specialist fitting equipment for a normal home setup, but accuracy helps. Gather everything before you start so you are not guessing halfway through.
- A metric tape measure long enough to cover at least 3 m.
- A pencil or low-tack masking tape for temporary marks.
- A spirit level or laser level if you have one.
- A plumb line, or a piece of string with a small weight tied to the end.
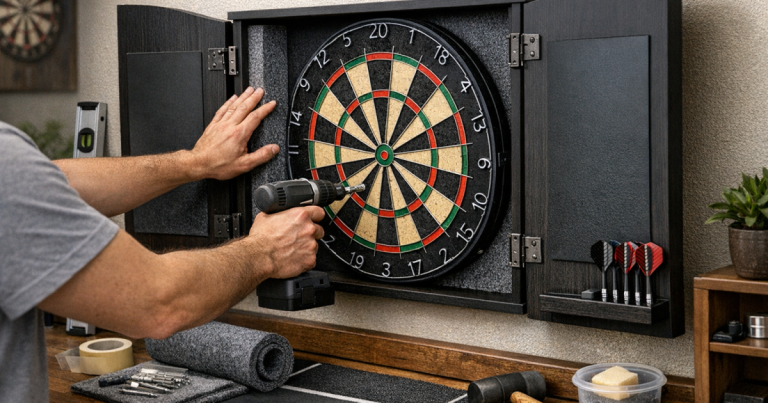
- Your dartboard bracket, cabinet, surround or stand already positioned roughly where you want it.
- A mat, oche strip or tape line for the final throw line.
If you are using a mat as your oche marker, it is worth checking how it behaves on your flooring before committing to the final layout. A mat that creeps forward during play will gradually change the throw line, so follow a proper method for positioning a dart mat so it stays put.
Step 1: Set the bullseye height
Start from the finished floor surface you will actually stand on. If your darts area has carpet, laminate, garage flooring or a permanent mat, measure from the playing surface beneath your feet rather than from bare floorboards or a temporarily exposed floor.
Measure vertically up the wall to 1.73 m and mark that point lightly. That mark should line up with the centre of the bullseye once the board is fitted, not the top of the board or the centre of the mounting bracket.
If you are fitting a bracket, check how the board sits on it before drilling or fixing anything permanently. Some brackets and cabinets position the board slightly differently, so the bracket location is not always the same as the bullseye height. The final test is simple: once the board is hanging, measure from the floor to the centre of the bull.
Step 2: Find the true front of the board
Once the board is at the correct height, identify the vertical plane of the board face. This is the point directly below the playable surface, not the wall behind it.
A plumb line makes this easier. Hold the string so it hangs from the front face of the dartboard, then let the weight settle near the floor. Mark the floor directly underneath that line with a small piece of masking tape. This mark represents the point from which the oche distance is measured.
This step is especially important if your board sits in a cabinet or on a thick backboard. Measuring from the wall can make the oche too long by several centimetres, which is enough to make the setup feel off.
Step 3: Mark the oche at 2.37 m
From the floor mark directly beneath the front face of the board, measure 2.37 m straight out along the floor. Keep the tape measure square to the board rather than angled across the room.
Mark the oche clearly. The front edge of the line is the important part: players should stand with their toes behind that front edge, not on the far side of a thick strip or mat marking. If you use tape, place the front edge exactly at 2.37 m. If you use a raised oche, align its front edge with the measurement.
For soft-tip darts, many setups use a longer throw distance of 2.44 m. If you are setting up an electronic soft-tip board, check the board maker’s instructions and the format you plan to play before marking the line permanently.
Step 4: Check the diagonal measurement
After setting the board and oche, measure from the centre of the bullseye down to the front edge of the oche. On a standard steel-tip setup, this should be about 2.93 m.
This diagonal check is helpful because it confirms that the height and throw line work together. If the diagonal is noticeably wrong, recheck the bull height first, then recheck whether you measured the oche from the board face rather than the wall.
Do not use the diagonal as your only setup method if you can avoid it. It is best treated as a verification step, because a tape held at an angle or not placed exactly at the bull can introduce small errors.
Step 5: Make the playing area repeatable
A good home darts setup is not just correct on the day you measure it. It should stay consistent over time. Once the oche is right, make the marker durable enough for the way you use the room.
- For a temporary setup, use low-tack tape and recheck the measurement before longer practice sessions.
- For a regular playing area, use a proper oche strip, fixed mat or clearly marked toe line.
- For a garage or utility space, make sure the line remains visible under normal lighting.
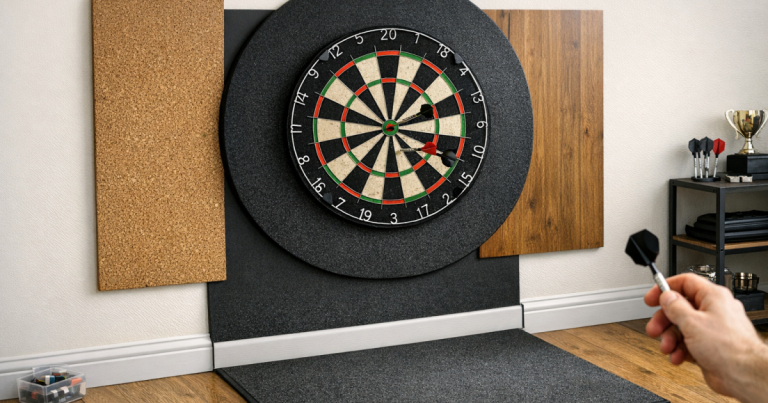
- For a shared family space, choose a marker that does not create a trip point when darts are not being played.
Floor safety matters because players naturally step forwards and backwards between throws. If you are choosing between a mat, tape line or raised oche, read the guidance on dart mat grip, trip hazards and floor protection before fixing anything down.
Examples for common home setups
Wall-mounted board in a spare room
This is the easiest setup to measure accurately. Fit the board so the bull is 1.73 m from the floor, drop a plumb line from the board face, then mark 2.37 m from that point. Check that doors, furniture and shelving do not interfere with the throwing stance.
Board inside a cabinet
Cabinets can tempt you to measure from the wall or the cabinet frame. Do not. The board face usually sits forward of the wall, so always drop the measurement from the playable surface. If the cabinet has doors, make sure they open fully without narrowing the throwing lane.
Dartboard stand
With a stand, set the bull height first and then measure the oche from the board face after the stand is fully tightened. Recheck both measurements whenever the stand is moved, folded away or placed on a different floor surface.
Mat with printed oche lines
A printed dart mat can make setup simpler, but only if the mat is aligned from the board face correctly. Do not assume that pushing the mat against the wall will place the oche in the right spot. Measure from the board face to the printed line, then adjust the mat until the front edge of the line sits at 2.37 m.
Common mistakes that throw the setup out
- Measuring from the wall: this is the most common error and usually makes the throw longer than intended.
- Measuring to the back of a thick oche line: the front edge is the actual toe line.
- Using the board top as a reference: board dimensions can vary slightly, so measure to the bull.
- Ignoring floor changes: a thick mat or new flooring can change the effective height.
- Letting the mat creep: if the oche moves during play, the setup is no longer accurate.
- Setting the board before checking lighting: shadows across the trebles can make an otherwise accurate setup frustrating to use.
Lighting is worth checking before you call the job finished. A board can be perfectly measured and still feel poor if your throwing arm casts a shadow over the scoring area. For more detail, see the dartboard lighting guide for visibility, glare and setup standards.
Quick answers
What is the correct dartboard height?
The centre of the bullseye should be 1.73 m from the floor for a standard steel-tip dartboard setup.
What is the correct oche distance?
For steel-tip darts, the oche should be 2.37 m from the front face of the dartboard to the front edge of the throw line.
Should I measure the oche from the wall or the board?
Measure from the front face of the board. Measuring from the wall ignores the depth of the board, cabinet or backing and can make the throw line inaccurate.
Does a dart mat replace measuring?
No. A mat helps mark the oche, but it still needs to be positioned correctly from the board face. Printed lines are only useful once the mat is aligned.
What if my floor is uneven?
Measure from the standing surface where players actually throw. If the board area and oche area are at different levels, prioritise a safe, level playing area before fixing a permanent setup.
In brief
Set the bullseye at 1.73 m from the floor, measure 2.37 m from the front face of the dartboard to the front edge of the oche, and use a 2.93 m diagonal check to confirm the setup. The most reliable method is to mount the board first, drop a plumb line from the board face, then mark the throw line from that point.
Once your dartboard height and oche distance are correct, make the line visible, stable and safe under normal playing conditions. That gives you a setup that feels consistent every time you step up to throw.