A dart mat that creeps, ripples or curls at the front edge is more than a mild annoyance; it changes your stance and can create a trip point right where you throw. The easiest way to position a dart mat so it stays put is to line it up from the board face, settle it on the right surface, and remove anything that lets it move under your feet.
The aim is simple: a flat, stable runway from your standing area to the board, with the oche line in the correct place and no loose edge where people walk. Small setup details make a big difference, especially on smooth laminate, varnished boards, tiles or deep carpet.
The short version
For a stable dart mat, measure from the face of the dartboard to the oche line, not from the wall. Lay the mat in line with the centre of the board, smooth it from the board end towards the throwing end, and make sure the underside has enough grip for your floor. If the mat still shifts, use a suitable non-slip underlay or floor-safe grip method rather than relying on heavy objects placed at the edges.
- Use 2.37 m from the dartboard face to the throwing line for a standard steel-tip setup.
- Keep the mat centred on the bullseye and square to the board.
- Flatten curled edges before play, particularly at the oche end.
- Clean dust, grit and polish residue from hard floors before laying the mat.
- Do not cover a moving mat with another loose mat; that usually creates a worse trip hazard.
If your main concern is slipping or catching a toe at the front edge, it is worth reading more on dart mat safety, grip and trip hazards before you settle on a permanent arrangement.
Step 1: Start with the board, not the mat
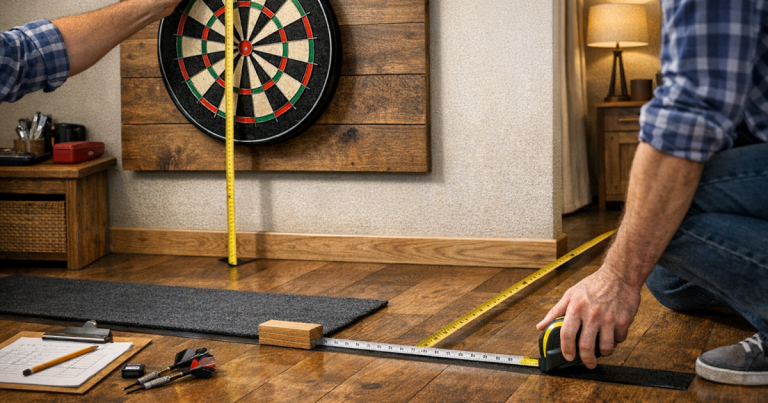
A dart mat can only sit correctly if the board is already in the right place. For a standard steel-tip home setup, the bullseye should be 1.73 m from the floor, and the oche line should be 2.37 m from the face of the board. The important phrase is board face. If you measure from the wall, your oche can end up slightly short because the board sits proud of the wall.
Use a tape measure from the playing surface of the board down to the floor and out to the mat line. If the mat has a printed oche, align that mark to the correct distance. If it has several printed distance lines, use the one that matches the format you actually play. Soft-tip setups commonly use a longer throw distance than steel-tip, so check the format before committing the mat to a fixed position.
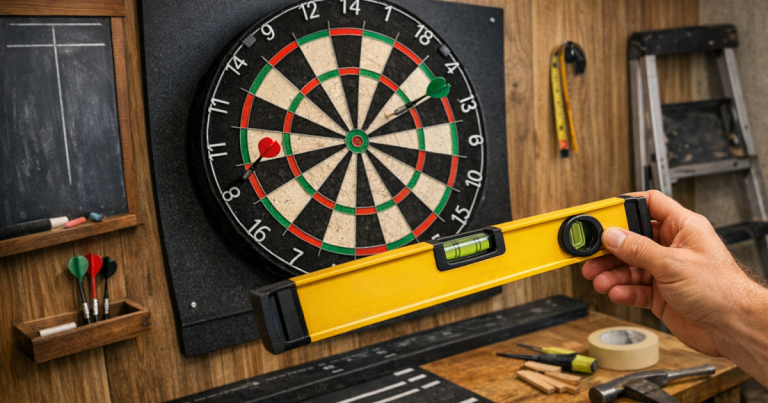
Once the distance is right, check the side-to-side alignment. Stand at the oche and look straight at the bull. The centre of the mat should run directly towards the centre of the board. If the mat is angled, your stance can start square but your body will feel slightly twisted, which is exactly the kind of small annoyance that creeps into repeatable throwing.
Step 2: Give the mat a clean, flat surface
Most dart mats move because the floor underneath is dusty, polished, uneven or too soft. Before laying the mat, sweep or vacuum the area. On hard floors, wipe away grit and check for furniture polish or cleaning product residue, as a shiny floor can turn the underside of a mat into a slider. Let the floor dry fully before replacing the mat.
On carpet, the problem is different. A thin mat can ride up over a deep pile, while a heavy rubber mat can slowly creep as the carpet compresses under repeated foot pressure. Lay the mat in the direction that gives the cleanest, flattest contact, then walk along it slowly from the board end to the throwing end to settle it into the pile.
If the room has thresholds, skirting edges, radiator pipes or furniture close by, do not tuck the mat awkwardly around them. A slight twist at one corner can be enough to make the whole mat buckle over time.
Step 3: Unroll it properly and deal with curled edges
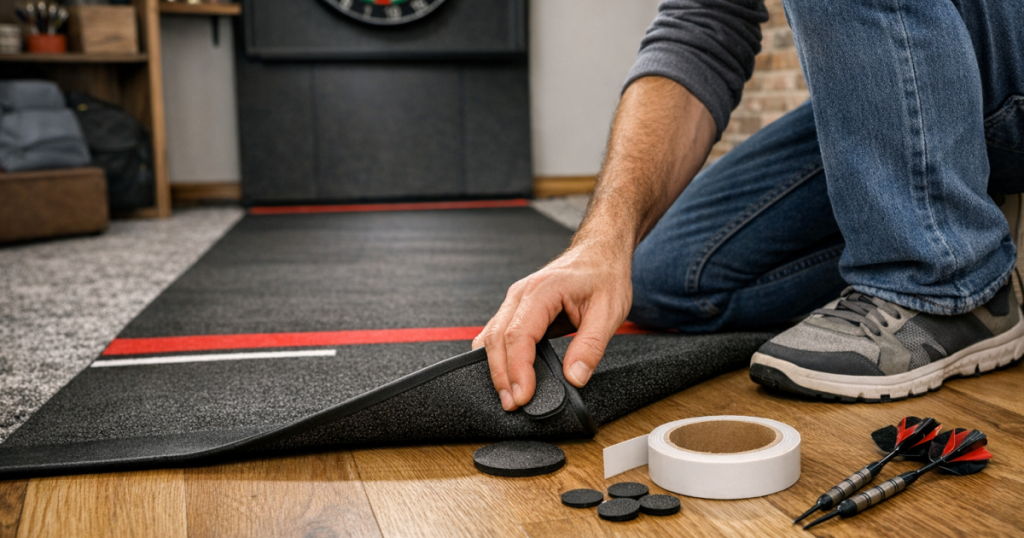
If the mat has been stored rolled up, give it time to relax before judging its grip. Unroll it with the playing surface facing up, then leave it flat in a warm, dry room. Do not try to force a curled edge down with sharp creases, pins or heavy objects that sit in the walking line.
For a stubborn curl, turn the mat over for a short period, then lay it flat again and press along the length with your hands. Some rubber-backed mats settle quickly, while lighter carpet-style mats can need longer. If an edge keeps lifting after repeated flattening, position that edge away from the main walking route where possible.
The front edge near the oche deserves special attention. It is where your lead foot lands, where guests tend to shuffle into position, and where a curled lip is easiest to catch. If that edge will not sit flat, solve it before regular play rather than hoping it will improve mid-session.
Step 4: Match the grip method to your floor
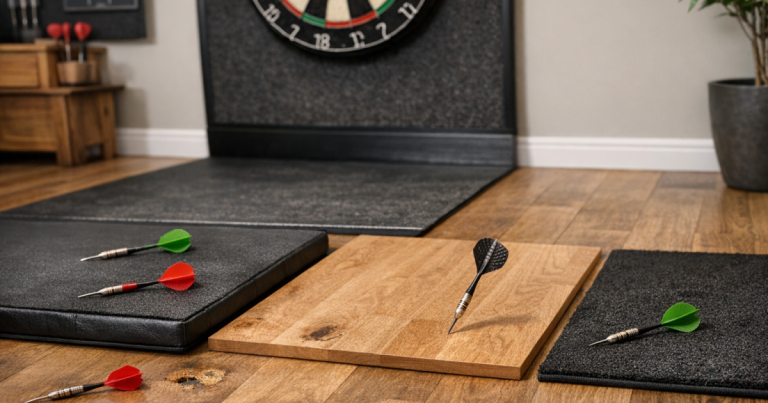
The right way to stop movement depends on the floor. A method that works on carpet can leave residue on laminate, and a solution that grips tiles may do very little on a soft pile. Avoid permanent fixing unless you are completely happy with the room layout and the floor finish.
Laminate, vinyl and sealed wood
Smooth floors often need extra friction. A thin, floor-safe non-slip underlay can help, provided it lies flat and does not bunch under the mat. Check that any grip pad or tape is suitable for the floor finish, because some adhesives and rubber compounds can mark or discolour surfaces over time. Keep the underside free from grit, as trapped particles can scratch when the mat shifts.
Tiles and polished floors
Tiles can be very stable once the mat has proper contact, but grout lines and polished surfaces may reduce grip. Clean the area thoroughly, then test the mat by taking a normal stance and stepping away several times. If the mat creeps forward, use a low-profile anti-slip layer that covers enough area to avoid ridges underfoot.
Carpet
On carpet, weight and texture matter. A mat with a grippy underside may hold well on short pile but move on thick carpet. If it shifts, try a carpet-compatible underlay rather than tape on the top edge. Tape can collect fluff, lose grip and leave sticky patches in the exact area where people walk.
Concrete or garage floors
Garages and outbuildings can work well for darts, but the floor may be dusty, cold or slightly uneven. Brush the area thoroughly and check for small stones before laying the mat. If the floor is rough, make sure the mat sits flat enough that it does not rock or crease when you move your feet.
Step 5: Check your stance area under real throwing movement
A mat can look perfect until somebody actually throws on it. Stand at the oche in your normal stance and make ten relaxed practice movements without darts. Step in, set your feet, lean as you would during a throw, then step back. If the mat moves during that test, it will move during play.
Look for three warning signs. First, the oche edge moves forward or wrinkles. Second, the mat twists slightly to one side. Third, the rear section creeps because your back foot drags it during your reset. These are different problems, so fix the exact movement you see rather than adding random weight to the mat.
If the oche edge moves, improve grip under the throwing end. If the whole mat twists, square it to the board again and check whether one corner is sitting on a ridge or cable. If the rear end creeps, make sure there is enough clearance behind you so your foot is not dragging the mat every time you step away.
Step 6: Leave enough clearance around the mat
A dart mat should not be squeezed into a space that forces players to stand partly off it, step over furniture or twist around a sofa. Ideally, there should be clear floor behind the oche for your stance, reset and follow-through routine. You also need safe side clearance so people are not brushing past the thrower or stepping over the mat during a visit to the board.
Before you settle the mat into place, check your throwing clearance across the full route from the standing position to the board. That includes the area where darts may fall, the walking path for retrieving darts, and any doors that open into the playing zone.
If the mat blocks a household route, it will get kicked, folded or moved. In a busy room, a removable setup may be more realistic: roll the mat away after play, then use discreet floor marks or a repeatable reference point to put it back in the same place next time.
Step 7: Make the oche edge feel deliberate
The oche is not just a printed line. It is the physical reference your feet return to every visit. If the mat has a raised oche strip, make sure it is straight, secure and not proud enough to catch toes when someone walks past. If it is a flat printed line, keep the line visible and square.
Some players like a raised stop because it gives a consistent foot reference. Others prefer a flat mat because it is easier to walk over in a shared room. Either can work, but the front edge must stay stable. A loose raised oche is worse than no raised oche at all because players naturally put pressure against it.
Once the mat is set, throw a few visits from different natural foot positions. If your lead foot keeps landing partly off the mat, the mat may be too narrow for how you stand, or it may be slightly misaligned with the board. Do not adapt your throw to a poorly placed mat; correct the layout instead.
Step 8: Think about wall and floor protection together
A mat protects the floor in the main drop zone, but it does not solve every home setup problem. Darts can still fall beyond the edge, bounce out towards the side, or miss the board and hit the surrounding wall. If your mat is positioned well but the room still feels vulnerable, treat the setup as a whole rather than pushing the mat into an awkward place to cover too much.
For many home players, the neatest arrangement is a centred board, sensible wall protection and a mat that covers the standing and landing area without becoming a household obstacle. If you are still building the area, the overview of wall protection options for dartboards will help you match the board surround, cabinet or backing to the way the mat is used.
Common mistakes that make a dart mat move
- Measuring from the wall: this can put the oche in the wrong place because the dartboard has depth.
- Laying it over dust or grit: hard floors need clean contact for the underside to grip.
- Ignoring a curled oche edge: the throwing end takes the most foot pressure and should lie flat before play starts.
- Using random tape: unsuitable tape can fail, leave residue or create a raised edge.
- Letting furniture pinch one corner: a twisted corner often becomes a wrinkle through the whole mat.
- Leaving it in a walkway: repeated foot traffic kicks the mat out of alignment even if it grips well during play.
Things readers ask
Should a dart mat touch the wall under the board?
Not necessarily. The important measurement is from the dartboard face to the oche line. Some mats will finish close to the wall; others will stop short depending on their length and the printed layout.
Can I use double-sided tape to hold a dart mat down?
Only use tape that is suitable for your floor and easy to remove. On many home floors, a non-slip underlay is a safer first step because it is less likely to leave residue or damage the finish.
Why does my mat move on carpet?
Carpet compresses and shifts under repeated foot pressure, especially with thick pile. A carpet-compatible grip layer, better flattening, and keeping the mat out of busy walkways can reduce movement.
How often should I recheck the oche position?
Check it whenever the mat has been rolled away, cleaned under, or moved by foot traffic. A quick tape-measure check from the board face prevents small shifts becoming part of your routine.
Is a heavier dart mat always more stable?
Heavier mats often sit flatter, but weight alone does not guarantee grip. Floor texture, underside material, edge curl and room layout all affect whether the mat stays put.
The big picture
A dart mat stays in place when the whole setup works with it: correct distance, clean floor, flat edges, enough grip and enough space to move naturally. Do those checks in order and you will usually solve creeping or curling without messy fixes.
Once the mat is stable, leave yourself a repeatable reference point so you can put it back accurately after cleaning or storage. That way, your home setup feels the same every session, your oche stays honest, and the floor gets the protection the mat was meant to provide.