A well-lit board should make trebles easy to see without throwing your hand, dart or body across the light path. The aim of dartboard lighting without shadows is even illumination across the face, with the brightest area on the board rather than in the player’s eyes. Good planning starts with the room, not the fitting.
Hard-wired lighting, new wall switches, ceiling rose alterations and concealed cable routing should be carried out by a qualified electrician to comply with UK electrical safety requirements and relevant Building Regulations.
What to know first
Most shadows over a dartboard come from one of three places: a light behind the thrower, a light too far to one side, or a fitting that sits too low and catches the throwing arm. A ceiling pendant in the middle of a room often looks fine for general use but performs badly for darts because the thrower stands between the light and the board.
The simplest target is even, front-facing light that reaches the board from above and around the face, without dazzling the player. Dedicated dartboard lights, properly placed spotlights and carefully chosen wall or ceiling fittings can all work, but only if the beam does not rely on a single light source behind the oche.
If you are starting from scratch, mark the dartboard position, the oche and the player’s standing area before deciding where any fitting should go. For a deeper look at brightness, glare and visibility standards, keep the full dartboard lighting guide handy alongside this room-planning checklist.
Step 1: Map the playing lane before choosing the light
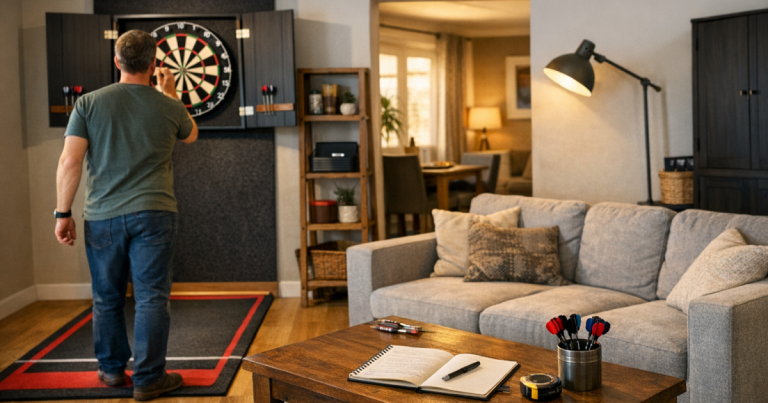
Lighting planning should follow the same line as the throw. Stand at the oche and look directly at the bull. Your main light source should not sit behind your head, above your shoulder line, or so far back that your body cuts across the beam.
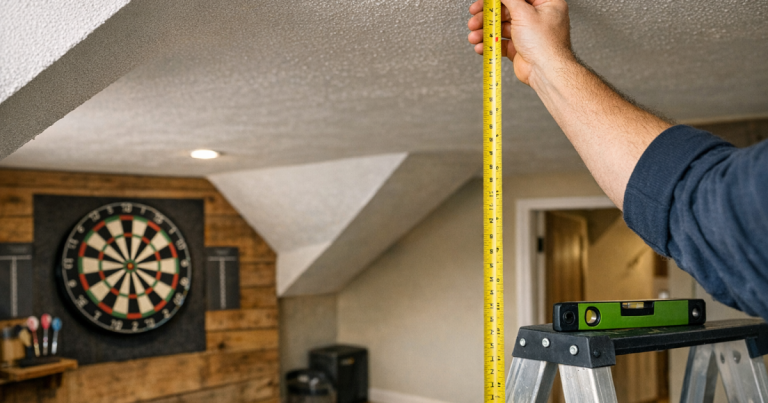
Use masking tape or low-tack painter’s tape to mark three points: the centre of the bull, the throw line and the rough width of the player’s stance. In a standard steel-tip home setup, the bull is typically 1.73 m from the floor and the oche is 2.37 m from the face of the board. These measurements matter because the shadow problem is not only on the wall; it is created by the relationship between board, thrower and light path.
Before fitting anything permanent, do a dry run with a portable lamp. Place it where the proposed fitting would sit, then stand in your normal throwing position and raise your arm as if releasing a dart. If the hand shadow crosses the 20, 5 or 1 segments, the light is too far behind, too narrow, or badly angled.
Step 2: Choose a lighting position that does not fight the throw
The most reliable lighting positions are those that put illumination close to the board rather than across the throwing lane. There are three common approaches for a home darts setup:
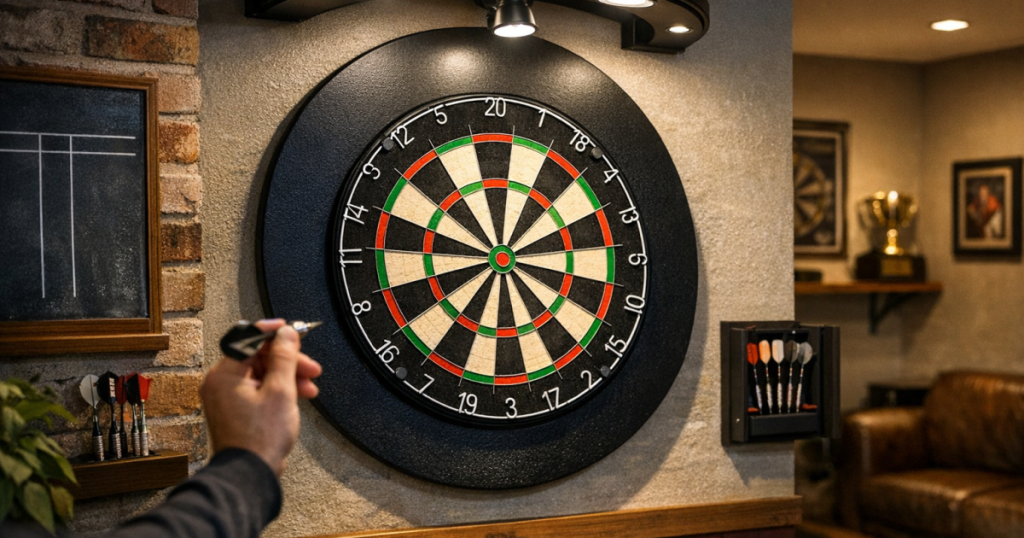
- Dedicated circular or surround lighting: These fittings sit around or near the dartboard and spread light across the face from multiple angles. They are popular because the thrower is less likely to block the light path.
- Ceiling-mounted directional spots: These can work well when they are placed in front of the board and angled back towards it, rather than sitting behind the oche. They need careful aiming to avoid glare.
- Wall-mounted lights above the board: These can help in compact rooms, but a single narrow beam may create harsh shadows from the dart barrels and wires if it is not diffused or balanced.
Dedicated examples such as the Mission Torus 270 LED Dartboard Light and the Unicorn Solar Flare Dartboard Light show the general idea of lighting the board from close range rather than relying on the room’s main pendant. Treat named products as examples of a lighting style, not a guarantee that they suit every cabinet, surround or wall arrangement.
Step 3: Check the board face for shadow zones
A useful test is to divide the board into four visual zones: top, left, right and lower half. Good lighting should keep all four readable without the top segment being bright and the lower doubles looking dull. Shadows around the lower board are easy to miss because many players naturally look at treble 20 first.
Stand at the oche and ask someone to move slowly across the room while you watch the board. If a person walking behind or beside you changes the visibility on the board, the setup is depending too much on general room light. That is not ideal for a hallway, living room corner or multi-use space where people may pass behind the thrower.
Then test your actual throw. Hold a dart at full draw and pause for a second before release. If your wrist, flight or barrel casts a moving shadow across the target area, shift the light closer to the board or widen the spread. Dartboard lighting without shadows is less about brute brightness and more about reducing blocked angles.
Step 4: Control glare as carefully as shadows
Glare is the other half of the problem. A light can remove shadows and still feel uncomfortable if it shines into your eyes, reflects off a cabinet door, or creates a bright ring around the board that distracts from the trebles.
Look for glare from three positions: standing at the oche, bending to pick up darts and sitting nearby if the room is shared. A setup that works for one thrower may annoy everyone else in a lounge or spare room if the fitting shines straight across the space.
Matt wall finishes, darker surrounds and sensible beam angles can help. Glossy cabinet interiors, shiny painted walls and glass-fronted picture frames near the board can bounce light back towards the player. If you use a cabinet, open both doors fully during testing because the doors can alter reflections and shadow edges.
Step 5: Plan around cabinets, surrounds and stands
Room layout affects lighting more than many players expect. A dartboard in a cabinet sits slightly proud of the wall and may have doors, scoreboards or side panels that block angled light. A surround can reduce wall damage, but it also changes how close a ring-style light can sit to the board. A freestanding stand introduces another variable because the board may move slightly between sessions.
If you cannot wall mount the board, check that your stand leaves enough space for the light and does not place a pole or support directly in the beam. With a cabinet, test the lighting with the doors open, the scoreboard in use and the thrower standing normally. If you are still deciding on the board position, work through how to check throwing clearance before installing a dartboard so the light plan supports the whole playing lane, not just the wall.
Step 6: Test in the conditions you actually play in
Do not judge the lighting only in daytime. UK homes often change dramatically between a bright afternoon and a winter evening, especially in rooms with patio doors, bay windows or strong ceiling lights. Test the board at the time you normally play.
Switch off nearby lamps one by one and note what changes. If the board becomes patchy when the main room light is off, your dartboard light may be too weak or too directional. If the board looks fine only when every lamp in the room is on, the setup may be inconvenient for regular practice.
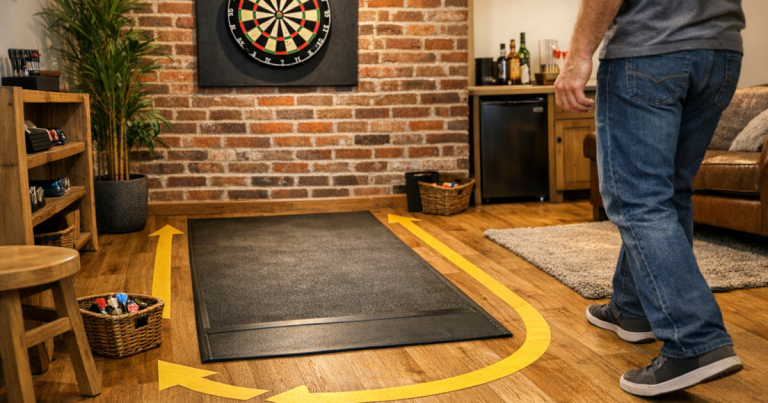
Also check the floor and approach. A brighter board with a dark oche area can make dropped darts harder to see, particularly on patterned carpet or dark mats. If you use a mat, make sure the lighting does not create confusing edges or trip risks around it; the advice on darts mat safety is a useful next step for shared rooms and tighter spaces.
A quick shadow-free checklist
- Stand at the oche and check whether your head, shoulder or hand blocks the light.
- Look at the 20, 3, 19 and lower double segments, not just the centre of the board.
- Test with cabinet doors open, surrounds fitted and scoreboards in place.
- Check for glare from the throwing position and from nearby seating.
- Run an evening test, not just a daylight test.
- Confirm that the light does not make the floor, mat or retrieve area harder to see.
Common questions
Is one ceiling light enough for a dartboard?
Usually not if it sits behind or above the thrower. A single ceiling light can work only when it is positioned and angled so the player does not stand in the beam path.
Should the light be above the board or around it?
Around or close to the board is normally easier for shadow control. An overhead light can work, but it needs a wide, even spread and careful positioning in front of the thrower.
Can lighting be too bright for darts?
Yes. Excess brightness can cause glare, eye strain and reflections from cabinets or walls. Even, comfortable visibility is more useful than maximum brightness.
Do I need different lighting for a hallway setup?
Hallways need extra care because people may pass behind the thrower and many hall lights sit directly in the shadow path. Test movement, clearance and board visibility before committing to the space.
What to remember
Good dartboard lighting is planned from the oche backwards. Put the light where the thrower cannot block it, spread illumination across the whole board face, and test glare as seriously as shadows. Once the board, mat, cabinet and room layout all work together, the setup feels easier to use and far more consistent for practice.