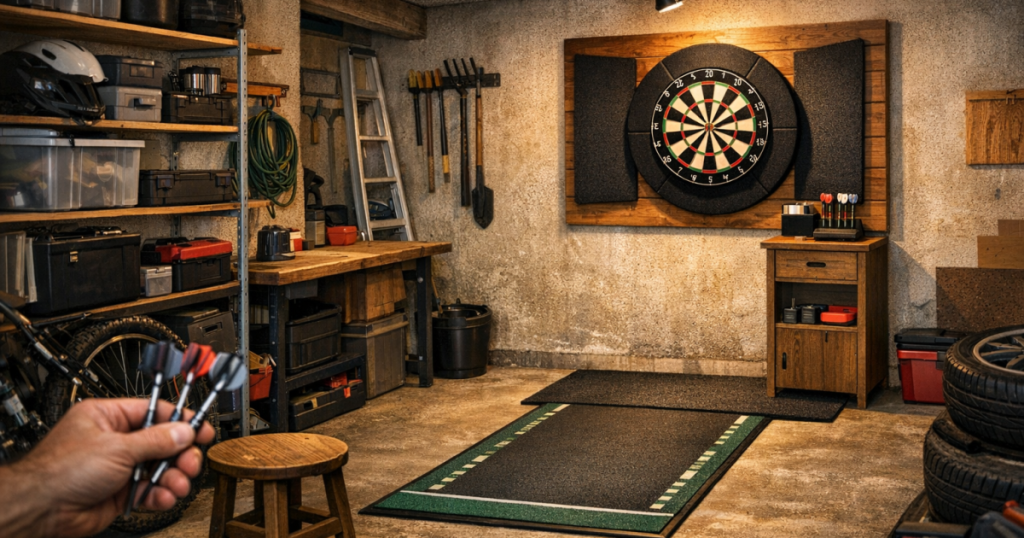
A garage can make a brilliant home darts space, but only if the layout works around cars, bikes, tools and storage rather than fighting them. A well-planned garage darts corner gives you a reliable throwing line, safe clearance and enough comfort to practise without constantly moving half the room.
The aim is not to turn the whole garage into a games room. It is to claim one usable zone, protect the surrounding surfaces, and make the setup easy enough that you will actually use it.
At a glance
- Choose a wall or freestanding position with a clear throwing lane of at least 2.37 m from the board face to the oche.
- Leave enough side clearance so stray darts and bounce-outs are not landing in shelves, bikes or stored tools.
- Plan board height, oche marking, lighting, floor protection and storage before fixing anything permanently.
- Keep garage access practical: doors, freezers, workbenches and car space should still function normally.
- Test the layout with tape and temporary markers before drilling, buying accessories or moving heavy storage.
If your plan involves drilling into garage walls that may contain electrical cables, pipework or structural fixings, the wall assessment and fixing work should be carried out by a qualified professional to meet UK safety requirements and relevant building standards.
Step 1: Choose the least disruptive wall or corner
Start by looking for the part of the garage that already has a natural “dead zone”. In many UK garages, that is the back wall, the end beside a side door, or a corner beyond shelving. Avoid placing the dartboard where players will stand in front of a freezer, boiler access, tumble dryer, workbench drawers or the main route to the garden.
Open the garage door, side door, cupboard doors and any storage units before deciding. A position that looks fine when everything is closed can become awkward as soon as someone needs a bike, toolbox or bin. If the garage still houses a car, mark the parked car’s usual footprint first and keep the throwing lane outside that space.
A corner can work well, but do not push the board too tight into the side wall. You need enough shoulder room for left- and right-handed throwers, and enough clearance for a surround or cabinet if you use one later.
Step 2: Mark the board and oche before thinking about accessories
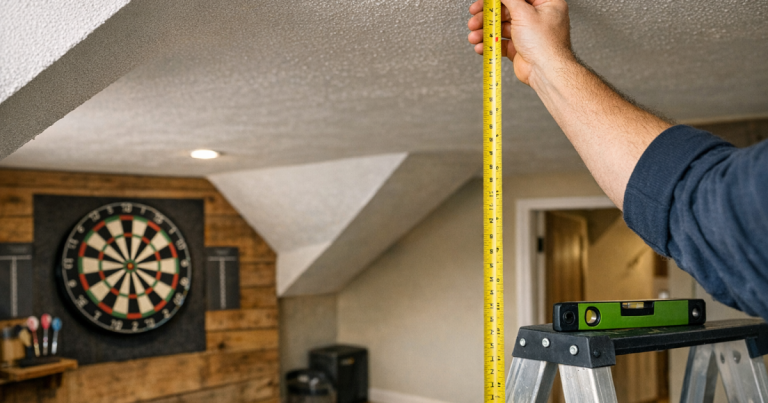
The standard steel-tip setup uses a bullseye height of 1.73 m from the floor and an oche distance of 2.37 m from the face of the dartboard, not from the wall. That distinction matters because the board has depth, and a thick backing panel or cabinet can move the playing face forward.
Use masking tape, a tape measure and a spirit level rather than guessing. Mark the bullseye height on the wall, then measure the oche from the projected board face. If you want a detailed measuring sequence, follow our guide to marking dartboard height and oche distance accurately before committing to your layout.
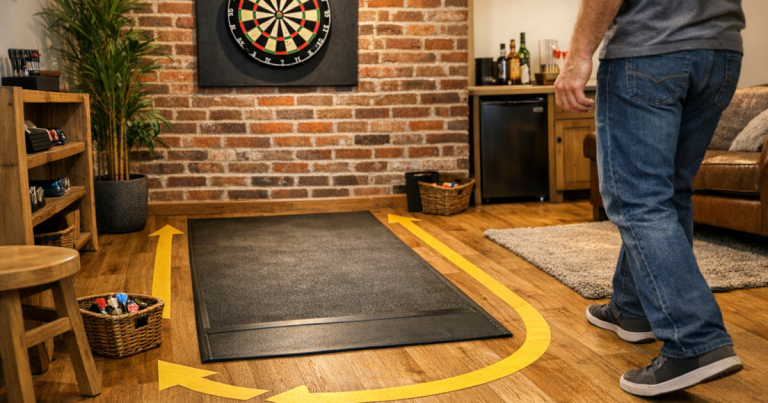
For a garage floor, a visible oche is usually better than a small mark. A strip of tape can shift or peel on dusty concrete, so consider a fixed throw line, a low-profile oche strip, or a mat if it suits the way the garage is used. If cars or bikes move through the space, avoid anything raised enough to trip people or catch under wheels.
Step 3: Allow for the real throwing lane, not just the legal distance
The measured oche distance is only part of the layout. You also need space for the thrower to stand comfortably, step back, retrieve darts and let another player pass behind. In a narrow garage, the problem is often not the throw itself, but the movement around it.
As a rough planning check, stand at the oche and go through your normal throw without darts. Check whether your elbow, follow-through or stance feels cramped. Then have someone walk behind you as they might in normal garage use. If that feels tight, the layout may work on paper but annoy everyone in practice.
Keep the lane clear of hard, sharp or valuable items. Shelving full of paint tins, garden tools or power tools is not ideal beside the board. Even competent players miss, and bounce-outs can travel at awkward angles.
Step 4: Protect the wall, floor and stored items
Garage walls vary a lot: bare brick, blockwork, plasterboard, timber panels and painted masonry all behave differently. A dartboard surround gives the immediate board area some protection, but it will not protect the whole wall, side shelves or anything underneath. If beginners will use the setup, allow a wider protected zone than you think you need.
A simple backing board can help create a defined darts area and make the setup look intentional rather than temporary. Use a size that covers realistic misses above, below and around the board. If the board is close to storage, move delicate items, glass, tins and sharp tools out of the line of fire.
Floor protection is just as important in a garage. Concrete is hard on dart points, and a bounce-out can blunt or damage a dart quickly. A mat softens landings, marks the throw line, and visually separates the playing area from the rest of the garage. If the floor is damp, dusty or uneven, clean and dry the area first so the mat sits flat.
Step 5: Make lighting part of the plan, not an afterthought
Garages often have one ceiling light in the middle, which can leave the dartboard in shadow once someone stands at the oche. Good lighting should illuminate the board evenly without glare in the thrower’s eyes. It should also work when the garage door is closed and natural light disappears.
A dedicated dartboard light, well-positioned spotlight or cabinet light can all work, depending on the wall, ceiling height and how permanent you want the setup to be. The main check is shadow control: stand at the oche, raise your throwing arm and see whether your own body blocks the light. For a clearer breakdown of the main approaches, see our guide to dartboard lighting types.
If you use plug-in lighting, route cables away from the throw line and walking routes. Garages are practical spaces, so the tidiest solution is usually the one that survives day-to-day use without being unplugged, knocked or trapped behind storage.
Step 6: Keep storage close, but not in the danger zone
A good garage darts area needs small-item storage. Flights, shafts, spare points, chalk, a marker pen and a tape measure all go missing quickly if they live on a general garage shelf. A small box, drawer or wall-mounted organiser near the board keeps the setup ready for short practice sessions.
Put darts and spares somewhere dry and easy to reach, but not directly below the board where bounce-outs land. If the garage is cold or slightly damp, avoid leaving paper score sheets, cardboard packaging or spare flights loose on a bare concrete floor.
Think about non-darts storage too. If your board sits beside bikes, golf clubs, garden tools or DIY gear, create a clear boundary. A mat, backing panel or dedicated shelf helps everyone in the house understand which area needs to stay clear.
Step 7: Test the layout before fixing it permanently
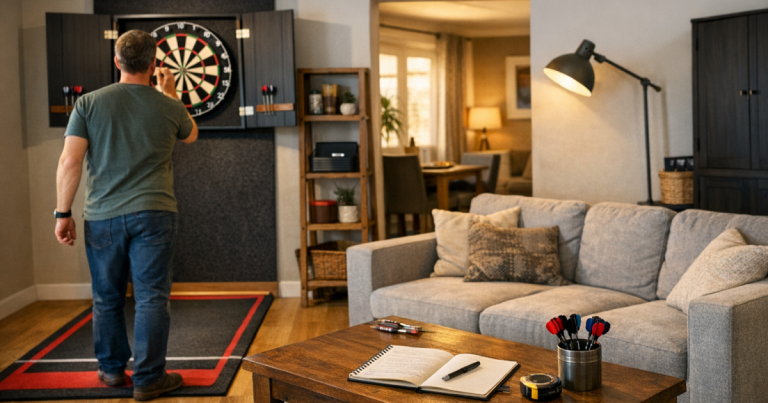
Before drilling, mounting a backing board or moving heavy shelving, create a temporary version of the setup. Tape the bullseye height, mark the oche, stand in the lane, open doors, move bikes, and check how the space behaves during a normal day. This is the quickest way to spot problems that a tape measure alone will miss.
Throw a few gentle practice visits if it is safe to do so, or use soft temporary markers if the board is not mounted yet. Notice where darts might miss, where players naturally stand, and whether the oche blocks access to anything important. Our walkthrough on testing a darts layout before drilling is worth using at this stage, because small changes are much easier before the fixings go in.
Once you are happy, take photos of the final tape marks and measurements. They are useful if you later repaint, replace the board, fit a surround or change the flooring.
Step 8: Make the space comfortable enough to use often
A darts setup in a garage can be accurate but still unpleasant if it is cold, cluttered or awkward. Add a small scoreboard at a readable height, keep a cloth nearby for dust, and make sure there is somewhere safe to put a drink away from the throw line. If you practise in the evening, check whether the garage feels too cold once you stop moving between throws.
Noise is another practical point. Darts hitting a board on a shared wall can be more noticeable indoors than expected, particularly in an attached garage. A backing panel, mat and careful board placement can all help reduce the harshness of impact and bounce-out noise, even if they do not make the setup silent.
The best garage darts corner is one that stays ready. If it takes ten minutes to move boxes, find darts and clear the oche, it will become a novelty rather than a regular practice space.
Things readers ask
Can I set up darts in a single garage?
Yes, if you have a clear 2.37 m oche from the board face and enough room behind the line to stand and move safely. The limiting factor is often stored items rather than the garage size itself.
Should the dartboard go on the back wall or side wall?
The best wall is the one that gives the clearest throwing lane without blocking normal garage access. Back walls often work well, but a side wall can be better if the car, freezer or main storage sits at the rear.
Is a mat necessary on a garage floor?
It is not essential, but it is very useful on concrete. A mat helps mark the oche, protects dart points from bounce-outs, and makes the darts area feel more defined.
How much wall protection do beginners need?
Beginners need more than the width of the board. Use a surround as a minimum, and consider a wider backing panel if the board is near brickwork, shelves, tools or anything fragile.
Can I use a freestanding stand instead of drilling?
Yes. A stand can be a good option in rented homes, awkward garages or spaces where the best throwing lane does not line up with a suitable wall. You still need to check stability, clearance and floor protection.
Why it matters
Planning a darts area in a garage is mostly about preventing small annoyances from becoming permanent. Accurate measurements, safe clearance, good lighting and sensible storage make the difference between a setup that looks fine for one evening and one that works week after week.
Take the time to tape out the space, walk through normal garage use, and adjust the layout before fixing anything. A measured, tested garage darts corner will feel more natural, protect the room better, and give you a setup that is easy to enjoy whenever you have time for a throw.