A freestanding dartboard is a smart answer when you cannot drill into a wall, want to move the board between rooms, or need a flexible practice space. The aim when setting up a dartboard stand without wobble is to control three things: the floor contact, the stand geometry, and the way the board’s weight sits on the frame.
Most wobble is not caused by one dramatic fault. It is usually a stack of small issues: a soft carpet, one leg sitting slightly high, a centre pole extended too far, or the board face not sitting square to the throwing line.
The short version
For a steadier dartboard stand, set it up on the firmest floor available, spread and lock the legs fully, keep the centre of gravity as low and central as the stand allows, and check the board height only after the stand is stable. If the stand still shakes, treat it as a setup problem first rather than immediately blaming the stand.
- Use a firm, level surface before adding any mat or floor protection.
- Spread tripod legs fully and position one leg towards the throwing line if the stand design allows it.
- Tighten collars, clamps and board brackets evenly, without forcing them.
- Keep the board face vertical and the bull at the correct height.
- Measure the oche from the board face, not from the rear of the stand.
- Re-check stability after ten minutes of throwing, not just when the stand is empty.
Step 1: Start with the floor, not the stand
The floor decides how much movement the stand has to fight. A stand placed on thick carpet, uneven floorboards or a rug with a soft underlay will usually move more than the same stand on a firm surface.
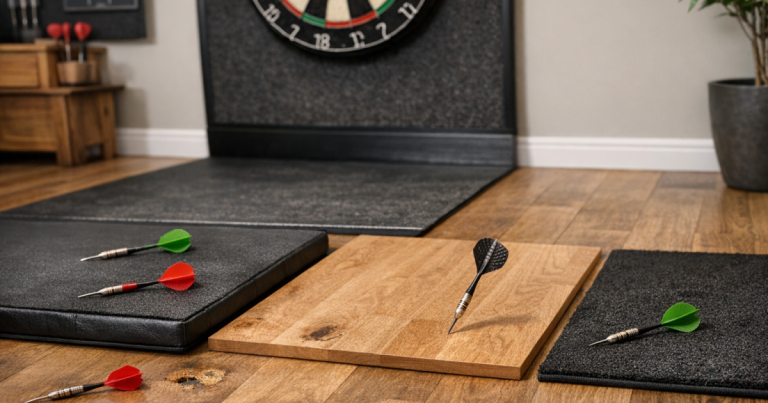
Set the stand up on bare hard flooring first if you can. Laminate, vinyl, tile or a firm wooden floor gives you a clearer idea of whether the stand itself is stable. Once it feels solid there, you can add a darts mat or floor protection and see whether the movement returns.
If you are in a typical UK home with carpeted spare rooms or a converted dining area, press down around each foot by hand before mounting the board. If one foot sinks more than the others, rotate the stand slightly or move it a few centimetres until all feet sit more evenly.
Step 2: Open the legs fully and check the stance
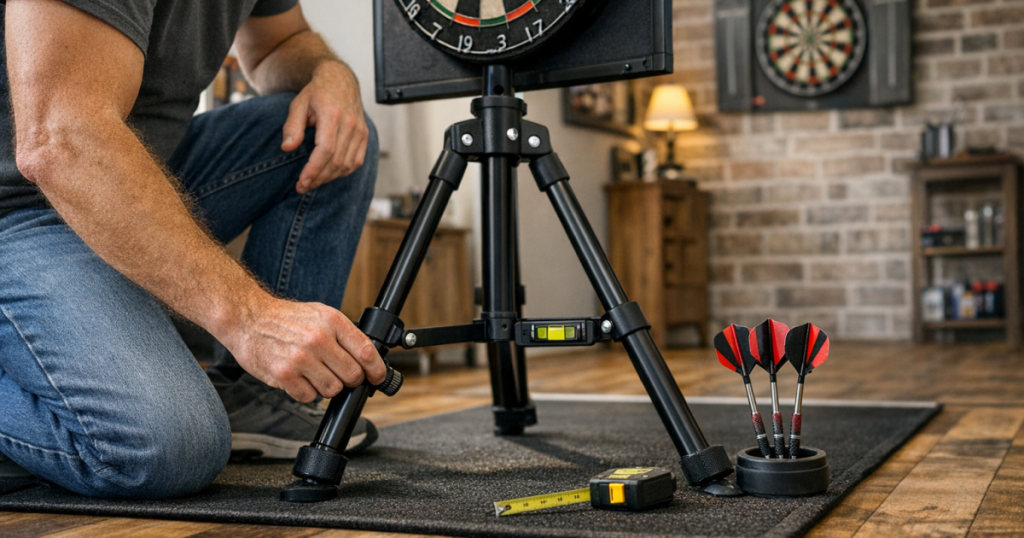
A dartboard stand is most stable when its legs are fully spread and locked into their intended position. Half-open tripod legs may look fine, but they reduce the footprint and make the stand easier to rock with every dart impact.
Open the legs until the stops, locks or braces are fully engaged according to the stand’s instructions. Do not rely on friction alone if the stand has a locking collar or clamp. If the leg braces are not seated properly, the stand can feel stable when empty but wobble as soon as the board is fitted.
On many tripod-style stands, it helps to have one leg pointing broadly towards the thrower and the other two angled back. This gives the stand better support against the forward-and-back movement caused by darts hitting the board. Use the arrangement your stand is designed for, but avoid placing the narrowest part of the footprint in line with the throw.
Step 3: Keep the centre pole as low as practical
Height adjustment is useful, but over-extending the centre pole can increase wobble. The higher the board and mounting bracket sit above the legs, the more leverage each dart impact has on the stand.
Set the pole height gradually rather than pulling it up to the rough height in one go. Tighten each adjustment point before checking the next one. If your stand uses telescopic sections, make sure the lower section is doing most of the work and the upper extension is not pulled out further than needed.
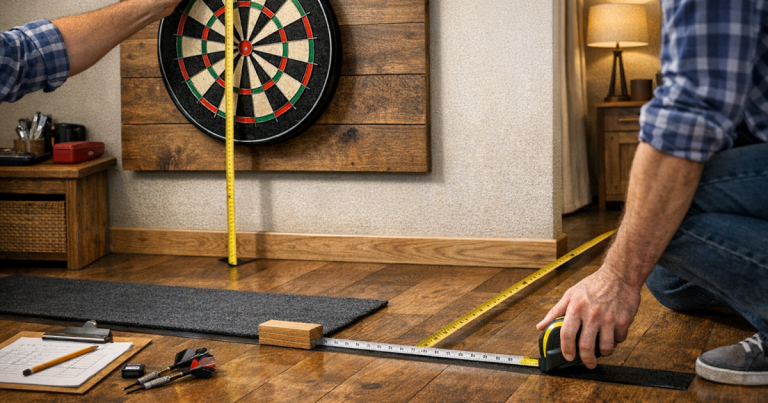
The standard steel-tip bull height is 1.73 m from the floor to the centre of the bull. Check this after the legs are fully opened and the stand is standing naturally. If you adjust height first and spread the legs later, the measurement can change slightly.
Step 4: Mount the board square and central
A wobble can come from the board sitting off-centre or leaning forward. Mount the dartboard so its weight is carried through the centre of the stand rather than pulling to one side.
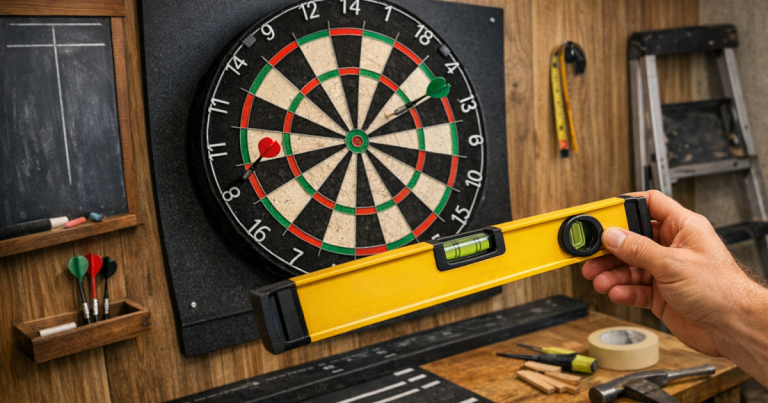
Before tightening everything, stand directly in front of the board and check that the number 20 is at the top, the face is vertical, and the board does not lean left or right. Then look from the side. The board should not be tilted dramatically towards the thrower unless the stand’s bracket is specifically designed to hold it that way.
If the board bracket has more than one contact point, tighten each point evenly. Over-tightening one side can twist the mount slightly, which may create vibration rather than removing it. The goal is firm contact, not brute force.
Step 5: Set the oche after the stand is stable
With a freestanding setup, the board face sits forward of the rear legs and well away from any wall. That changes how you measure the throwing distance. For steel-tip darts, measure 2.37 m from the face of the board to the oche line, not from the stand’s rear foot, the wall behind it, or the centre pole.
A laser measure, tape measure or pre-marked darts mat can all work, provided the reference point is the board face. For a more detailed room-planning check, use our guide to setting out your throwing area and oche, especially if the stand will live in a multi-use room.
Once the oche is set, throw a few normal darts rather than gentle test darts. A stand that survives careful tapping may still wobble during your usual match rhythm.
Step 6: Tighten in the right order
If the stand still moves, work from the floor upwards. Random tightening can hide the real problem and may make the stand harder to adjust later.
- Check each foot is flat on the floor.
- Check the legs are fully spread and the braces are seated.
- Tighten the lower collar or main leg lock.
- Tighten the centre pole adjustment.
- Check the board bracket and any rear support plate.
- Re-check board height and oche distance.
After tightening, place one hand lightly on the side of the board and give it a small controlled push. You should feel minor flex in the stand, but it should not rock from foot to foot or twist around the centre pole.
Step 7: Reduce vibration without making the setup awkward
Some movement is normal with a portable stand. The aim is to stop obvious rocking and bounce, not to make it feel like a wall-mounted board. If you try to eliminate every tiny vibration, you may end up with a setup that is over-tightened, inconvenient to move, or awkward to store.
There are a few simple ways to calm vibration without changing the whole setup:
- Place the stand on firm flooring rather than a deep rug.
- Use a thin, dense mat rather than a thick, spongy one.
- Keep loose accessories off the stand during play.
- Avoid hanging heavy items from one side of the frame.
- Leave enough clearance behind the board so it does not tap furniture or a wall.
If noise is part of the problem, remember that wobble and impact sound are related but not identical. A stand may reduce direct wall vibration, but the board itself can still be loud in a flat, terrace or semi-detached home. If sound matters, our advice on choosing a quieter dartboard for shared walls is a useful next read.
Common wobble causes and quick fixes
The stand rocks from one foot to another
This usually points to an uneven floor or one leg not fully seated. Move the stand slightly, rotate it, and check that every foot is carrying weight. On carpet, press each foot down before judging the result.
The board shakes but the feet stay still
This often means the movement is higher up. Check the telescopic pole, locking collars and board bracket. A small amount of flex is expected, but the pole should not rattle inside its clamp.
The stand twists when darts land
Twisting can happen when the board is mounted off-centre or the leg orientation leaves the stand weak in the direction of throw. Re-centre the board and rotate the tripod stance if the design allows it.
The stand was stable, then became loose
Portable stands can loosen with repeated folding, moving and reassembly. Add a quick stability check to your setup routine: feet, leg locks, pole clamp, board bracket, height, oche. It takes less than a minute and prevents most mid-session wobble.
Using a stand in a rental or temporary space
A stand is one of the simplest ways to play darts when drilling is not an option. It keeps the board independent from the wall and lets you pack the setup away when the room needs to go back to normal.
That flexibility comes with a trade-off: you have to be more deliberate about floor position, leg spread and repeatable oche marking. If you are working around tenancy restrictions, shared rooms or awkward wall surfaces, our no-drill dartboard setup for renters covers the broader layout choices.
For temporary setups, mark the stand foot positions with small removable floor markers only where suitable for your floor finish. This helps you return to the same stable position each time rather than rebuilding from scratch.
A simple pre-game stability routine
Before a proper practice session or match night, run through this short routine. It is quicker than chasing a problem once the first leg has started.
- Stand behind the board and check the centre pole is straight.
- Look at the feet and make sure none are floating or tucked under a rug edge.
- Confirm all locks and collars are hand-tight.
- Check the board face is vertical and the 20 segment is centred at the top.
- Measure the bull height at 1.73 m.
- Measure the oche from the board face.
- Throw nine normal darts and watch whether the stand rocks, twists or simply vibrates.
If the stand passes those checks, you are in a good place. A tiny shudder on impact is normal; visible rocking, creeping across the floor or a rattling pole means something still needs attention.
FAQ
Can I use a dartboard stand on carpet?
Yes, but firm carpet is much easier than deep pile carpet. If the feet sink unevenly, move the stand slightly, rotate it, or use a denser mat only after checking the stand on the bare floor.
Should one tripod leg face the thrower?
On many stands, one leg facing broadly towards the thrower improves support against dart impact. Follow your stand’s design, but avoid leaving the narrowest part of the footprint in the throwing direction.
Why does my stand wobble only after I start throwing?
The board adds weight and each dart impact adds force. A loose collar, soft floor or slightly off-centre board can seem fine when empty but show up once the board is in use.
Do heavier dartboards make stands wobble more?
A heavier board can increase movement if the stand is already near its limit or the bracket is not secure. Check the stand’s stated compatibility and make sure the board is mounted centrally.
How often should I re-check the setup?
Check it each time you unfold or move the stand. For a stand left in place, a quick weekly check of feet, locks, pole height and bracket tightness is usually enough for regular home play.
What to remember
A stable freestanding setup comes from small details done consistently. Put the stand on the firmest floor you can, spread and lock the legs properly, keep the board central, then set the height and oche from the board face.
If you want a dartboard stand without wobble, do not skip the boring checks. Feet, locks, pole, bracket and measurements are what turn a temporary setup into a reliable practice lane.