A no-drill dartboard setup is usually built around a freestanding dartboard stand, a removable floor marker, and protection for the wall and floor behind the board. It is ideal for rented flats, shared houses and temporary spaces where screws, plugs or permanent marks are not worth the risk.
The aim is not just to avoid drilling. A good renter-friendly setup should still feel stable, measure correctly and pack away neatly when the room needs to go back to normal.
What to know first
- Use a freestanding dartboard stand rather than relying on adhesive fixings for a steel-tip board.
- Measure the board height and oche distance from the playing surface, not from the wall behind it.
- Add a surround, backing layer or portable screen so missed darts are not hitting plaster, skirting or doors.
- Choose removable toe-line marking that will not leave residue on carpet, laminate or vinyl.
- Keep darts stored away when not in use, especially in homes with children, pets or guests.
Start with the right no-drill mounting method
For most renters, the cleanest solution is a freestanding dartboard stand. It keeps the board independent from the wall, avoids screw holes, and lets you move the whole setup if you need the space for everyday living. The main thing to check is that the stand is designed for a proper dartboard, sits firmly on your floor, and allows the board to be set at the correct height.
A door-hung board can work for casual play, but it is rarely the best answer in a rental. Doors flex, handles get in the way, and repeated dart impact can mark paintwork or rattle through the frame. Adhesive strips and light-duty hooks are also a poor match for a bristle board because the board is heavy and takes repeated impact. If they fail, the damage can be worse than a small fixing hole.
If you are choosing between portable stand styles, check the footprint, how easily it folds away, and whether the legs will clash with your throwing lane. For a deeper look at renter-friendly options, see this guide to choosing a dartboard stand for rented homes.
Set the board height before anything else
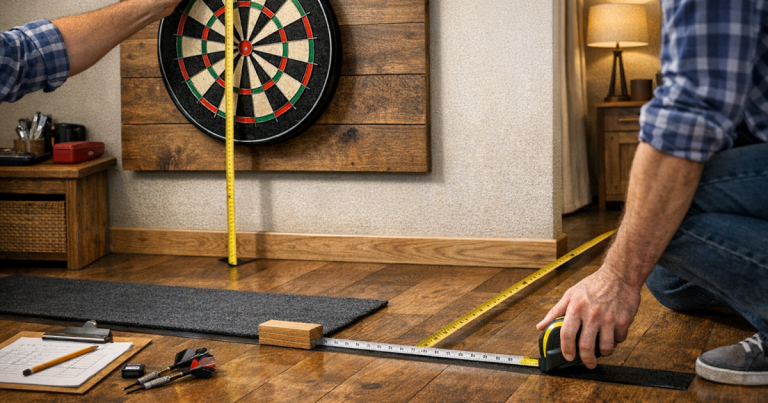
Once the stand is in place, fit the dartboard and set the bullseye height to 1.73 m from the floor. Measure to the centre of the bull, not to the top of the board or the stand bracket. If the stand is on a thick rug or mat, measure from the surface you will actually stand on.
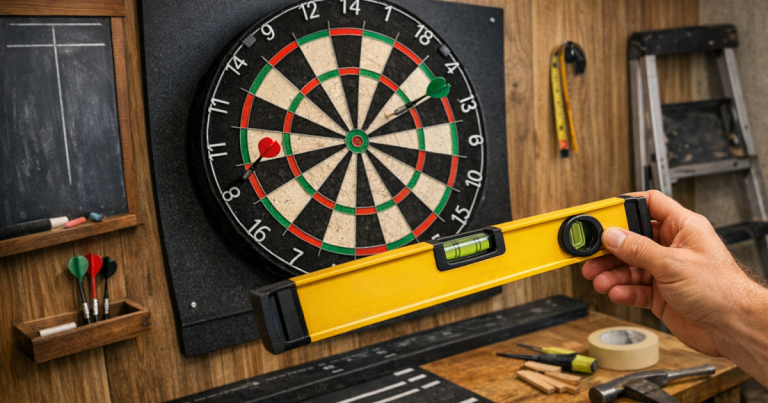
Use a tape measure and a small spirit level if you have one. The board should face squarely down the throwing lane, with the 20 segment at the top and the board sitting flat against its mounting plate. A slight twist in the stand or a board that leans backwards can make the setup feel wrong even when the numbers are technically close.
After setting the height, step back and check sightlines. You want enough clear space behind the oche for a comfortable stance and follow-through, and enough side clearance that nobody walks across the lane while someone is throwing.
Measure the oche without marking the floor permanently
For steel-tip darts, the standard throwing distance is 2.37 m from the face of the dartboard to the front of the oche. On a stand setup, do not measure from the wall, because the board face may sit forward of it. Measure from the board face straight down the lane.
The easiest renter-safe oche is a removable dart mat, a strip of low-tack painter’s tape, or a slim rubber threshold-style marker that can be lifted after play. On carpet, tape may not hold cleanly, so a mat or weighted marker is usually neater. On hard floors, avoid anything with aggressive adhesive that could leave residue or lift a surface finish.
If you want to double-check both the horizontal and diagonal measurements, use the full breakdown in this guide to setting the correct oche distance at home. It is especially useful when a stand, mat or uneven floor makes the tape measure awkward.
Protect the wall even when the board is freestanding
A stand removes the need to drill, but it does not remove the need for protection. Missed darts can still reach the wall, skirting board, furniture or flooring, particularly if beginners or guests are playing. Treat protection as part of the setup, not as an optional extra.
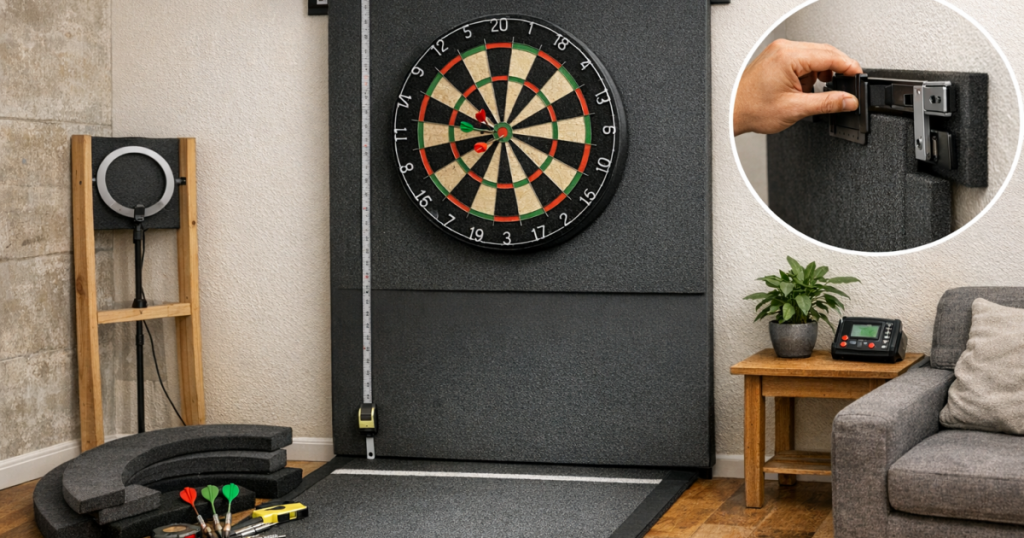
A dartboard surround is the simplest first layer. It fits around the board and catches many near misses without needing wall fixings. For a wider safety zone, place a freestanding backing board, folding screen or thick protective panel behind the stand. The key is to ensure it cannot tip forward and that it covers the realistic miss area around the board.
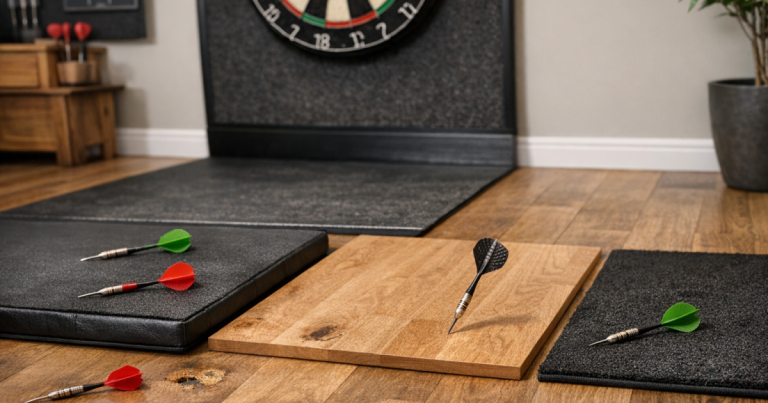
Floor protection matters too. Bounce-outs can chip laminate, mark vinyl or disappear into carpet. A dart mat, dense rug or removable floor protector under the board area helps limit damage and also makes dropped darts easier to spot. If you need to plan the full area, this guide on how to protect floors and walls around a dartboard covers the main risk zones.
Make the setup stable and neighbour-friendly
Stability is the difference between a temporary setup and one you actually enjoy using. Put the stand on a flat surface, spread the legs fully, and check that nothing rocks when you retrieve darts. If the floor is slightly uneven, a firm mat under the stand can help, but avoid soft foam that makes the board wobble.
Noise is another rental issue, especially in flats or terraced houses with shared walls. Keep the board slightly away from party walls if the room allows. A freestanding setup in front of a bookcase, internal wall or heavy curtain can sometimes feel quieter than one placed against a bare shared wall. Do a quick test throw at a sensible time of day and listen from the next room if possible.
Do not wedge the stand so tightly against a wall that impact transfers straight into the structure. A small gap, a stable base and a good surround usually give a better balance of protection and lower vibration.
Plan lighting without fixing anything overhead
Good lighting helps the board feel more permanent, even if the whole setup packs away. For renters, use movable lighting rather than ceiling changes or wall-mounted fittings. A floor lamp, a clip-on lamp attached to sturdy furniture, or an existing ceiling light can work, provided it lights the board evenly and does not shine into the thrower’s eyes.
Stand at the oche and look for shadows from your throwing arm across the treble 20 and bull area. Then stand close to the board and check for glare on number rings, scoreboards or any glossy cabinet surface nearby. The best position is usually slightly above and in front of the board, angled down, but the exact answer depends on the room.
Keep cables away from the throwing lane and retrieval path. If a lamp cable has to cross a walking route, move the lamp rather than taping a trip hazard to the floor.
Build a renter-friendly layout that packs away
A no-drill darts area works best when each part has a home. Keep the stand, mat, darts and surround together so setup takes minutes rather than becoming a chore. If the room doubles as a lounge, office or bedroom, choose a storage spot before you start buying extra accessories.
One simple layout is to keep the dartboard mounted on the folded stand, store the mat rolled nearby, and use a small darts case for flights, shafts and points. Another option is to leave the stand assembled in a corner and move it into position only when playing. If you do this, put small removable floor markers where the feet sit so you can repeat the same position without measuring everything from scratch.
For shared homes, agree a few house rules. No throwing when someone is crossing the room, no darts left loose on tables, and no casual games after quiet hours if the board is near a neighbour’s wall. These small habits make a temporary setup much easier to live with.
Quick checks before your first proper throw
- Board height: the bullseye is 1.73 m from the finished floor or mat surface.
- Throwing distance: the oche is measured from the face of the board, not from the stand or wall.
- Stand stability: the legs are fully open, the board does not rock, and the floor is level enough for safe play.
- Wall and floor cover: the miss area behind and below the board is protected before guests start throwing.
- Lighting: the board is evenly lit with no strong glare or throwing-arm shadow.
- Storage: sharp darts are put away securely after use, not left in the board or on nearby furniture.
- Tenancy sense-check: nothing is screwed, glued permanently, stained or likely to leave an obvious mark.
Helpful questions
Can I use adhesive hooks for a dartboard in a rented flat?
It is not a good idea for a steel-tip bristle board. The weight of the board and repeated dart impact can overload adhesive fixings, and a failed mount can damage both the board and the wall.
Is a dartboard stand accurate enough for proper practice?
Yes, provided the stand is stable and you measure the bull height and oche distance correctly. Recheck the measurements after moving or folding the stand.
What is the best removable oche marker?
A dart mat is the neatest option because it marks the throw line and protects the floor. For a very small space, a removable rubber strip or low-tack tape can work if it suits your flooring.
Will a no-drill setup stop all wall damage?
No. The stand avoids fixing holes, but missed darts can still hit surrounding surfaces. Use a surround and wider backing protection if beginners, children or guests will be playing.
Can I set up darts in a bedroom or small lounge?
Only if you have a clear throwing lane, safe space behind the oche, and a protected area around the board. Avoid layouts where people need to walk across the lane during play.
What stands out
The best renter-friendly darts setup is simple: a stable stand, accurate measurements, removable floor marking, sensible protection and tidy storage. Once those basics are right, the space can feel close to a permanent board without giving your landlord a reason to complain.
If you want to refine the setup further, work through one issue at a time. Start with stability, then oche accuracy, then protection, then lighting. That order gives you a safer and more enjoyable throwing area without turning a rented room into a building project.