A board that twists after every visit is annoying, and it can slowly pull your numbers out of line. The quickest way to stop a dartboard spinning is to make the centre fixing secure, then add firm contact points behind the board so it cannot rock or creep around the wall.
Most spinning problems come from a loose wall bracket, a centre screw set at the wrong depth, missing rear bumpers, or a wall surface that lets the board move under impact. Work through the checks below in order and you can usually fix it without replacing the board.
What to know first
- The board should hang from the centre screw, not be clamped hard against the wall.
- The back of the board still needs stable contact points, usually three or four, to stop movement.
- A little rotation should remain possible when you deliberately turn the board for wear, but it should not spin during normal throwing.
- Do not glue a bristle board permanently to the wall; you need to rotate it to spread wear around the trebles and doubles.
- If the board is in a cabinet, check the cabinet fixing first, because the board may be fine while the cabinet is moving.
Why dartboards spin in the first place
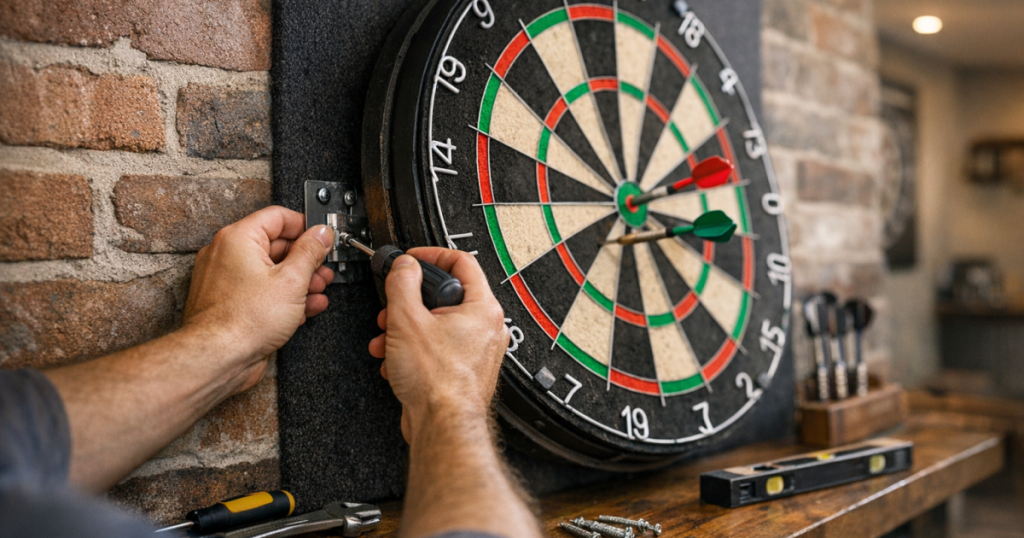
A standard bristle dartboard usually hangs on a metal U-shaped bracket fixed to the wall or cabinet. A screw in the exact centre of the board’s rear face drops into that bracket. This design makes it easy to lift the board off and rotate it when the twenty segment starts to wear.
That same design also means the board relies on friction and rear support to stay still during play. If the screw head is not sitting properly in the bracket, the board can tilt. If the stabilising pads are missing or too small, the board can swing on the centre screw like a loose clock face. If the wall or cabinet flexes, each dart impact can nudge the board a little further round.
Step 1: Take the board down and inspect the bracket
Lift the dartboard upwards and away from the wall so you can see the fixing clearly. Look for a bent bracket, loose screws, an uneven mounting surface, or a bracket that is not vertical. Even a small angle can make the board settle off-centre after a few throws.
Tighten the bracket screws by hand and check that the bracket sits flat. If a screw spins without tightening, the wall plug, cabinet panel or timber backing may no longer be gripping properly. Do not keep driving the screw into a failed hole; it will only make the fixing weaker.
If your dartboard is mounted inside a cabinet, the cabinet itself must be solid before you adjust the board. For more detail on different surfaces, see the guide to fixing a dartboard cabinet on different wall types.
Step 2: Set the centre screw to the right depth
The centre screw on the back of the board is a common cause of movement. If it is too shallow, the board may not sit fully in the bracket. If it is too deep, the back of the board can scrape the wall or sit under tension, making it harder to level and more likely to shift.
As a practical check, the screw head should drop securely into the wall bracket while leaving the board sitting flat. Hang the board, press it gently at the left and right edges, and listen for knocking or see-saw movement. If it rocks, remove it and adjust the screw by a small turn at a time.
Avoid over-tightening the centre screw into the board. The screw needs a firm hold, but forcing it can damage the rear material around the hole. Small adjustments are better than one heavy turn.
Step 3: Add proper rear contact points
Many boards use small rubber feet, plastic spacers, adjustable wheels or foam pads on the back. Their job is not decorative; they create friction and keep the board face square to the throwing line. If one is missing, compressed or placed badly, the board can pivot on the centre fixing.
Check the back of the board and aim for evenly spaced contact points. Three points can work well because they do not fight each other on a slightly uneven wall. Four can also be fine if the wall is flat and all four pads touch properly.
If your board has adjustable rear levellers, turn them until the board feels snug against the wall without being jammed. If it uses simple pads, replace missing ones with suitable rubber bumpers of similar thickness. The key is even pressure: one thick pad and two thin ones can make the board sit proud on one side and move more, not less.
Step 4: Use a thin shim if the wall is uneven
Older British homes often have walls that are not perfectly flat, and even a solid cabinet back can bow slightly over time. If the board is secure at the centre but still taps or twists at one edge, a thin shim can help.
Use a small piece of cork, dense felt, card or rubber behind the low contact point. Keep it neat and shallow. You are trying to remove a gap, not wedge the board so tightly that it cannot be lifted off or rotated for maintenance.
Test by hanging the board, lining up the twenty at the top, and giving the outer wire a gentle nudge. It should resist casual movement but still turn when you intentionally rotate it with both hands.
Step 5: Check the surround, backboard and cabinet
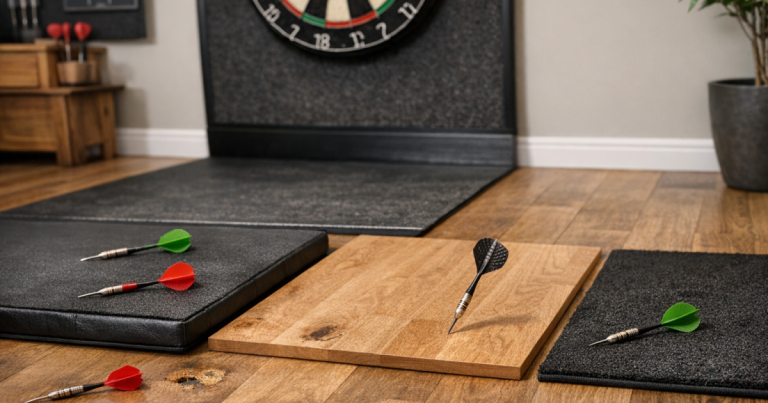
A foam surround or cork backboard can protect the wall, but it should not push unevenly on the dartboard. If a surround is too tight, warped or trapped behind the board, it may act like a spring and encourage movement after each impact.
Remove the surround temporarily and play a few throws. If the spinning stops, refit the surround so it sits around the board rather than forcing pressure behind it. If you are deciding how much wall protection you need, the comparison of cork backboards and foam surrounds explains the practical differences for home setups.
For cabinet setups, open the doors and check for movement at the hinge side and the fixing points. A cabinet that rocks slightly can make the board appear loose even when the board fixing is correct.
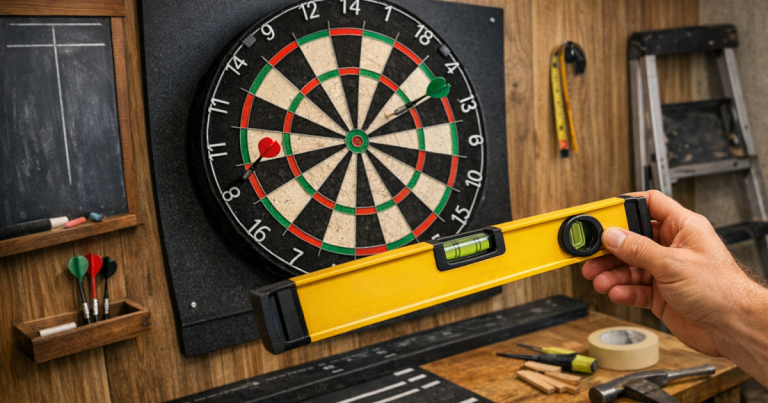
Step 6: Re-level the board and confirm the playing line
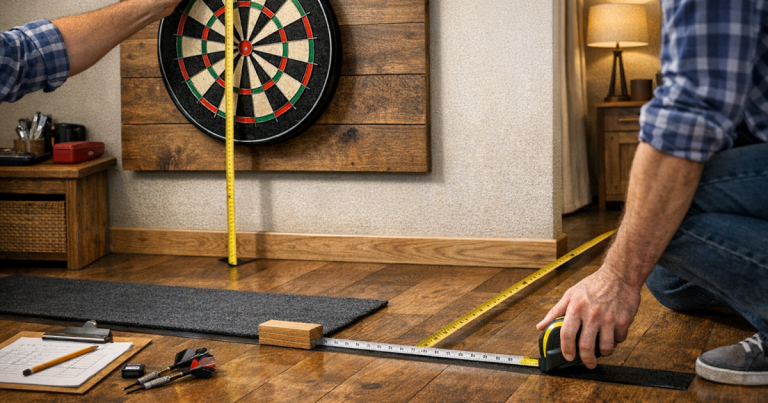
Once the board feels stable, line the twenty segment at the top and check the bull height. Standard steel-tip setup places the centre of the bull at 1.73 m from the floor, with the throwing line 2.37 m from the face of the board.
Why check the oche after fixing a spinning board? Because taking the board down, changing a cabinet fixing or adding backing material can subtly alter the board face position. If your setup uses a mat, tape line or temporary marker, re-measure from the board face rather than the wall.
For homes where the darts area has to pack away after play, the guide to removable oche setups for renters and shared spaces is useful once the board itself is sitting correctly.
Quick checks before your next game
- Line up the twenty segment, then throw a normal visit and see whether the board moves.
- Press gently at nine o’clock and three o’clock; the board should not knock against the wall.
- Look side-on to see whether the board face is sitting square, not leaning at the top or bottom.
- Check that rear pads all touch the wall, cabinet or backing board.
- Make sure the surround is not pushing the board out of position.
- Rotate the board deliberately by a small amount to confirm it is firm but not permanently fixed.
What not to do
Do not solve a spinning board by driving screws through the front of the dartboard. That damages the board, interferes with rotation, and can create hard spots behind the sisal. It also makes future maintenance awkward.
Avoid strong adhesive pads directly between the board and wall. They can tear paint or wallpaper when removed, and they make routine board rotation more difficult. If you need extra grip, use removable rear bumpers or shims that stay on the back of the board rather than bonding the whole board to the wall.
Do not ignore a moving bracket. Adding bigger pads can mask the problem for a while, but the board will keep working loose if the centre fixing or wall bracket is failing.
Things readers ask
Should a dartboard be able to rotate at all?
Yes. A bristle dartboard should be rotatable so you can spread wear around the board. It should move only when you intentionally turn it, not during normal throwing.
Why does my board spin more after I add a surround?
The surround may be pressing unevenly on the board or sitting partly behind it. Remove it, stabilise the board first, then refit the surround so it sits cleanly around the outer edge.
Can I use Blu Tack behind a dartboard?
It can help as a temporary test, but it is not ideal as a long-term fixing. It can compress, mark surfaces and make rotation messy. Rubber bumpers or thin cork shims are usually neater.
Is the bracket or the centre screw more likely to be the problem?
Both are common. Start with the bracket because it supports the whole board, then adjust the centre screw depth once you know the wall fixing is solid.
Will a heavier dartboard spin less?
Not automatically. A good fixing matters more than weight. A heavy board on a loose bracket can still rotate, while a standard board with firm rear contact points can stay steady.
Final thoughts
A spinning dartboard is usually a setup issue rather than a sign that the board is worn out. Start with the bracket, fine-tune the centre screw, then make sure the back of the board has even contact against the wall, cabinet or backing surface.
The best fix leaves the board stable during play but still easy to lift off and rotate when the scoring areas start to wear. That balance keeps your home setup tidy, protects the wall, and makes every visit feel more consistent.