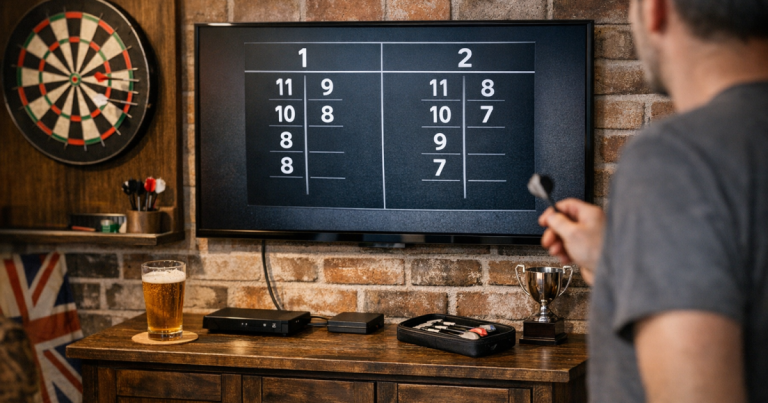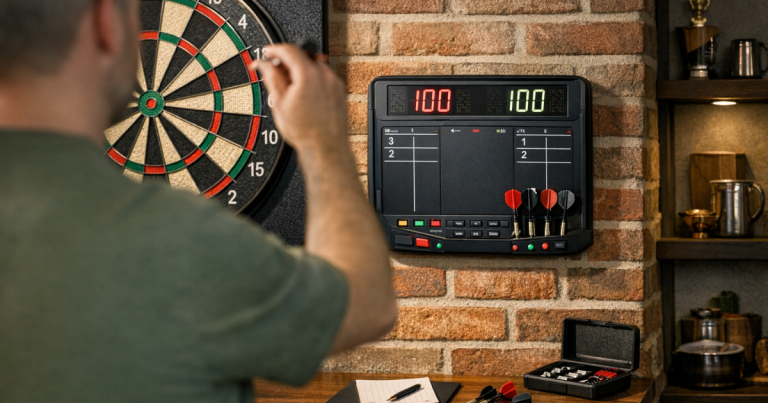
A busy leg can fall apart when everyone starts doing mental arithmetic at once. Adding a checkout column to your darts scoreboard gives players a quick finishing reference, keeps the scorer calm, and makes casual home games feel much smoother without turning the board into a cluttered maths lesson.
The aim is not to write every possible out-shot. It is to create a clear, repeatable area beside the scores that helps players spot realistic routes when they are on a finish.
The short version
Set up your finishing area so it answers three questions quickly: is the player on a finish, what is the sensible route, and what double should they be trying to leave? Keep the layout simple enough to read from the oche and consistent enough that regular players know where to look.
- Place the finish guide beside, not inside, the main scoring columns.
- Use compact notation such as T20, S20, D20 and B, but explain it once for newer players.
- Show common three-dart finishes from 170 down, but do not overload the board with tiny writing.
- Mark bogey numbers so players do not waste a visit chasing an impossible three-dart finish.
- Update the live score first, then use the finish guide as a prompt rather than a distraction.
If your scoreboard sits near the throw line rather than beside the board, make sure it does not interfere with stance or movement. A clean mat and oche setup makes score checking easier because players know exactly where they are standing and where the playing area begins.
Build the checkout column in six steps
1. Choose the side of the scoreboard
Put the checkout column where the scorer can see it without covering the live scores. On a wall-mounted chalkboard or whiteboard, this usually means a narrow strip down the far right. If you use a cabinet scoreboard, one inside door can hold the player names and scores while the other carries the finishing reference.
For left-handed scorers, a left-side finish guide can feel more natural because the writing hand is less likely to smudge the scores. For most shared home setups, right side works well because it mirrors how many printed checkout cards are arranged. The main rule is consistency: pick a side and keep it there so players stop searching for it mid-leg.
2. Decide how much space it deserves
A useful column is usually slimmer than the live score area. If it grows too wide, the main scoreboard becomes harder to read, and the scorer may start squeezing visit scores into cramped spaces. As a rough home setup rule, give the finish guide around one quarter to one third of the board width. That is enough for short routes without making it the star of the scoreboard.
Leave a little blank space above or below the column for notes such as leg count, throw order, or a reminder of the notation. Do not fill every centimetre. White space makes the whole board calmer, especially when several people are playing and chatting around it.
3. Use notation everyone understands
Before adding finish routes, agree the shorthand. The standard approach is simple: S means single, D means double, T means treble, and B means bull. So T20 means treble 20, D16 means double 16, and 25 can be used for the outer bull if your group prefers that notation.
Write the notation key once at the top or bottom of the column if newer players use the board. For experienced players, the key can be tiny or omitted, but it is helpful in family games where someone might only play occasionally. The less explaining the scorer has to do during a leg, the better the rhythm feels.
4. Start with the finishes that actually get used
Do not try to reproduce a full checkout chart in tiny writing. A home scoreboard works best when it highlights the finishes players are most likely to face. Start with the top end, the bogey numbers, and the common two-dart and one-dart routes.
- Highest three-dart finish: 170 is the maximum checkout, commonly written as T20, T20, B.
- Common big finishes: 167, 164 and 161 are useful to show because they are possible and memorable.
- Bogey numbers: 169, 168, 166, 165, 163, 162 and 159 cannot be finished in three darts, so mark them clearly.
- Useful two-dart leaves: 100, 80, 72, 64, 60, 56, 52, 48, 40 and 32 are worth having visible.
- Favourite doubles: D20, D16, D18, D12, D10 and D8 are common targets to build around.
This does not mean every player must follow the same route. Some players prefer leaving tops, some prefer D16, and some are more comfortable on D10. The column should suggest sensible options, not dictate how everyone has to finish.
5. Add the bogey numbers in a different style
Bogey numbers deserve special treatment because they stop bad decision-making. If a player is left on 169, for example, they cannot take it out in three darts. The smart move is to set up a better leave, not throw at random trebles and hope.
Use a different marker colour, a small asterisk, or a boxed note for the bogey numbers. On chalk, a simple line such as “No 3-dart out: 169, 168, 166, 165, 163, 162, 159” is enough. On a whiteboard, avoid using too many colours because the column can start to look messy from a few metres away.
6. Keep the live scoring area separate
The most common mistake is turning the finish guide into a working-out area. If players start writing temporary sums in the checkout column, it quickly becomes unreadable. Use the main score column for visit scores and remaining totals, and use the finish guide only as a reference.
A tidy scoreboard rhythm looks like this: write the player’s score for the visit, subtract it from the remaining total, check whether the new total is a finish, then glance at the column if needed. This order prevents the scorer from chasing routes before the actual remaining score is confirmed.
Simple layouts that work at home
The narrow reference strip
This is the easiest format for most home boards. Draw a vertical line down one side and create a slim list of high finishes, bogey numbers and favourite doubles. It suits smaller boards, cabinet scoreboards, and casual games where the main priority is clear scoring.
Example headings could be “High outs”, “Bogeys” and “Doubles”. Keep each line short. Instead of writing “120: treble 20, single 20, double 20”, use “120: T20 S20 D20”. If the writing becomes too small, remove some less-used routes rather than squeezing harder.
The two-zone finish guide
If you have more space, split the checkout column into two zones. Put three-dart finishes and bogeys at the top, then common two-dart routes lower down. This layout makes sense because players on 141 need different information from players on 48.
A simple two-zone layout might be:
- Top zone: 170 down to 101, including bogey reminders.
- Lower zone: 100 down to 2, focused on setting up and finishing on doubles.
This does not need to be exhaustive. For many home players, the lower zone matters more because legs are often decided by whether someone can navigate 64, 52, 40 or 32 cleanly.
The practice-night version
For solo practice, the column can become a deliberate training prompt. Instead of listing lots of routes, choose a small set of finishes for the session and write only those in the column. For example, focus on 40, 32, 24, 20 and 16 if you are working on common doubles, or 121, 120, 117 and 110 if you are practising three-dart combinations.
This keeps practice purposeful. It also stops you drifting into the same favourite doubles every session. If your darts live in a cabinet, it helps to keep markers, cloths and spare score sheets easy to reach; the same thinking applies when you organise a dart cabinet for daily practice.
Example finishes to include first
Every player has preferences, but some finishes appear so often that they earn their space. Start with a small set, use it for a few sessions, then add or remove routes based on what your group actually needs.
- 170: T20, T20, B. The biggest standard checkout and worth knowing.
- 167: T20, T19, B. A classic route that uses treble 19 after the first treble 20.
- 164: T20, T18, B. Another high finish that is possible but needs accuracy.
- 161: T20, T17, B. Useful because many players remember it as the lowest of the common “treble, treble, bull” big outs.
- 120: T20, S20, D20. Easy to understand and a good example of leaving tops.
- 100: T20, D20 or 20, T20, D10 depending on preference and first dart.
- 80: T20, D10 or T16, D16. A good place to show that routes can suit different double preferences.
- 64: T16, D8 or S16, S16, D16 if setting up more cautiously.
- 52: S20, D16 or S12, D20 depending on the player’s favourite double.
- 32: D16. A key finish because misses often still leave manageable doubles.
When writing examples, avoid cramming multiple alternatives onto every line. Pick one main route, then let experienced players adjust. A scoreboard is there to support the game, not replace judgement.
How to use the column during a leg
The best finish guide is quiet until it is needed. Players should still watch their score and think ahead, but the column reduces arguments, hesitation and repeated “what’s left?” conversations.
- Above 170: Ignore the column and focus on leaving a finish.
- 170 to 101: Check whether the number is possible in three darts and choose a route that leaves a preferred double if the first dart misses.
- 100 to 61: Think about two-dart finishes and safe set-up shots.
- 60 and below: Prioritise a clean double leave rather than chasing awkward combinations.
- On a bogey number: Use the visit to leave a better out-shot for the next turn.
For group games, agree whether players can ask the scorer for a route. Some home groups treat advice as part of the fun; others prefer players to work it out themselves. Either is fine, but decide before the match starts so nobody feels helped or hindered unfairly.
Keeping it clear for matches and mini tournaments
When several people are playing, the checkout column has to be readable under a bit of pressure. Use larger writing than you think you need, wipe off old practice notes, and keep the scoring surface clean between games. A cramped finish guide might look impressive before play starts, but it will slow everyone down once the room is busy.
If you are hosting a small knockout or round-robin evening, the scoreboard also has to track names, legs and order of play. In that situation, keep the finish column fixed and move tournament admin elsewhere. For a simple format that avoids board clutter, see the guide to running a mini darts tournament on one scoreboard.
For doubles matches, place the finish guide where both team-mates can see it without stepping across the thrower. The less movement around the oche, the more natural the game feels. This is particularly useful in spare bedrooms, garages and narrow dining-room setups where space is already tight.
Common mistakes to avoid
- Writing too small: If players need to walk up to the board to read a route, the column is too crowded.
- Listing too many alternatives: One clear route is better than four cramped routes for the same number.
- Forgetting bogey numbers: These are often more useful than obscure high finishes.
- Mixing scoring and finish notes: Keep live maths away from the reference column.
- Using unclear shorthand: T, D, S and B are fine, but make sure occasional players know what they mean.
- Never updating it: If your group keeps asking about the same finish, add it. If nobody uses a line, remove it.
FAQ
Should a checkout column show every finish from 170 down?
No. For a home scoreboard, a selective list is usually better. Include the high finishes, bogey numbers, common two-dart outs and favourite doubles first, then expand only if the board remains easy to read.
Which side of the scoreboard should it go on?
The right side suits most setups, but either side is fine if it keeps the live scores clear. Choose the side that the regular scorer can use without smudging or covering the numbers.
What are the most important bogey numbers to include?
The key no-finish numbers under 170 are 169, 168, 166, 165, 163, 162 and 159. Marking these helps players set up sensibly instead of chasing an impossible three-dart checkout.
Can beginners use the same finish routes as stronger players?
Yes, but beginners may benefit from safer routes that leave favourite doubles rather than routes that rely on repeated trebles. The column can show the standard route while players adapt it to their accuracy.
Is chalk or whiteboard better for this setup?
Either works. Chalk has a traditional feel and is easy to adjust, while whiteboard writing can be sharper. The better choice is the one you can keep clean, visible and consistent in your darts space.
Main points
A good checkout column is simple, visible and disciplined. It should help players recognise finishes, avoid bogey numbers and choose sensible doubles without crowding the main scoring area.
Start small: add the finishes your group actually uses, keep the notation consistent, and treat the column as a reference rather than a working-out pad. Once the layout becomes familiar, the end of each leg feels quicker, calmer and more enjoyable.