A safe dartboard throwing area is less about making the room look official and more about removing the predictable problems: people crossing the line, darts landing on hard floors, poor lighting, and furniture sitting too close to the board. A little planning gives you a calmer home setup, whether you play a few legs after work or run regular matches with friends.
The main aim is simple: create a clear throwing lane, protect the surfaces around it, and make it obvious where players and spectators should stand.
The short version
- Use the standard steel-tip setup of 1.73 m from the floor to the centre of the bull and 2.37 m from the dartboard face to the oche.
- Keep the throwing lane clear from the oche to the board, with no chairs, tables, doors or walkways cutting across it.
- Protect the wall around the board and consider the floor where bounce-outs are likely to land.
- Place spectators behind or well to the side of the thrower, not beside the board.
- Check lighting from the oche, not just from close to the board, because shadows are easier to miss during setup.
Step 1: Choose a wall that gives you control of the room
The safest wall is not always the biggest empty wall. It is the wall that lets you manage movement around the board. Avoid locations where someone might naturally walk between the thrower and the dartboard, such as across a hallway, near a kitchen entrance, beside patio doors, or close to a busy living-room route.
Stand where the oche will be and look towards the board position. Ask yourself whether anyone could open a door into the throwing lane, step out from behind furniture, or cross without realising a throw is happening. If the answer is yes, choose another wall or change the room layout before mounting the board.
Solid walls are usually easier to work with because they reduce wobble and make board alignment simpler. If you are still deciding between walls, the room-planning checks in choosing the best wall for a dartboard are a useful next step before committing to a permanent position.
Step 2: Mark the board height and throwing distance accurately
For a standard steel-tip dartboard, set the centre of the bull at 1.73 m from the finished floor. The oche should be 2.37 m from the face of the board, not from the wall. That distinction matters because the board has depth, and measuring from the wall can leave the throw slightly short.
A good way to check the layout is to mark the bull height first, then hang the board, then measure the oche from the front surface of the board down to the floor line. If the board is not mounted yet, allow for its thickness and confirm the measurement again after it is in place.
Use a tape measure rather than pacing it out. Even a small error can make home practice feel different from pub or league play. If the floor is uneven, measure from the actual standing surface where the thrower will place their feet.
Step 3: Define the throwing lane
The throwing lane is the space from the oche to the board, plus enough width for a comfortable stance and follow-through. It should feel obvious that this is an active playing area, not shared floor space.
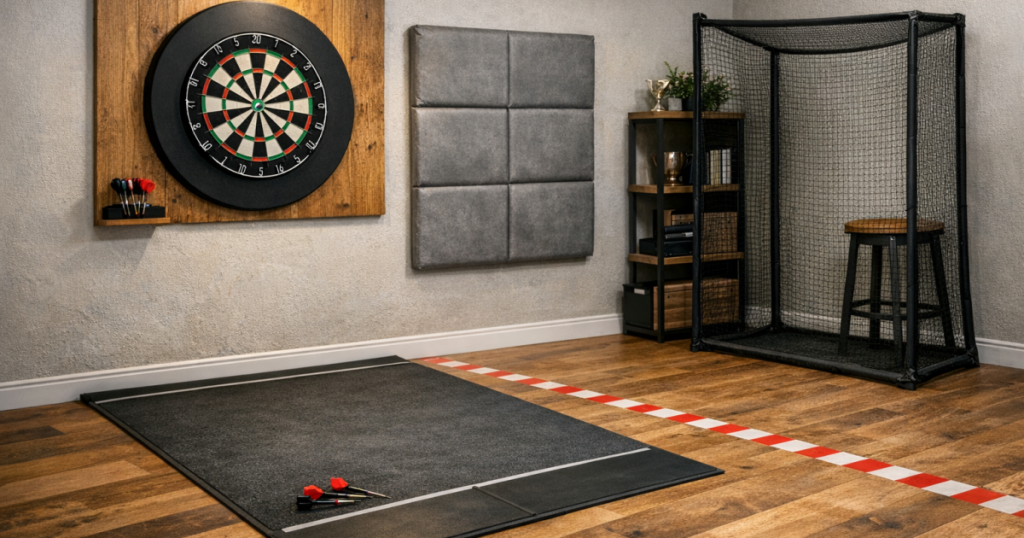
At home, the biggest issue is usually not the thrower; it is everyone else. Family members, visitors and pets may not recognise when a throw is about to happen. Give the lane visual boundaries by using a mat, a clear oche strip, or a consistent floor marker. The marker does not need to be heavy or permanent, but it should be easy to see.
Remove low tables, footstools, toy boxes, laundry baskets and plant pots from the line of throw. These may seem harmless, but they create awkward footing and encourage people to lean into the playing space to move them mid-game.
Step 4: Plan where people wait between throws
A safe darts setup needs a waiting area as much as a throwing area. Players not currently throwing should stand behind the oche or well outside the lane. Avoid placing seating directly beside the dartboard, because bounce-outs and missed darts can travel unpredictably.
If you are setting up in a shared room, agree a simple house rule: nobody retrieves darts until all three have been thrown and the thrower has stepped back. It sounds basic, but it prevents the most common close-range mistake, which is one person moving towards the board while another still has a dart in hand.
For children or guests who are not used to darts, make the rule even clearer: only the thrower stands forward of the oche. Everyone else stays behind it until the visit is finished.
Step 5: Protect the wall and the floor
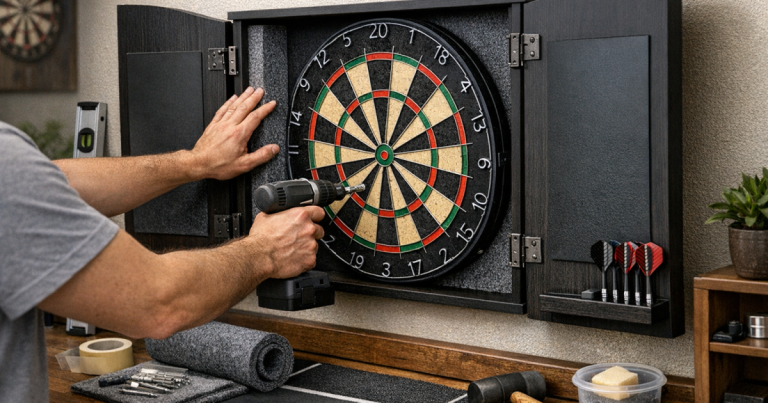
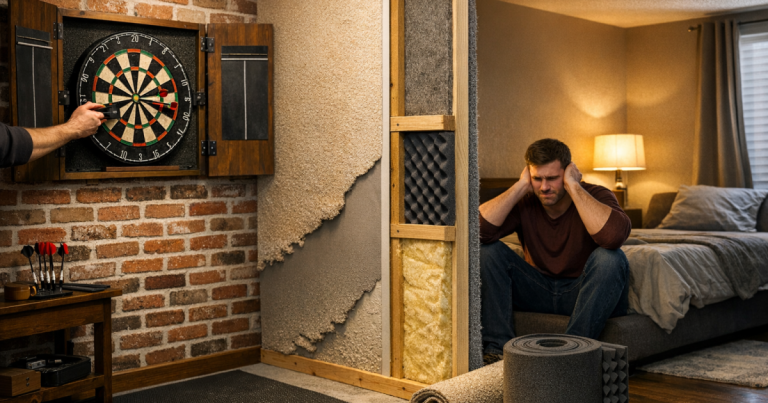
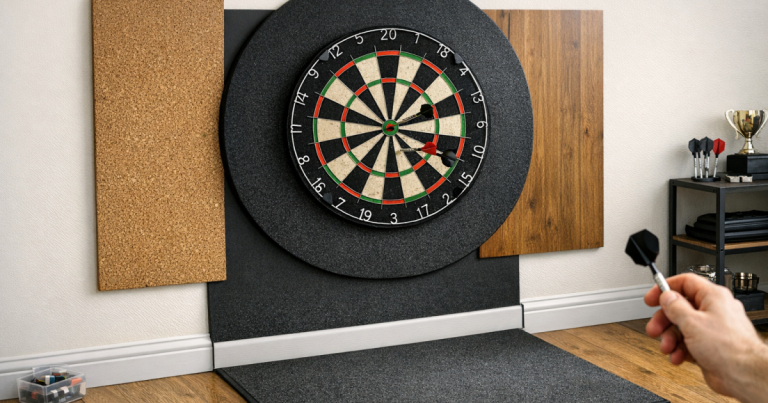
Missed darts are normal, especially with newer players, tired throws or a board placed in a busy home environment. Wall protection should cover the area immediately around the board and be large enough to catch realistic misses, not just neat near-misses.
A removable surround, cabinet, backboard or dedicated panel can all work, provided the dartboard remains correctly centred and secure. The key is to avoid leaving plaster, wallpaper, mirrors, glass, framed pictures or cables exposed near the scoring area.
The floor matters too. Steel-tip darts can mark timber, laminate and some vinyl floors when they bounce out. A mat can define the oche and soften dart landings, while also making the setup feel more consistent underfoot. For more detail on making that zone dependable, see this guide to building a reliable darts mat and oche area.
Step 6: Check lighting from the player’s position
Poor lighting does not just make scoring harder; it changes how confidently people throw. Shadows across the treble bed, glare from a nearby lamp, or a bright window behind the board can all make the target harder to read.
Stand at the oche and look at the board exactly as you would during a throw. Check whether your throwing arm casts a shadow, whether the number ring is easy to read, and whether the board face is evenly visible. Then check again at the time of day you normally play, because daylight through a window can change the room completely.
Lighting should help the thrower see the board without dazzling anyone standing nearby. If you want to think through the room in zones, the explanation of dartboard lighting zones breaks down the board, oche and surrounding area clearly.
Step 7: Remove the hidden trip and distraction points
Once the board, oche and waiting area are planned, walk the room as if a match is already happening. Look for the small things that cause interruptions: trailing extension leads, rugs that curl at the edge, bags placed near the oche, stools used for drinks, or pets settling in the throwing lane.
The oche should give the thrower a stable stance. Avoid placing it on a loose rug or a surface that slides when someone plants their front foot. If the floor is polished or smooth, check that any mat or marker stays put during normal movement.
Also think about retrieval. Players should be able to walk to the board and back without stepping around obstacles or turning sideways through a narrow gap. A cramped return route slows the game and makes it more likely someone will carry darts carelessly.
Step 8: Run a simple safety check before regular play
Before you treat the setup as finished, do a short trial session. Throw from the marked oche, retrieve darts, rotate players, and have someone stand in the normal waiting position. This quickly shows whether the space works in practice.
Use these checks:
- Can the thrower stand naturally without stepping onto furniture, rugs or uneven flooring?
- Is the oche clearly visible from both sides of the room?
- Can anyone accidentally walk between the thrower and the dartboard?
- Are missed darts likely to hit protected surfaces rather than bare wall, glass or furniture?
- Is there enough light on the board from the actual throwing position?
- Can players retrieve darts without carrying them through a crowd?
If one of these checks fails, adjust the room before adding more accessories. A small change, such as moving a chair, shifting the waiting area or widening the route to the board, often improves the setup more than buying extra kit.
Examples for common UK home setups
Living room setup
Living rooms often have the best wall space but the most distractions. Keep the board away from television screens, glass cabinets and main walking routes. If the room is used by the whole household, a removable oche marker and clear storage routine help prevent darts being left out when play finishes.
Garage or utility setup
Garages can work well because they usually offer a longer uninterrupted lane. Check for concrete floors, stored tools, bikes and shelving near the board. A mat is useful here because it defines the standing area and reduces the chance of darts landing directly onto a hard surface.
Spare room setup
A spare room is easier to control, but space can be tight. Watch for beds, desks and wardrobes that narrow the retrieval route. If the door opens into the lane, change the board wall or keep the door fully closed during play.
FAQ
How much space do I need around a dartboard at home?
You need enough length for the 2.37 m oche distance from the board face, plus room for the thrower to stand comfortably behind the line. Extra side space is strongly recommended so spectators and furniture are not close to missed darts.
Can I put a dartboard behind a door?
It is usually a poor choice. A door creates an unpredictable movement point, and someone entering the room may step into the throwing lane. Choose a wall where access can be controlled during play.
Is a darts mat necessary for safety?
It is not strictly necessary, but it helps define the oche, improves footing and can protect flooring from bounce-outs. It is particularly useful on timber, laminate, vinyl or concrete floors.
Where should people stand while someone is throwing?
They should stand behind the oche or well away from the throwing lane. Nobody should stand near the board or walk forward until all darts have been thrown and the thrower has stepped back.
Should I move furniture every time I play?
If furniture sits in the lane or retrieval route, yes. A repeatable setup is safer than squeezing around obstacles, so make moving key items part of your pre-game routine.
The big picture
A good home darts area feels controlled before the first dart is thrown. The board is at the right height, the oche is clearly marked, the lane is free of interruptions, and everyone in the room knows where to stand.
Start with the room layout, then refine the details: wall protection, floor coverage, lighting and storage. When those basics are sorted, the setup becomes safer, more consistent and much more enjoyable to use regularly.