Fresh wallpaper and a home board can live together, but only if you stop bounce-outs and missed doubles before they touch the wall. The cleanest way to protect wallpaper around a dartboard is to create a separate impact zone, not to stick tape, pads or hooks straight onto the paper. Think of the wall finish as decorative only; the protection should sit over it, around it or in front of it.
The short version
Do not put adhesive-backed foam, tape, hook-and-loop strips or temporary pads directly onto wallpaper. Even products sold as removable can lift fibres, leave shiny patches or pull colour from patterned paper when you take them off.
- Use a dartboard surround if you want the neatest everyday fix with minimal visual bulk.
- Use a removable backboard if the wallpaper is expensive, textured, delicate or you are renting.
- Use a cabinet if you want the board hidden when not in use, but remember it does not protect as wide an area while the doors are open.
- Leave a small air gap where possible, rather than compressing soft protection hard against wallpaper.
- Check protection width based on the players in the house, not just the size of the board.
Step 1: Work out where the real danger zone is
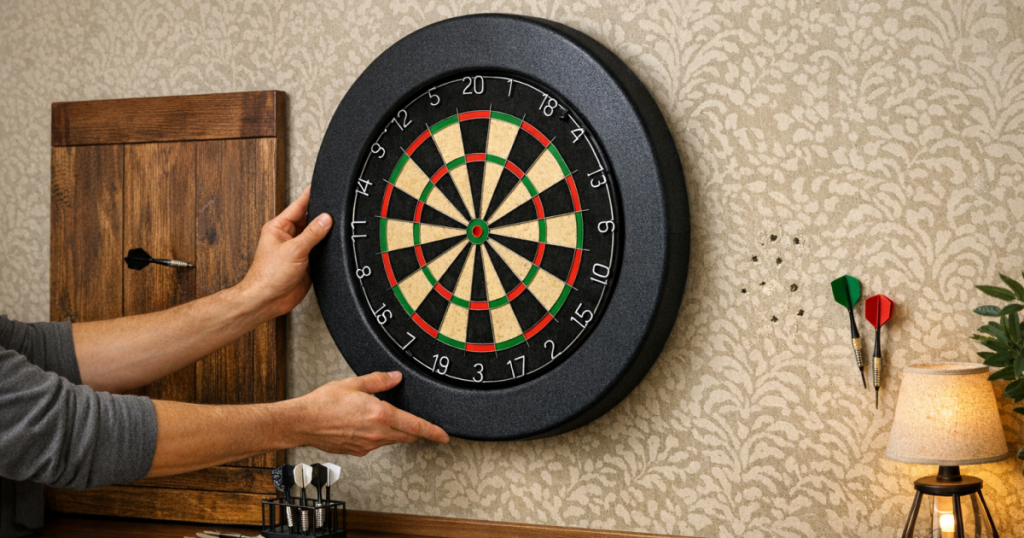
The damage around a dartboard is rarely spread evenly. Most marks appear around the outer doubles, just outside the number ring, and slightly below the board where darts drop after clipping the wire. Beginners and children may miss further out to the sides, while experienced players usually need less width but still produce the odd bounce-out.
Start with the official board position: the centre of the bull should be 1.73 m from the floor, with the throw line 2.37 m from the face of the board for steel-tip darts. Once the board is correctly placed, look at the wallpaper area around it rather than guessing. A clean setup normally needs protection at least around the full dartboard, plus a margin outside the scoring area.
For a smart home room, the protection should be centred, level and deliberate. A slightly oversized rectangle or circle usually looks better than lots of small patches added after the first few marks appear.
Step 2: Keep sticky products away from the paper
Wallpaper is much less forgiving than painted plaster. Adhesive can bond to the paper surface rather than the wall underneath, so removal may tear the pattern, lift seams or leave a dull patch that catches the light. Textured, metallic, flocked and washable papers can all react differently, so a product that behaves well on one wall may be a mess on another.
Clean protection means the fixings should take the load, not the wallpaper. Avoid sticking foam tiles directly around the board, taping card to the wall, or using poster strips to hold a dart catcher in place. These look temporary from day one and often make the eventual repair more obvious.
If you must test an adhesive for a separate decorative item, do it somewhere hidden, such as behind furniture, and leave it for several days before removal. For the dartboard area itself, a no-adhesive approach is the safer habit.
Step 3: Choose a protection style that suits the room
Neat surround for a simple setup
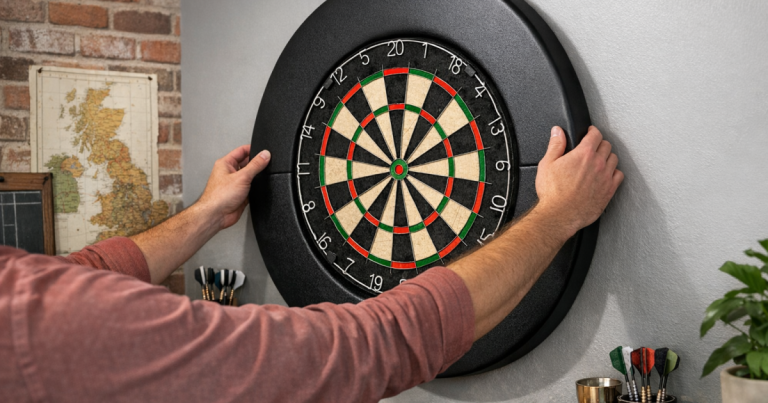
A dartboard surround is the cleanest-looking option for many spare bedrooms, studies and living rooms. It fits around the board and catches close misses without covering a large part of the wallpaper. Because the surround sits on or around the dartboard rather than being glued to the wall, it is usually a tidy way to reduce everyday damage.
The key is fit. A loose surround can shift, sag or leave gaps near the outer ring. A very tight surround can press awkwardly against the wall finish. Aim for a snug, even fit that sits flat and does not rub the wallpaper when you rotate or remove the board. For more detail on fitting one neatly, follow this guide to fit a dartboard surround without wall damage.
Backboard for wider protection
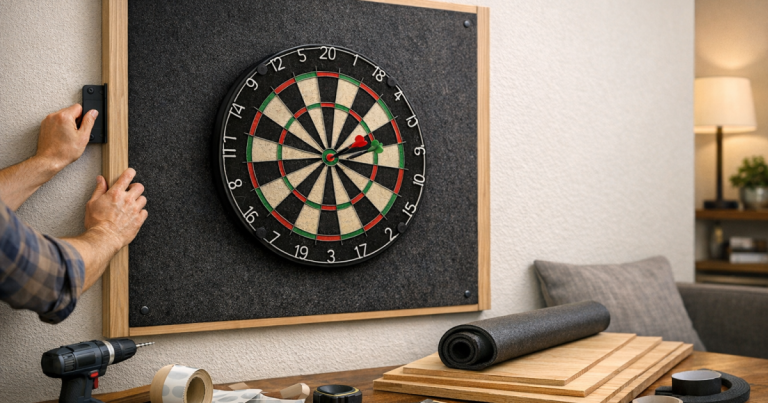
A backboard gives you a larger sacrificial surface behind the dartboard. It is the better route when the wallpaper is expensive, you have patterned paper you cannot easily patch, or the players using the board are still finding their grouping. The backboard can be round, square or rectangular, but it should look intentional rather than like a sheet added in a hurry.
For a clean finish, paint or cover the board in a plain, dark, non-glossy finish that complements the wallpaper. Avoid shiny surfaces because they can show holes, reflect light and make the area look busier. If the board edges are visible, sand or trim them neatly so they do not catch the eye more than the dartboard.
Cabinet for a tidier room
A cabinet can make a darts setup feel more like furniture, which helps when the board is in a shared room. It hides the board when closed and gives the area a framed look. The limitation is coverage: when the doors are open, the protection is mainly to the sides, and the wallpaper below or outside the cabinet can still be exposed.
If you are deciding between a cabinet and a surround, think about how the room is used when nobody is playing. A cabinet is often neater when closed; a surround is usually better at catching close misses during play. The detailed breakdown in dart cabinet vs surround is a useful next step if the look of the room matters as much as protection.
Step 4: Make the protection removable where possible
If you want to protect wallpaper around a dartboard without committing the room permanently, design the protection as a removable layer. This is especially useful in rented homes, newly decorated rooms, or spaces that double as offices or guest bedrooms.
A removable backboard can be hung from fixings that carry the weight through the wall rather than through the wallpaper surface. The dartboard then mounts to the backboard, so misses and bounce-outs hit the panel instead of the paper. This also lets you take the whole darts area down for decorating, moving house or turning the room back into a normal bedroom.
Renters need to be careful with any holes, even small ones. Check your tenancy terms before adding fixings, and keep the original wall finish in mind when planning. If you need a setup that can come down cleanly, the guide to building a removable dartboard backboard for rental walls is the most relevant route.
Step 5: Size the protected area sensibly
For confident adult players, protection just outside the board may be enough. For casual family games, it is usually worth going wider. The cleaner approach is to oversize the protection from the start rather than adding extra patches later, because patchwork fixes look untidy and draw attention to the exact area you were trying to protect.
- Close protection: suitable for regular players who mostly miss by a small margin around the doubles.
- Medium protection: better for mixed households where guests, children or newer players may throw occasionally.
- Wide protection: sensible for fresh wallpaper, rental spaces, narrow rooms or boards used for relaxed social games.
Also think vertically. Wallpaper below the board can be marked by darts dropping after hitting the wire or falling from the board. A mat protects the floor, but it does not stop a falling dart from brushing the lower wall on the way down. If the wallpaper runs behind the whole setup, a taller backboard can be cleaner than a small surround.
Step 6: Keep the finish neat rather than overbuilt
Wall protection does not need to dominate the room. In a home darts setup, the best result often comes from matching the protection to the existing decor. Dark grey, black, navy, natural cork tones and simple painted timber tend to sit well with most wallpapers. Bright colours can work, but they need to feel deliberate.
Try to align the protection with something already in the room, such as the centreline of a desk, picture rail, alcove or furniture layout. A dartboard that is technically protected but visually off-centre can make the whole wall look awkward. Use a spirit level, measure from nearby edges, and step back before tightening everything fully.
Keep edges clean. If you are using a board, finish the perimeter with a neat painted edge or slim trim. If using a surround, make sure it sits evenly all the way round and does not pinch the wallpaper. If using a cabinet, open both doors fully and check they do not scrape or rub the wall covering.
Step 7: Reduce marks caused by bounce-outs
Wallpaper protection is not just about missed throws. Bounce-outs can flick sideways or drop sharply, and those unpredictable movements cause many of the small nicks around a board. You cannot remove bounce-outs completely, but you can reduce the mess they make.
- Keep the dartboard in good condition and rotate it regularly so worn segments are not taking every throw.
- Check that the board is mounted flat and secure, with no wobble when darts land.
- Use sensible lighting so players are not guessing at doubles in shadow.
- Keep the throw line clear so players are not stretching, leaning or adjusting mid-throw.
- Replace badly damaged flights or bent stems, as inconsistent darts can increase wayward throws.
A clean room setup is usually a combination of small details: stable board, clear oche, good lighting and enough wall protection for the least accurate regular player, not just the best thrower in the house.
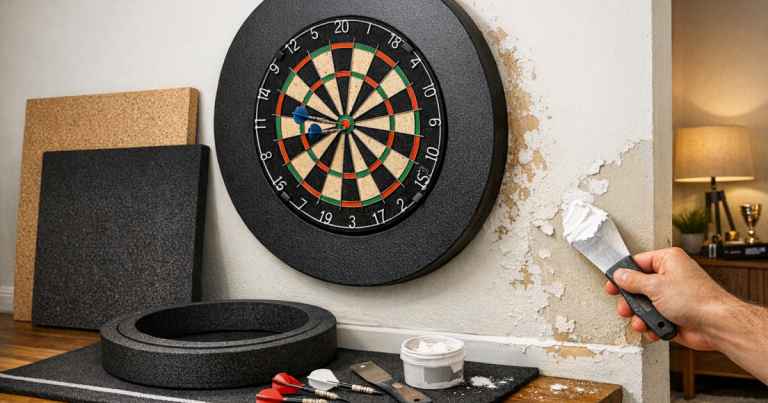
Step 8: Maintain the wallpaper and protection
Once protection is in place, check it occasionally rather than waiting for visible damage. Look for rubbing marks where a surround touches the wall, loose cabinet hinges, or a backboard that has shifted slightly. Small adjustments early can prevent a permanent mark later.
Do not scrub wallpaper around the dartboard unless the paper manufacturer says it is washable. Dust with a soft dry cloth instead. If chalk, hand marks or fine dust gather around the setup, clean the protection rather than the paper wherever possible.
If you remove the dartboard for decorating or room changes, take photos first so you can refit everything level. Store screws, brackets and small parts together, and avoid leaning a marked backboard face-down against clean wallpaper or carpet.
Common mistakes to avoid
- Using tape as a long-term fix: it looks messy and can damage the wallpaper when removed.
- Choosing protection that is too small: the first bad miss will usually land just outside it.
- Ignoring the lower wall: falling darts can mark wallpaper below the board, not only beside it.
- Letting the surround rub: repeated contact can polish, scuff or flatten textured paper.
- Mounting the board before planning the wall finish: protection should be part of the setup, not an afterthought.
Things readers ask
Can I stick foam tiles directly onto wallpaper?
It is not a clean solution. Adhesive foam can pull, stain or flatten wallpaper, and removal often leaves a more obvious mark than a dart hole. Use a surround, cabinet or separate backboard instead.
Will a dartboard surround protect all of the wallpaper?
No. A surround protects the area immediately around the board, which suits accurate players and close misses. For beginners, guests or valuable wallpaper, a wider backboard gives better coverage.
What is the neatest option for a rented flat?
A removable backboard is usually the neatest route because it keeps darts away from the wallpaper and can be taken down. Always check the tenancy position before making holes or adding fixings.
Should the protection touch the wallpaper?
Light contact is usually less of a problem than adhesive, but avoid anything that rubs, compresses or moves against the paper during play. A small gap or stable mounting is cleaner.
Can I repair tiny dart holes in wallpaper?
Small holes can sometimes be hidden with careful smoothing or a tiny amount of suitable filler, but patterned and textured papers are hard to repair invisibly. Preventing marks is much easier than patching them.
What stands out
The cleanest wallpaper-friendly darts setup is one where the wall covering is never asked to do a protective job. Let a surround, cabinet or removable backboard take the hits, keep adhesive away from the paper, and size the protection for real players rather than perfect throws. Done well, the dartboard looks intentional, the room still feels decorated, and you can play without worrying about every stray dart.