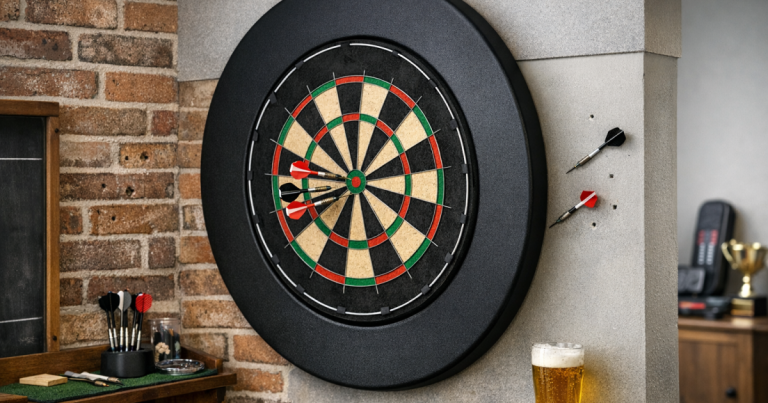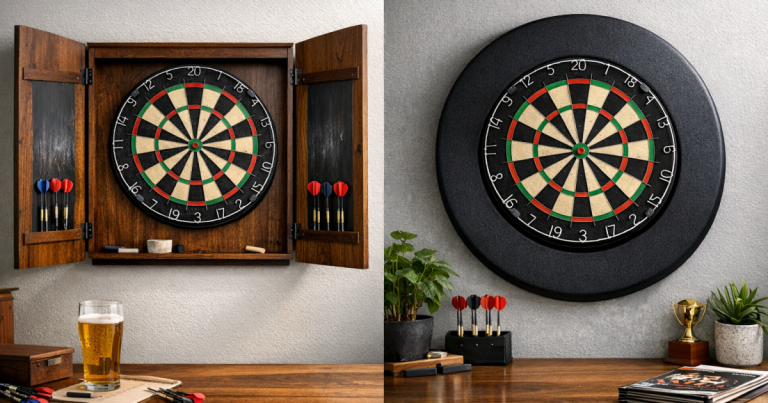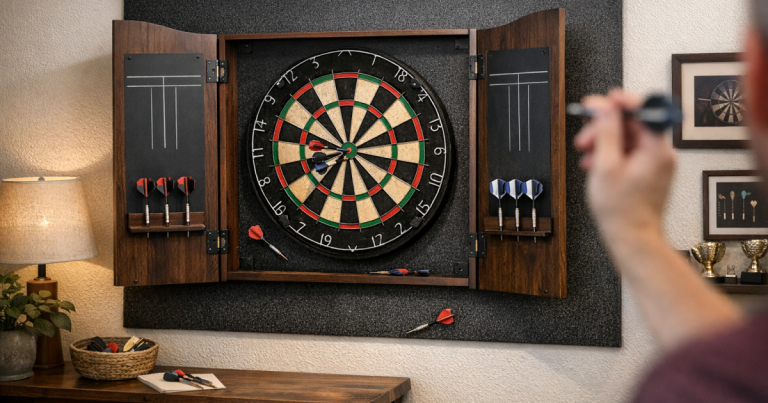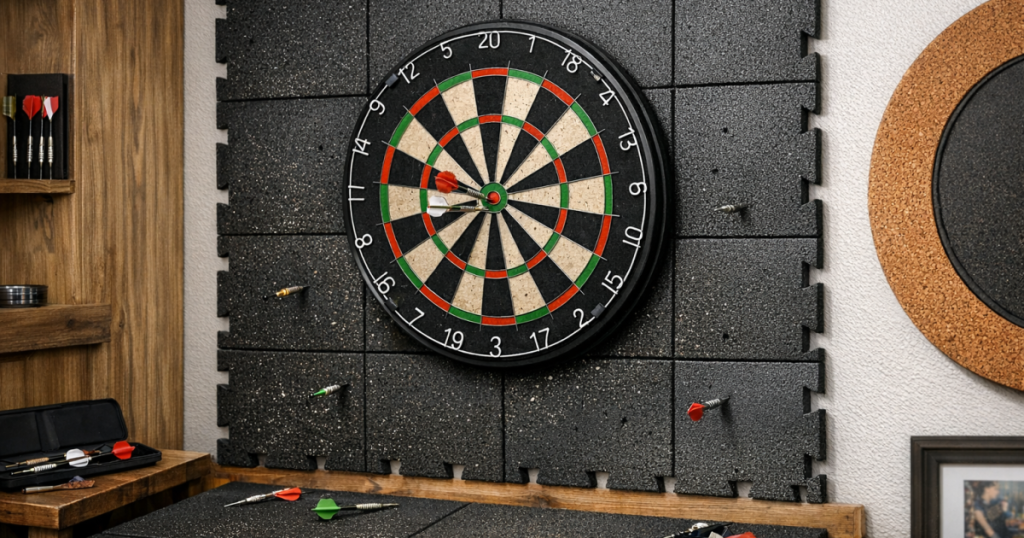
A few stray trebles can make a freshly painted wall look tired very quickly. That is why some home players look at rubber gym flooring tiles as a tough, affordable-looking way to shield the area around a dartboard. They can work, but only if you treat them as wall protection rather than a quick patch stuck behind the board.
The short version
Gym-style rubber tiles can protect a wall from many missed darts, scuffs and shallow impact marks. They are most useful in garages, sheds, spare rooms and utility spaces where a slightly industrial look is acceptable. They are less convincing in a living room unless the edges, seams and mounting method are planned properly.
- They work best when mounted to a separate backing panel rather than glued straight to plaster.
- They should sit around the dartboard, not push the board out of level or alter the throwing setup unexpectedly.
- They can look bulky, smell rubbery when new, and show seams if the layout is rushed.
- A purpose-made backboard or surround is usually neater, but tiles can give wider coverage.
Why gym tiles can help behind a dartboard
The useful part of a rubber tile is not that it catches every dart perfectly. It is that it spreads and absorbs impact better than painted plaster, wallpaper or bare timber. A steel-tip dart that misses the board may still bounce or drop, but the wall behind is far less likely to be chipped, dented or peppered with obvious holes.
This makes rubber flooring most sensible where the missed-dart zone is bigger than a standard surround covers. If beginners, children under supervision, guests or casual players use the board, misses often land low, wide or above the number ring. A larger panel of tiles can protect these messy areas without needing a full decorative wall rebuild.
The trade-off is appearance. Flooring tiles are designed to sit underfoot, so the surface can look heavy on a wall. Some have bevelled edges, puzzle joints or textured tops that are useful on a gym floor but visually distracting behind a dartboard. Before committing, hold one tile against the wall in daylight and under your dartboard lighting to see whether it looks deliberate or improvised.
Check the darts setup before adding thickness
Start by confirming the dartboard is already in the right place. The bull should be 1.73 m from the floor, and the steel-tip throwing distance is measured from the face of the board to the oche. If you are refreshing the whole setup, check the standard measurements in this guide to dartboard sizes and regulations before fitting anything permanent.
The important detail is board depth. If you put thick rubber directly behind the mounting bracket, the board may sit further forward than before. That affects the throw line if you measure from the wall rather than from the board face. It can also make a cabinet, lighting ring or surround sit awkwardly.
A cleaner method is to keep the board fixing solid and central, then fit the protective material around it. In other words, the board remains the reference point and the wall protection fills the vulnerable space around the board. That reduces the chance of a board that tilts, twists or sits proud on one side.
How to test rubber gym flooring tiles before fitting them
Before covering a wall, test a spare tile or offcut. Place it safely against a firm backing outdoors, in a garage, or on a workbench where a missed dart will not damage anything valuable. Throw a few controlled darts into the tile from close range and look for three things: whether the dart sticks, whether it rebounds sharply, and whether the tip leaves messy tearing.
A good result is not necessarily a dart that stays embedded. Many dense rubber surfaces will make the dart drop to the floor, which is fine if the wall is protected and the dart is not being launched back towards the player. What you do not want is a springy surface that sends darts back unpredictably, or a crumbly surface that sheds black dust every time it is hit.
Also check the smell. Some rubber flooring has a noticeable odour when new, particularly in small rooms with poor ventilation. That may be tolerable in a garage but irritating in a box room or shared living space. Airing the tiles before fitting can help, but if the smell bothers you during a quick test, it will probably bother you more once several tiles are on the wall.
A sensible way to fit tiles behind the board
The neatest approach is to build a removable protective panel. Fix the tiles to a flat sheet of suitable backing board, then mount that panel to the wall securely. This avoids relying on adhesive alone, protects the plaster from glue damage, and makes it easier to remove or change the setup later.
Work through the process in this order:
- Mark the board centre first. Use the existing dartboard position as your reference, not the edges of the tile layout.
- Plan the protected area. Cover the wall where misses actually land: usually below the board, either side of the doubles ring, and a little above the top numbers.
- Dry-fit the tiles. Lay them out on the floor first so you can avoid narrow slivers at the edges and obvious off-centre seams behind the board.
- Cut around the board mount cleanly. Do not trap the bracket under soft rubber unless you have deliberately accounted for the extra depth.
- Keep the face flat. Raised seams, curled corners and uneven joints can make the finished setup look rough and may interfere with cabinet doors or lighting.
- Check the board again afterwards. Spin or re-seat the board if needed, then confirm it hangs straight before the first proper session.
If the board appears to lean after the protection is fitted, sort that before blaming your throw. Small mounting errors become much more visible once a square tile grid is behind the board. The steps in fixing a dartboard that sits slightly crooked are a useful follow-up at this stage.
Where rubber tiles work well
Garage and shed setups
This is where the idea makes the most sense. The tougher look usually suits the room, and wider coverage is more valuable than a polished finish. Rubber also helps cover older walls that already have scuffs, screw holes or uneven paint.
Beginner-friendly practice areas
If the board is used by newer players, the protection needs to cover real misses rather than just near misses. A compact foam surround protects the tight ring around the board, but gym tiles can create a larger safety net for low darts and wide throws.
Temporary or evolving setups
If you are still adjusting the room layout, a removable tiled panel is easier to reposition than a fully decorated feature wall. This is handy when you are testing where the oche, lighting and storage should sit before making the setup more permanent.
Where they are not the best answer
Rubber tiles are not ideal when the dartboard is part of a tidy lounge, dining room or office. Even neatly fitted tiles can look like repurposed flooring. In those spaces, a purpose-made backboard, cabinet or framed panel usually blends in better.
They are also awkward behind some cabinets. A cabinet needs its doors to open freely, and the board must remain centred inside the frame. Adding a thick layer behind or around the cabinet can create gaps, shadows or alignment problems. If you are using a cabinet, it is worth reading how to fit a dartboard cabinet without misaligning the board before finalising the wall protection.
Another limitation is cleaning. Textured rubber can hold chalky marks, dust and tiny fragments from dart impacts. A smooth painted backboard may be easier to wipe down. If the room is carpeted, remember that darts which bounce or drop from the rubber still need to land somewhere, so a mat or clear floor area remains useful.
How they compare with other wall protection
Think of rubber flooring as wide, tough coverage rather than the neatest possible finish. A foam surround is simple and compact, but it only protects the immediate ring around the dartboard. A cabinet looks more furniture-like and hides the board when not in use, but it does not protect as much wall once the doors are open. A dedicated backboard gives a more deliberate darts-room look and can be chosen to suit the space.
If your priority is maximum coverage in a garage, rubber tiles are a credible solution. If your priority is a clean finish in a shared room, a purpose-made option will usually feel more intentional. For a useful benchmark, the Dart-Stop Professional Backboard review shows how a dedicated backboard approach differs from DIY wall coverage.
Common mistakes to avoid
- Gluing tiles straight to a decorated wall. Adhesive can pull paint or plaster when removed, and heavy tiles may sag over time if the bond is poor.
- Forgetting the throw line. Any change to the board face position means the oche should be checked again.
- Leaving uneven seams behind the board. A visible grid can make a level board look crooked even when it is not.
- Choosing very soft rubber. Soft, bouncy material can cause more dart drop-outs and may mark more easily.
- Ignoring the room style. A solution that looks fine in a garage may look heavy and out of place in a living area.
Common questions
Will darts stick into rubber gym flooring tiles?
Sometimes, but do not rely on it. Dense rubber may stop the wall being damaged while letting the dart fall. That is still a useful result, provided the rebound is not sharp or unpredictable.
Can I put the dartboard directly on top of the tiles?
It is usually better to keep the dartboard mounted to a firm, stable fixing and fit the protection around it. Mounting through soft or uneven rubber can make the board harder to level and may affect the measured throwing distance.
Do rubber tiles blunt darts?
Any hard or dense impact surface can affect steel tips over time, especially if darts hit at an angle or drop onto a hard floor afterwards. Check tips regularly and keep a suitable floor area beneath the board.
Are they suitable for a rented home?
They can be, but avoid permanent adhesive on painted or plastered walls. A freestanding or removable backing panel is usually more sensible because it limits damage when the setup is moved.
Key takeaways
Rubber gym flooring tiles do work behind a dartboard when the goal is broad, tough wall protection. They are strongest in practical spaces such as garages and sheds, or anywhere the setup is more about durability than décor. The best results come from testing the material first, mounting it on a flat backing panel, and keeping the dartboard itself correctly aligned.
For a smart shared-room setup, they are not always the neatest answer. A surround, cabinet or dedicated backboard may look more finished. But if your wall is taking regular punishment from wide throws, a carefully fitted rubber panel can be a solid, hands-on solution.