A brick wall is a solid place to hang a board, but only if the fixings are set into the masonry properly and the centre height is measured accurately. If you want to mount a dartboard on a brick wall, the job is mostly about choosing the right drill bit, plugs and screw position, then checking the throwing distance before you make holes. Plan the board, oche and lighting together so the setup feels right from the first throw.
Drilling into brickwork where hidden electrical cables, pipework or uncertain wall construction are possible should be checked and handled by a qualified tradesperson so the work meets UK safety requirements and avoids damage.
What to know first
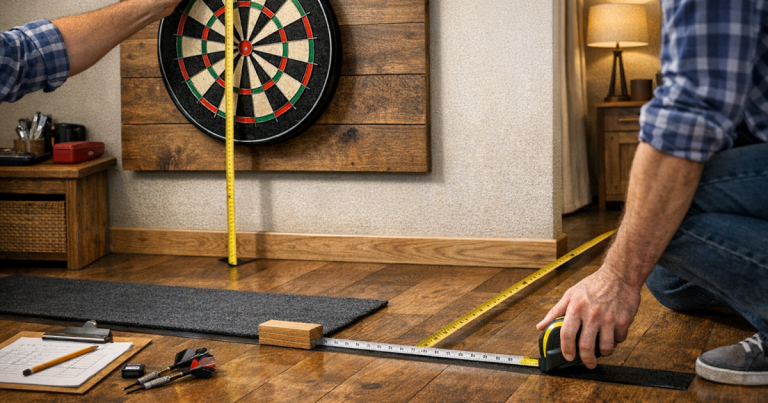
For a standard steel-tip home setup, the bullseye should sit 1.73 m from the floor. The throwing distance should be 2.37 m from the face of the dartboard to the oche, not from the wall behind it. That small difference matters if the board is mounted in a cabinet, on a backing panel or with a thick surround.
- Fix into sound brick rather than crumbly mortar where possible.
- Use masonry-compatible wall plugs and screws that suit the bracket, cabinet or backing board.
- Mark the bullseye height before drilling, not just the top of the board.
- Check the wall for hidden services before drilling.
- Set the oche after the board is on the wall, because the board face is the measuring point.
Step 1: choose the best section of brick wall
The ideal spot gives you a clear throwing lane, enough shoulder room and a wall that can take repeated dartboard use without becoming a nuisance. A garage, spare room, utility space or garden room often works well, but avoid narrow walkways, door swings and places where someone could step across the throw line unexpectedly.
Look closely at the brickwork. Solid, dry brick is generally a better fixing point than old, soft or powdery mortar. Painted brick can still be suitable, but flaking paint, damp patches or loose plaster over brick are warning signs that the surface needs attention before the board goes up. If you are dealing with a rented property, permission and reversibility matter just as much as neatness; the advice on planning a darts setup in a rented home is worth reading before drilling into any wall you do not own.
Step 2: gather the tools and fixings
Most bristle boards come with a small wall bracket and a centre screw for the back of the board. That bracket still needs suitable fixings for masonry, because the screws supplied in the box may not be the best choice for your wall. Check the board, cabinet or bracket instructions and match the drill bit, plug and screw to the fixing system you are using.
- Tape measure for bullseye height and oche distance.
- Pencil or low-tack masking tape for marking the wall.
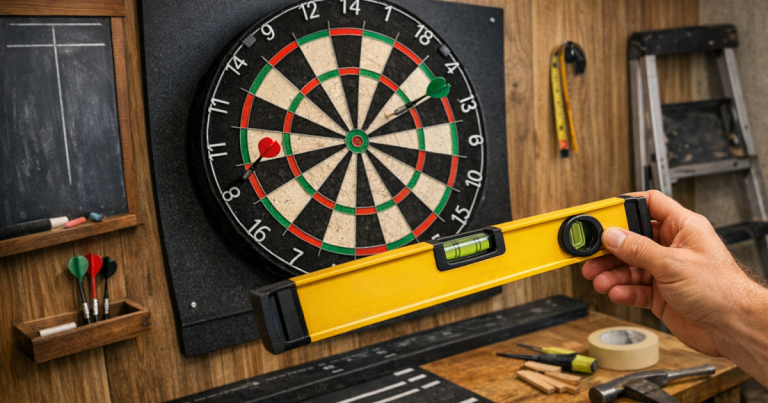
- Spirit level for cabinets, backing boards and multi-fixing brackets.
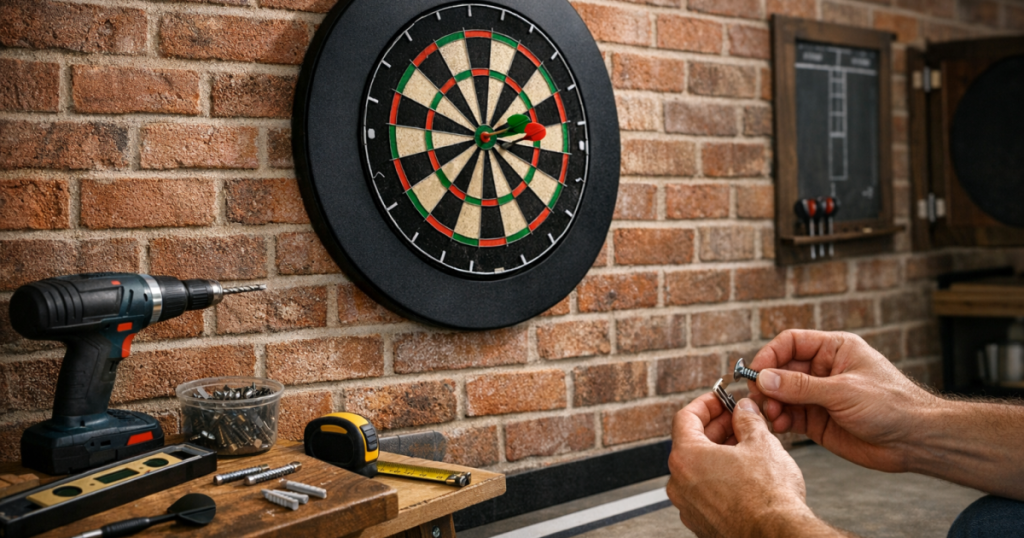
- Masonry drill bit matched to the wall plug size.
- Hammer drill or drill with a masonry setting, used carefully.
- Wall plugs and screws suitable for brick, such as Fischer DuoPower wall plugs, where the size suits your bracket and wall.
- Wall scanner, for example Bosch Professional GMS 120, to help check before drilling.
- Vacuum cleaner or dust sheet to manage brick dust.
A single bristle dartboard is not especially heavy, but the fixing still needs to cope with movement when the board is rotated, cleaned or knocked. A cabinet or large backboard puts more load on the wall and usually needs more than one fixing point.
Step 3: mark the bullseye height accurately
Measure 1.73 m up from the finished floor at the wall and mark that point. Use the actual floor surface you will stand on, not a skirting board, mat edge or uneven threshold. If the floor slopes slightly, measure from the spot level with the board, then check the oche area separately.
For the common metal dartboard bracket, the bracket on the wall usually aligns with the centre of the board, because the screw on the back of the board sits at the bullseye. Do not assume the top of the board is your reference point. If you are fitting a cabinet, mount the cabinet according to its template or instructions, then check that the board centre lands at 1.73 m once the board is installed.
A simple way to avoid confusion is to place a small piece of masking tape at bullseye height and label it “centre”. Hold the bracket up to that mark and only then mark your drill hole or holes.
Step 4: scan, then drill into the brick
Before drilling, scan the area around your intended fixing point and think about what may be behind the wall. Avoid drilling directly above or below sockets, switches, radiators or pipe runs. On exposed brick, choose a point in the brick face rather than close to the edge of a brick, where the material is more likely to chip.
Start slowly to stop the drill bit wandering. Keep the drill as square to the wall as possible, because angled holes can make the bracket sit awkwardly and put uneven pressure on the plug. Drill only as deep as the plug and screw require, then clear the dust from the hole so the plug can grip properly.
Push the wall plug in so it sits flush with the brick face. If it feels loose, do not rely on it and hope for the best. Move to a sounder fixing point or use a fixing better suited to the wall material. A loose plug will only become more annoying once the board starts twisting during play.
Step 5: fit the bracket and hang the board
Screw the wall bracket firmly into place, but do not overtighten to the point that the plug spins or the brick surface crumbles. Fit the centre screw to the back of the dartboard according to the board instructions. The screw head needs to sit securely in the wall bracket while still allowing the board to be lifted off for rotation.
Hang the board and rotate it so the 20 segment is at the top. Fit the small rubber feet or stabilisers supplied with the board, if included, because they stop the board rocking against the brick. On an uneven brick surface, small rear pads can also help the board sit flatter, but avoid adding anything so thick that it changes the throwing distance without you noticing.
Give the board a careful wiggle. It should feel secure, with no loose bracket movement and no obvious rattling. If it sits proud at one side, check whether the wall surface is uneven or the rear bumpers need adjusting.
Step 6: set the oche from the board face
Once the board is hanging, measure 2.37 m from the face of the dartboard to the front edge of the oche. Do not measure from the skirting board or the brick wall, because the board, bracket, cabinet and any backboard all push the scoring surface forward.
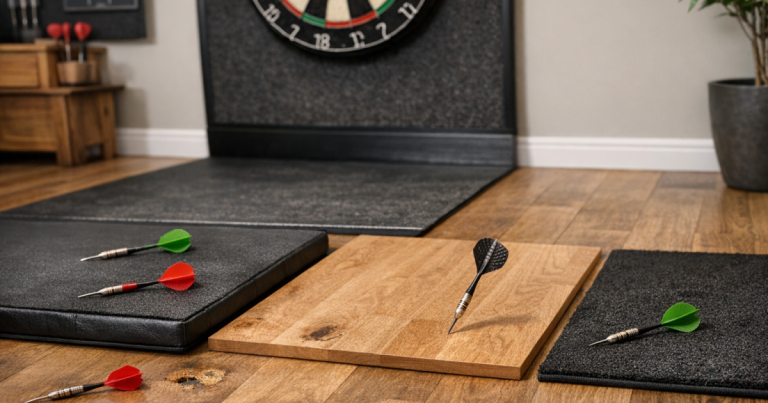
You can mark the line with low-tack tape, a floor marker or a dedicated mat. A raised oche gives the clearest foot reference, while a mat is often tidier in a multi-use room. If you are still deciding how permanent to make the throw line, the breakdown of raised, recessed and marked oche types explains the trade-offs for home setups.
For an extra check, measure diagonally from the bullseye to the front of the oche. It should be about 2.93 m for a standard steel-tip setup. This is useful if the floor is uneven or you suspect the tape measure has not been held square from the board face.
Examples for common home setups
Exposed brick in a garage
A garage wall is often straightforward because the brick is visible and there is usually plenty of depth for fixings. The main issues are lighting, cold surfaces and making sure the throwing lane is not shared with stored bikes, tools or laundry racks. A surround or backing panel can reduce bounce-out damage to nearby brick edges and mortar joints.
Painted brick in a spare room
Painted brick can make a darts corner look tidy, but missed darts can chip paint quickly. A dartboard surround is usually neater than trying to touch up marks every few weeks. If the room is used for other things, think about where darts, shafts, flights and chalk or markers will live so the setup does not sprawl across shelves and window ledges.
Cabinet on a brick wall
A cabinet adds storage and hides the board when not in use, but it changes the fixing job. You are mounting the cabinet first, then the board inside it. Use the cabinet’s fixing points, level the cabinet carefully and re-check bullseye height after the board is fitted. Because the board face sits further out from the wall, reset the oche after the cabinet is complete.
Finishing checks before you start playing
Stand at the oche and look at the board as a player, not as the person who installed it. The 20 should be straight up, the treble bed should be easy to see and the board should not be half in shadow. Brick walls can create dark patches around the edge of the board, especially in garages and outbuildings, so lighting is worth sorting early. The guide to adding dartboard lighting without glare or shadows covers placement choices that keep the board readable without shining into your eyes.
- Check that the board does not rotate too freely during normal play.
- Confirm the bullseye is still 1.73 m from the floor after the board has settled on the bracket.
- Measure the oche from the board face, not from the brick.
- Make sure there is a safe clear area behind and beside the thrower.
- Keep spare flights, shafts and a checkout aid nearby so the area stays organised.
Common mistakes to avoid
The most common error is drilling at the right-looking height rather than measuring to the bullseye. A few centimetres out may not ruin a casual game, but it makes practice less useful if you want your home setup to feel like a proper board.
Another mistake is fixing into weak mortar because it is easier to drill. Mortar can crumble over time, especially in older brickwork. Brick is usually the more reliable fixing point, provided it is sound and you are not too close to an edge.
Finally, do not set the oche before the board is fully mounted. The board face is the official reference point, and every layer behind the board changes that position slightly. Fit first, measure second, then mark the throw line.
Common questions
Can I screw a dartboard straight into brick?
Use the board’s mounting bracket rather than screwing randomly through the board. The bracket should be fixed to the brick with suitable masonry plugs and screws, then the board hangs from its centre screw.
Is it better to drill into brick or mortar?
For a dartboard bracket, sound brick is usually the better choice. Mortar is often softer and more likely to crumble, particularly in older walls or outbuildings.
Does a dartboard cabinet change the throwing distance?
Yes, it can. The throwing distance is measured from the face of the dartboard, so fit the cabinet and board first, then measure the oche from the playing surface.
What should I do if the board wobbles on the wall?
Check the wall bracket, centre screw and rear stabilisers. If the fixing plug moves in the brick, remove the board and refit the bracket into a sound fixing point rather than playing on a loose mount.
Can I mount a board on an uneven brick wall?
Often, yes, but the board needs to sit stable. Rear bumpers, a flat backing panel or a cabinet can help, provided the fixings are secure and the bullseye height and oche distance are rechecked afterwards.
Final thoughts
A brick wall can make an excellent base for a home darts setup, but accuracy matters. Mark the bullseye height, drill into sound masonry, use suitable fixings and measure the oche only after the board is mounted. Once the board is secure, the small details — lighting, storage, wall protection and a clear throw line — are what make the setup feel comfortable enough to use regularly.