Missed doubles, loose trebles and warm-up throws can all leave little half-moon marks around the board. A dartboard surround is the simplest way to protect the wall without rebuilding your darts area or changing the way you throw. Fitted properly, it should sit flat, grip the board neatly and give you extra forgiveness around the scoring area.
The job is usually quick, but the details matter: board position, wall condition, cabinet clearance and lighting can all affect how well the foam ring sits. A rushed fit can leave gaps, push the board out of line or make the whole setup look untidy.
The short version
- Remove darts and loose accessories before fitting anything around the board.
- Check that the board is already at the correct height and distance before adding protection.
- Use a surround that matches a standard bristle board unless your board needs a specific size.
- Push the foam on evenly, working around the board rather than forcing one side at a time.
- Check for gaps, wobble, lighting clashes and cabinet door clearance before playing.
Before you fit it: check the board is in the right place
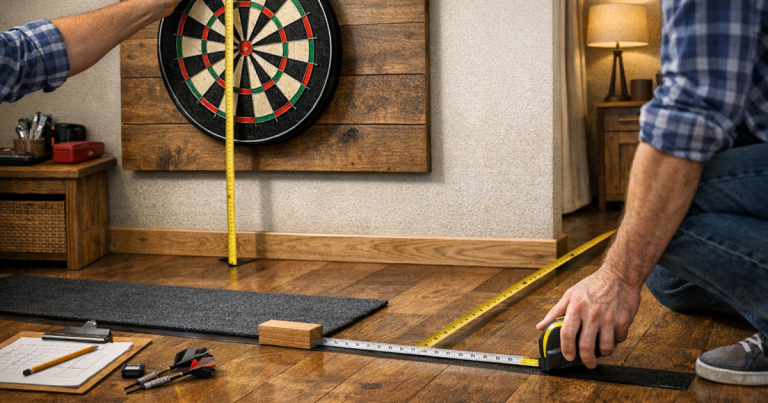
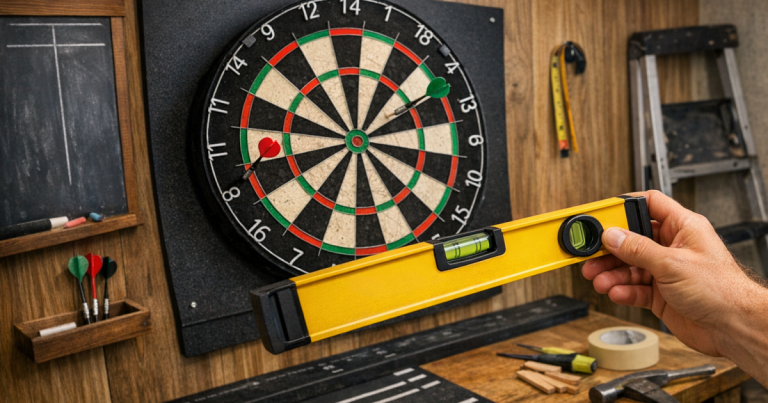
A surround protects the wall immediately around the board, but it does not fix a poor board position. Before fitting one, confirm that the bullseye height and throwing distance are correct, especially if you have recently moved the board, changed a cabinet or added a mat. If the board needs adjusting, do that first rather than fitting protection around a setup you will soon change.
For standard steel-tip darts, the bullseye should be 1.73 metres from the floor, with the throwing line set at 2.37 metres from the face of the board. If you want the full setup check, including where to measure from and how to avoid common measuring errors, use this guide to set dartboard height and oche distance correctly before you fit the surround.
What type of surround are you fitting?
Most home setups use a one-piece foam ring that stretches around the outside edge of a standard bristle dartboard. These are popular because they need no fixing screws, cover the most common miss area and can usually be removed when you rotate or replace the board. A typical example is the Winmau Pro-Line Dartboard Surround, but the same fitting principles apply to similar one-piece foam designs from other darts brands.
Two-piece or four-piece surrounds are also available. They can be useful where access is tight, although each join creates a small alignment point to check. If your board is inside a cabinet, fitted close to shelving or paired with a lighting ring, measure the available space before assuming any protector will sit neatly.
Step 1: clear the area and inspect the wall
Take the darts out of the board and move anything fragile from the surrounding area. Wipe dust from the wall, cabinet backing or mounting surface so the surround does not drag dirt across the paintwork while you fit it. If the wall is freshly painted, let it cure properly before pressing foam or rubber accessories against it, as soft paint can mark more easily.
Look for raised screw heads, picture hooks, uneven filler or old wall plugs near the board. A foam surround can hide minor scuffs, but it will not sit flat over lumps or hard edges. If there is a raised obstruction close to the board, deal with that first or the protector may bow away from the wall.
Step 2: remove anything that gets in the way
If you use a cabinet, open the doors fully and check the swing path. Some cabinets leave enough space for a snug foam ring; others are tight around the board and may rub when the doors close. Do not force the doors against the surround, as this can deform the foam and eventually mark the cabinet edge.
If you use a clip-on lighting system, remove or loosen it before fitting the protector unless the manufacturer says it can stay in place. With products such as the Target Corona Vision Dartboard Lighting System, the support arms and board grip points need to sit securely, so confirm that the foam does not interfere with the fit. Keep any cables clear of the board edge and throwing area.
Step 3: align the surround with the board
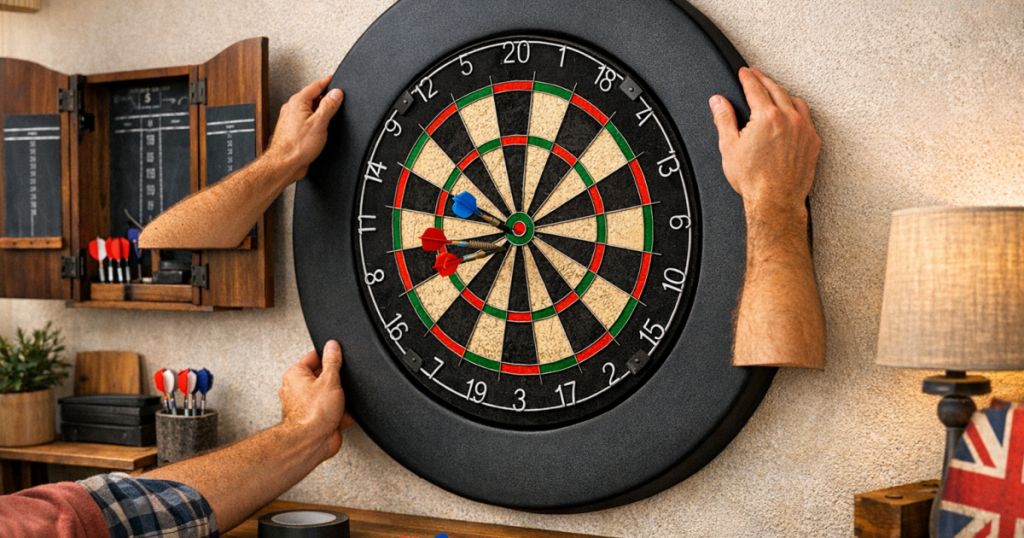
Hold the dartboard surround in both hands and line up the central opening with the outer edge of the board. Start by placing the top section over the board edge, then ease the sides on evenly. Avoid pulling hard on one corner, as that can twist the ring and leave a visible gap on the opposite side.
Once the top and sides are sitting on the board, press the lower section into place. Work around the circle with both hands, using steady pressure rather than sharp tugs. The aim is for the inner edge of the foam to sit tight to the board all the way round without overlapping the scoring surface.
Step 4: check the fit from playing position
Stand back at the oche and look at the board straight on. The surround should frame the board evenly, with no obvious droop at the bottom or bulge on one side. If the board now looks slightly off-centre, it may be the foam sitting unevenly rather than the board itself, so adjust the ring before moving the board.
Throw a few careful practice darts once everything is clear. You are not testing your scoring; you are checking whether the protector moves, rattles or rebounds awkwardly. If a missed dart lands in the foam, it should be easy to remove without pulling the whole surround away from the board.
Step 5: deal with gaps and awkward edges
Small gaps usually come from uneven pressure during fitting. Remove the surround and refit it from the top, working around the board in stages. If the gap always appears in the same place, check whether the board is mounted close to a raised bracket, cabinet lip or uneven wall section.
If the foam touches the wall on one side but not the other, the dartboard may not be sitting flat on its mounting. Check the board bracket, rotate the board if needed and make sure the board is fully seated. Do not use tape, glue or pins to hold a standard foam ring in place; if it will not grip properly, the cause is normally fit, obstruction or compatibility rather than a lack of adhesive.
Wall protection limits: what a surround will and will not do
A surround is very good at catching near misses around the board, but it is not full wall armour. It will not protect skirting boards, nearby shelves, light switches, plug sockets or a wide area beyond the ring. If beginners, children or occasional guests are using the setup, think about the wider miss zone rather than only the area directly around the board.
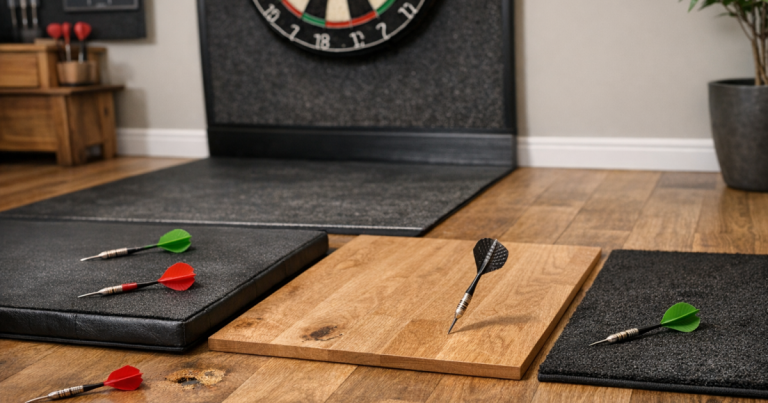
For a neater backing area, some players add a larger wall panel behind the board. Soft wall finishes can help with appearance, but they are not all designed to stop steel tips safely. If you are considering a decorative backing as well as a surround, read the advice on whether acoustic felt panels protect walls behind a dartboard before relying on them as your main protection.
Common fitting mistakes to avoid
- Fitting it before measuring the setup: if the board height or oche position is wrong, the tidy finish will not help your game.
- Forcing it into a cabinet: pressure from cabinet doors can bend the foam and make the setup look squeezed.
- Ignoring lighting clearance: lighting arms, brackets and cables need to remain secure after the surround is fitted.
- Covering the board edge unevenly: an uneven ring can distract the eye and make the board appear wonky.
- Expecting it to fix bounce-outs: a wall protector catches misses, but it does not solve wire, point or board-condition problems.
If your issue is darts hitting the board and coming back out rather than missing into the wall, the surround is not the main fix. Work through the likely causes in this guide to dartboard bounce-outs instead, as point condition, board wear and wire design can all play a part.
Aftercare and simple maintenance
Rotate your bristle board as normal, removing the surround first so you do not twist or tear the foam. Once the board is back on its bracket, refit the protector evenly and check that the number ring is correctly aligned. This extra minute keeps the setup tidy and helps the surround last longer.
To clean light dust or chalky wall residue, use a dry cloth first. For marks, use a slightly damp cloth and avoid strong household cleaners unless the surround maker specifically allows them. Store it flat if you remove it for a long period; leaving foam folded or crushed can create bends that are difficult to relax later.
Things readers ask
Can I fit a surround without taking the dartboard down?
Usually, yes. Most one-piece foam surrounds are designed to stretch over the board while it remains on the wall. Remove darts, lights or accessories that obstruct the edge first.
Will a surround damage painted walls?
It should not damage a sound, fully cured painted wall in normal use, but dirt, soft paint or trapped grit can leave marks. Clean the wall and avoid dragging the foam across the surface.
Does it work with a dartboard cabinet?
Sometimes. The key checks are side clearance, door movement and whether the foam presses against the cabinet frame. If the doors rub, the fit is too tight.
Should the surround touch the wall?
It can sit lightly against the wall, but it should not be forced flat by pressure. The main grip should come from the board edge, not glue, tape or compression.
Do I still need a larger backing board?
For accurate players, a surround may be enough. For family play, beginners or narrow rooms, a larger backing panel can protect a wider miss area.
Key takeaways
Fit the surround only after the board height, oche position and wall area are sorted. Align it evenly, avoid forcing it into cabinets or lighting systems, and check the setup from the throw line before you start scoring. A well-fitted protector will not stop every stray dart, but it gives the wall around your board a much better chance of staying clean and unmarked.